Installing Ant Media Server on K8s by Digital Ocean
In this guide, we’ll walk through how to deploy Ant Media Server Enterprise Edition on a Kubernetes cluster using DigitalOcean’s Marketplace — all with just a few clicks.
Before you begin, make sure you have the Kubernetes command line tool (kubectl) installed on your local machine.
Step 1: Launch the Ant Media Server App on DigitalOcean
- Log into your DigitalOcean Dashboard.
- From the sidebar, navigate to Marketplace.
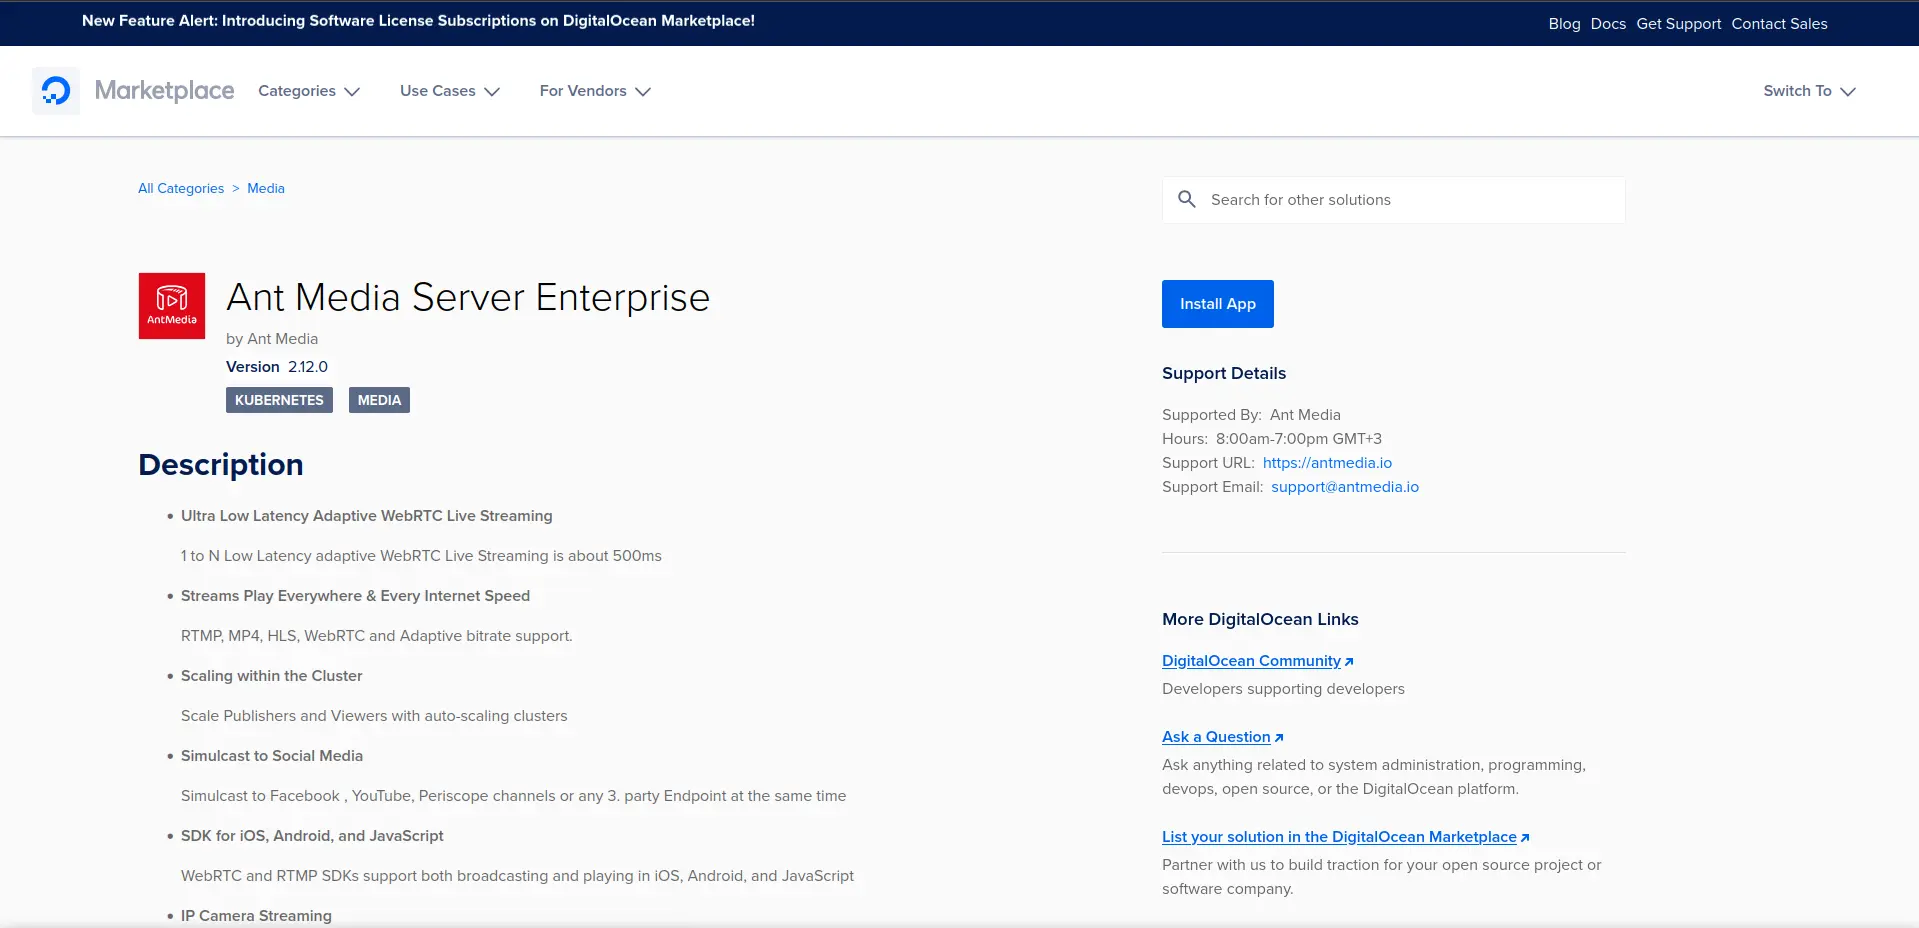
- In the search field, type "Ant Media Server Enterprise".
- Click the app card when it appears.
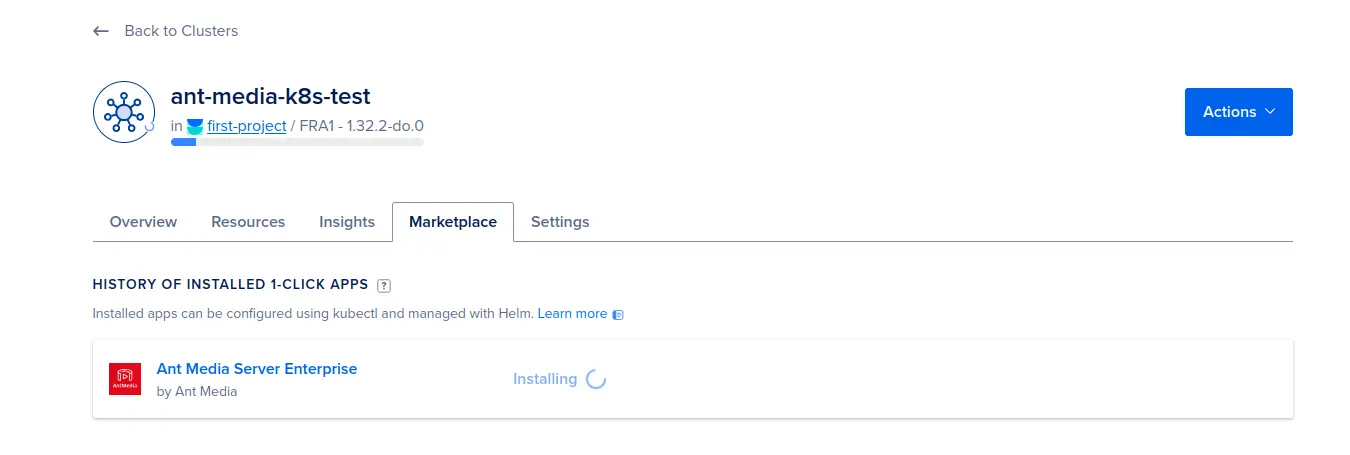
- Once selected, click Install App, then click Install to proceed with the deployment.
Step 2: Install the Kubernetes Cluster
- Select your preferred data center region.
- Choose a node pool size suitable for your expected load (we recommend at least 3 nodes with
s-4vcpu-8gbor better). - Review other cluster settings as needed.
- Click Create Cluster to begin provisioning.

Step 3: Connect to Kubernetes
Once your cluster is deployed, you’ll be prompted to connect to it via the “Getting Started with Kubernetes” wizard.
We recommend following the Automated (recommended) setup, which uses the doctl CLI to configure access to your cluster.
After installing doctl, you can authenticate using
doctl auth init
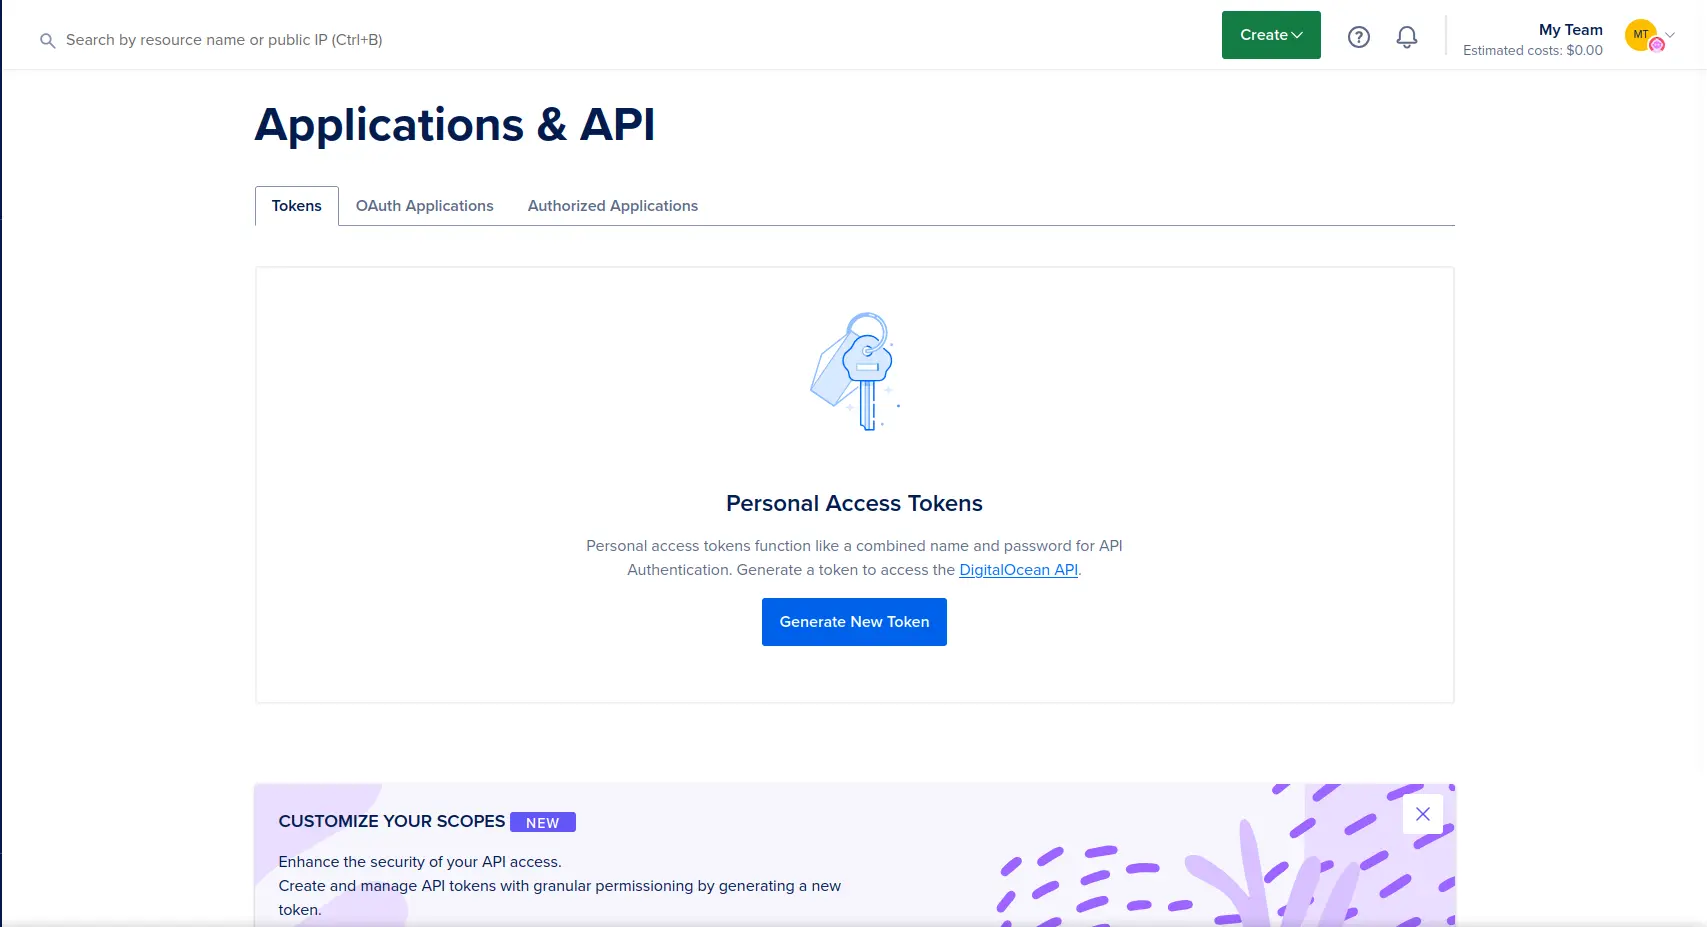
Paste your DigitalOcean API token when prompted. (which you can create in your Digital Ocean control panel by navigating to the API tab > Generate New Token Button):
Once authenticated, run the command shown in the Getting Started tab to save your kubeconfig locally. It will look something like this:
doctl kubernetes cluster kubeconfig save <your-cluster-id-or-name>
You can finish the rest of the “Getting Started with Kubernetes” wizard.
During the installation on DigitalOcean, default hostnames like edge.localhost or origin.localhost are set, but this needs to be updated to match your own domain.
Replace yourdomain.com with your actual domain name (or use a temporary test domain like localtest.me if you're still testing).
localtest.me automatically resolves to 127.0.0.1, which is not your cluster’s IP.
To make origin.localtest.me and edge.localtest.me point to your actual cluster, you’ll need to override it locally:
On your local machine, open /etc/hosts as root and add the following line (replacing the load-balancer-ip with your own):
load-balancer-ip origin.localtest.me edge.localtest.me
# Set the hostname for the ORIGIN ingress
kubectl patch ingress ant-media-server-origin -n antmedia --type='json' -p='[{"op": "replace", "path": "/spec/rules/0/host", "value": "origin.yourdomain.com"}]'
# Set the hostname for the EDGE ingress
kubectl patch ingress ant-media-server-edge -n antmedia --type='json' -p='[{"op": "replace", "path": "/spec/rules/0/host", "value": "edge.yourdomain.com"}]'
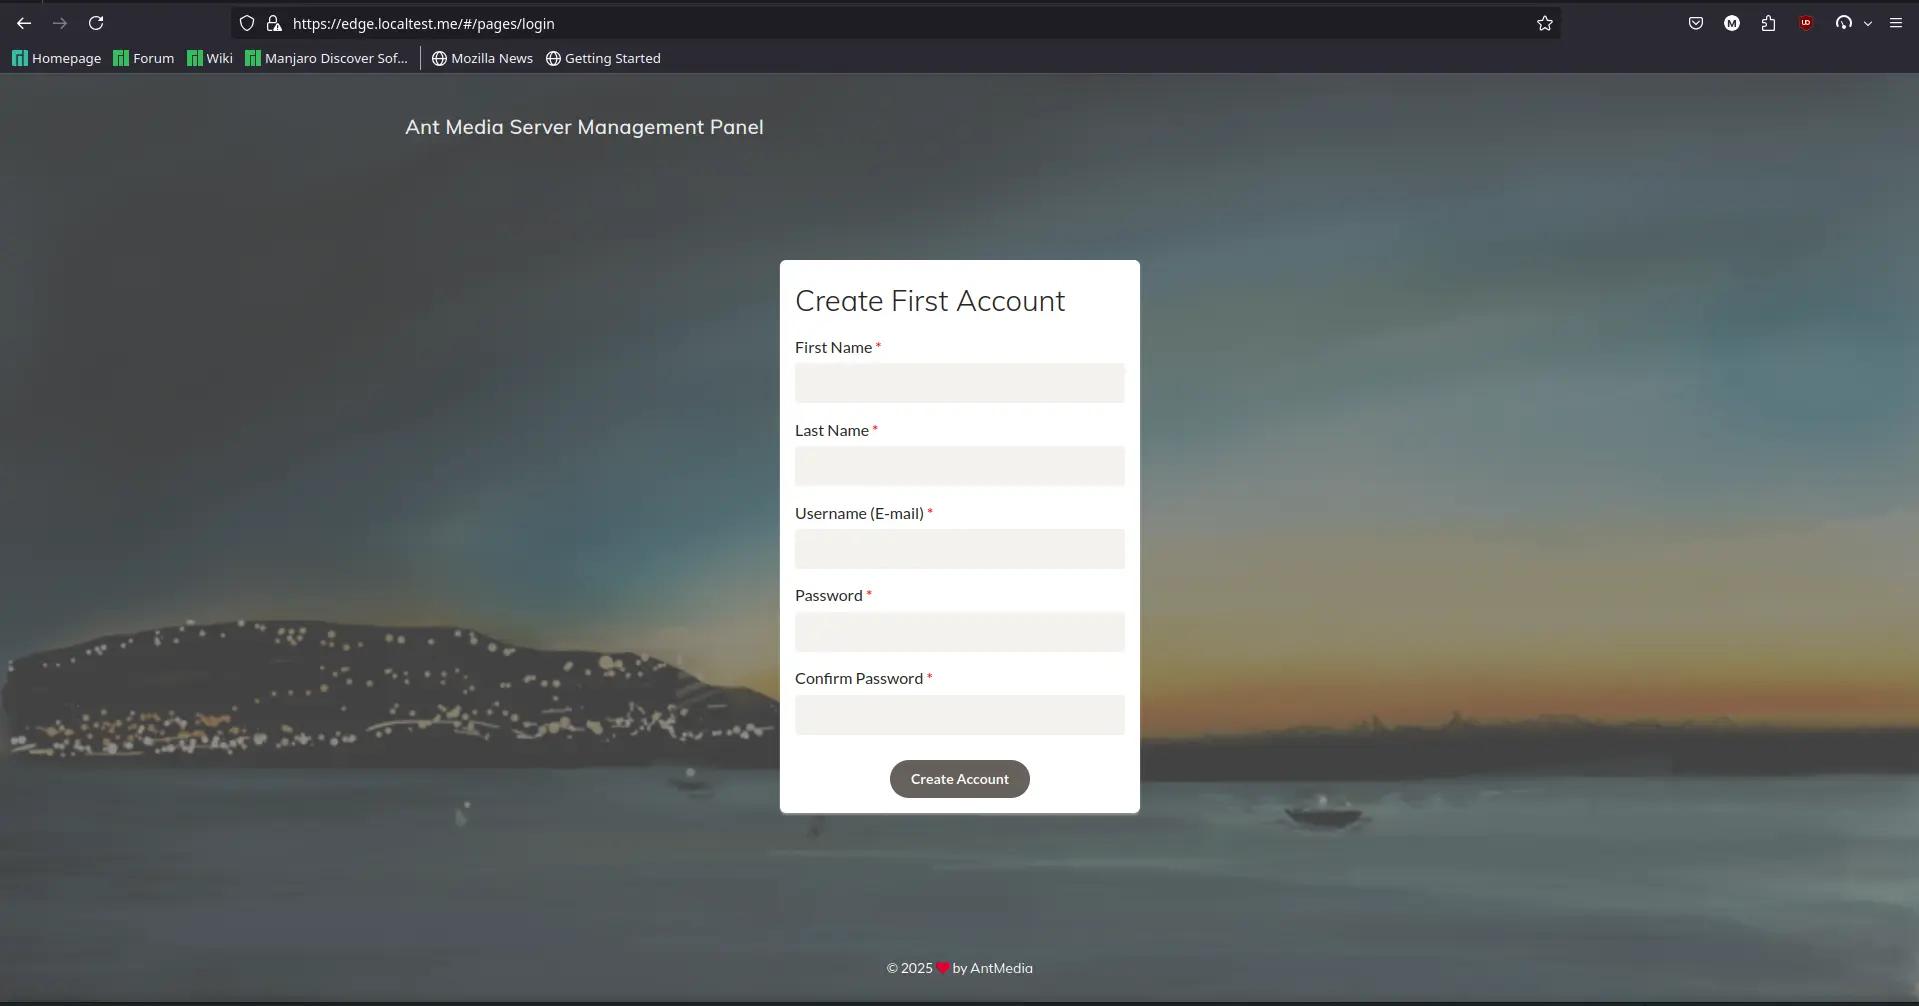
If everything was set up correctly, edge.yourdomain.com or origin.yourdomain.com will display the Ant Media Server Create Account Page:
In case it does not work locally on the default HTTPS and HTTP ports, you need to do the port forwarding to run it locally.
In this case, we forwarded port 8080 to port 80 and 8443 to port 443.
kubectl port-forward -n ingress-nginx svc/antmedia-ingress-nginx-controller 8080:80 8443:443
In order to access the cluster via public domains, set up the SSL certificate in the next step.
Step 5: Setup SSL
The Marketplace product comes with a self-signed certificate. If you want to use Let's Encrypt or your own certificate, follow the documentation to install an SSL certificate via Helm