Record Streams To Azure Blob Storage
Azure Blob Storage is a cloud-based storage service designed to store large amounts of unstructured data, such as images, videos, backups, or documents. It offers scalable, durable, and cost-effective storage for various types of files, which can be accessed globally over HTTP/HTTPS. It's commonly used for data archiving and streaming media.
In comparison to other S3 storages, Azure Blob Storage works with fuse mount using the blobfuse. So in this case, it is not needed to set any of the S3 settings on web panel.
Let's go step-by-step to install the blobfuse and mount the AMS with the Azure Blob Storage account.
Step-1: Install Blobfuse
First, you need to install blobfuse2 on the same instance where your Ant Media Server is running. Check out the installation guide of blobfuse here.
You can change OS distribution and version in the command as per your requirement.
Step-2: Create Azure Blob Storage Account
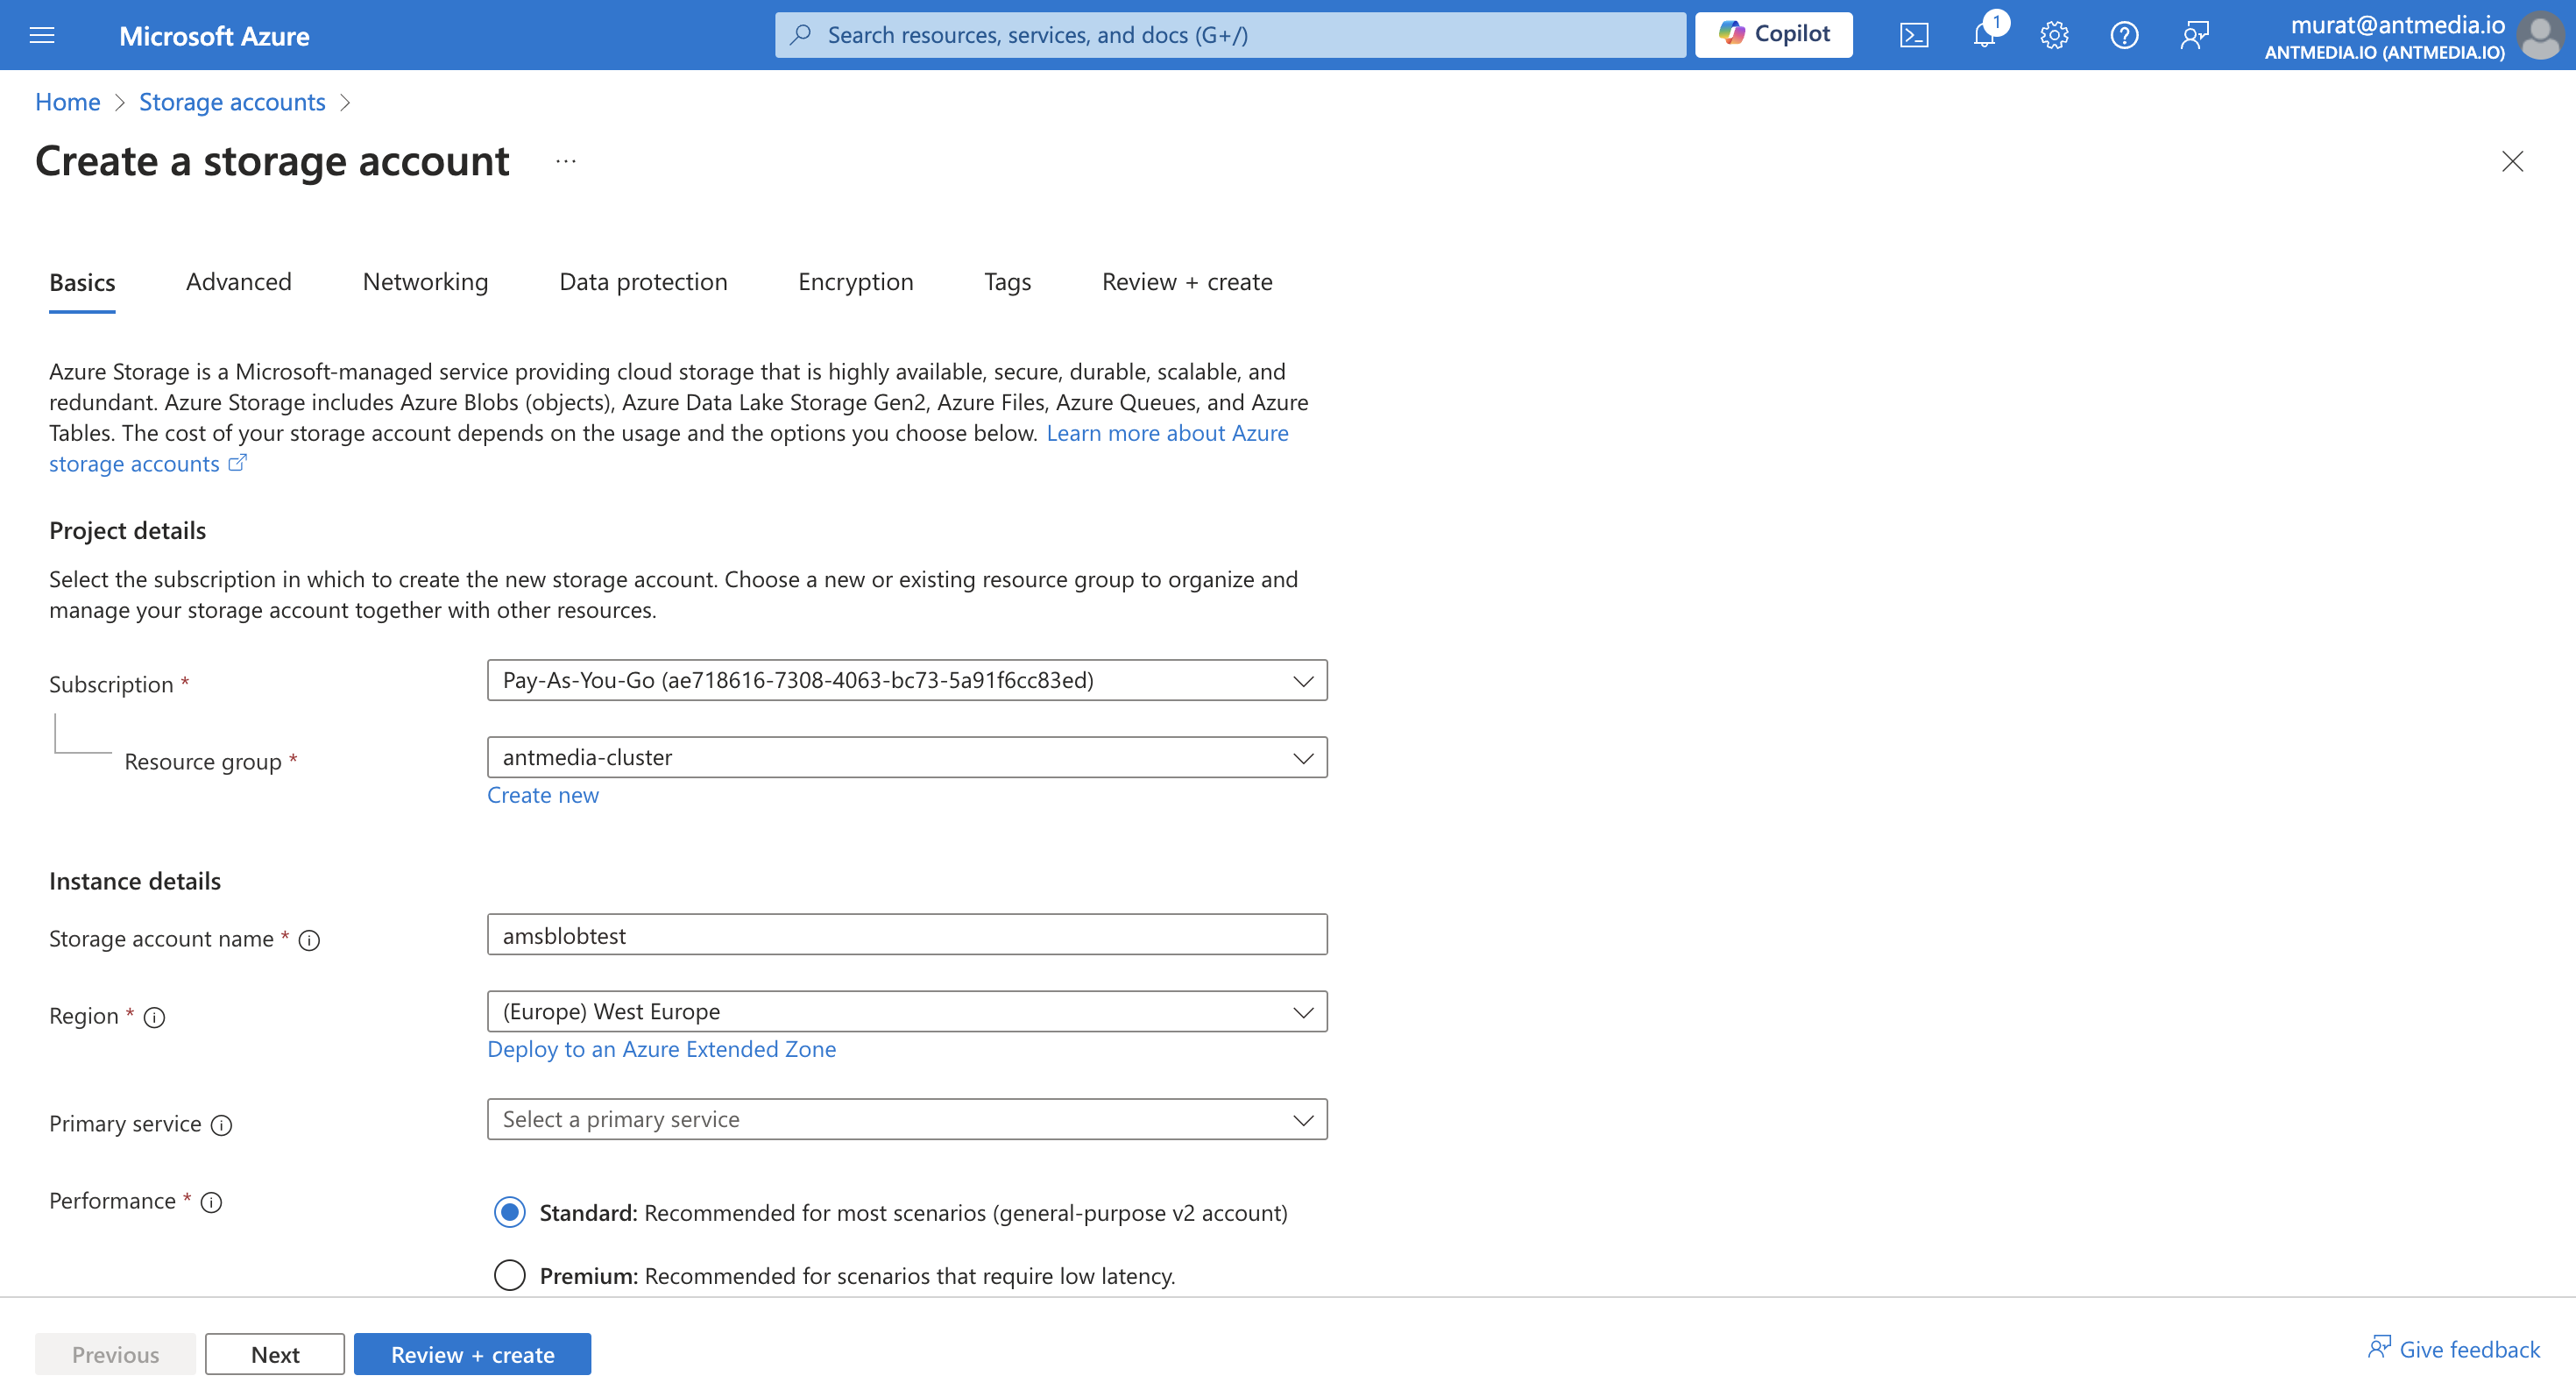
- First, create the Azure Blob Storage account by searching the
Storage accountsservice in the Azure cloud portal.
Select your subscription and resource group, and define the name of your storage account and region. It is preferable to use the same region in which your Ant Media Server is hosted to have better read/write speed.
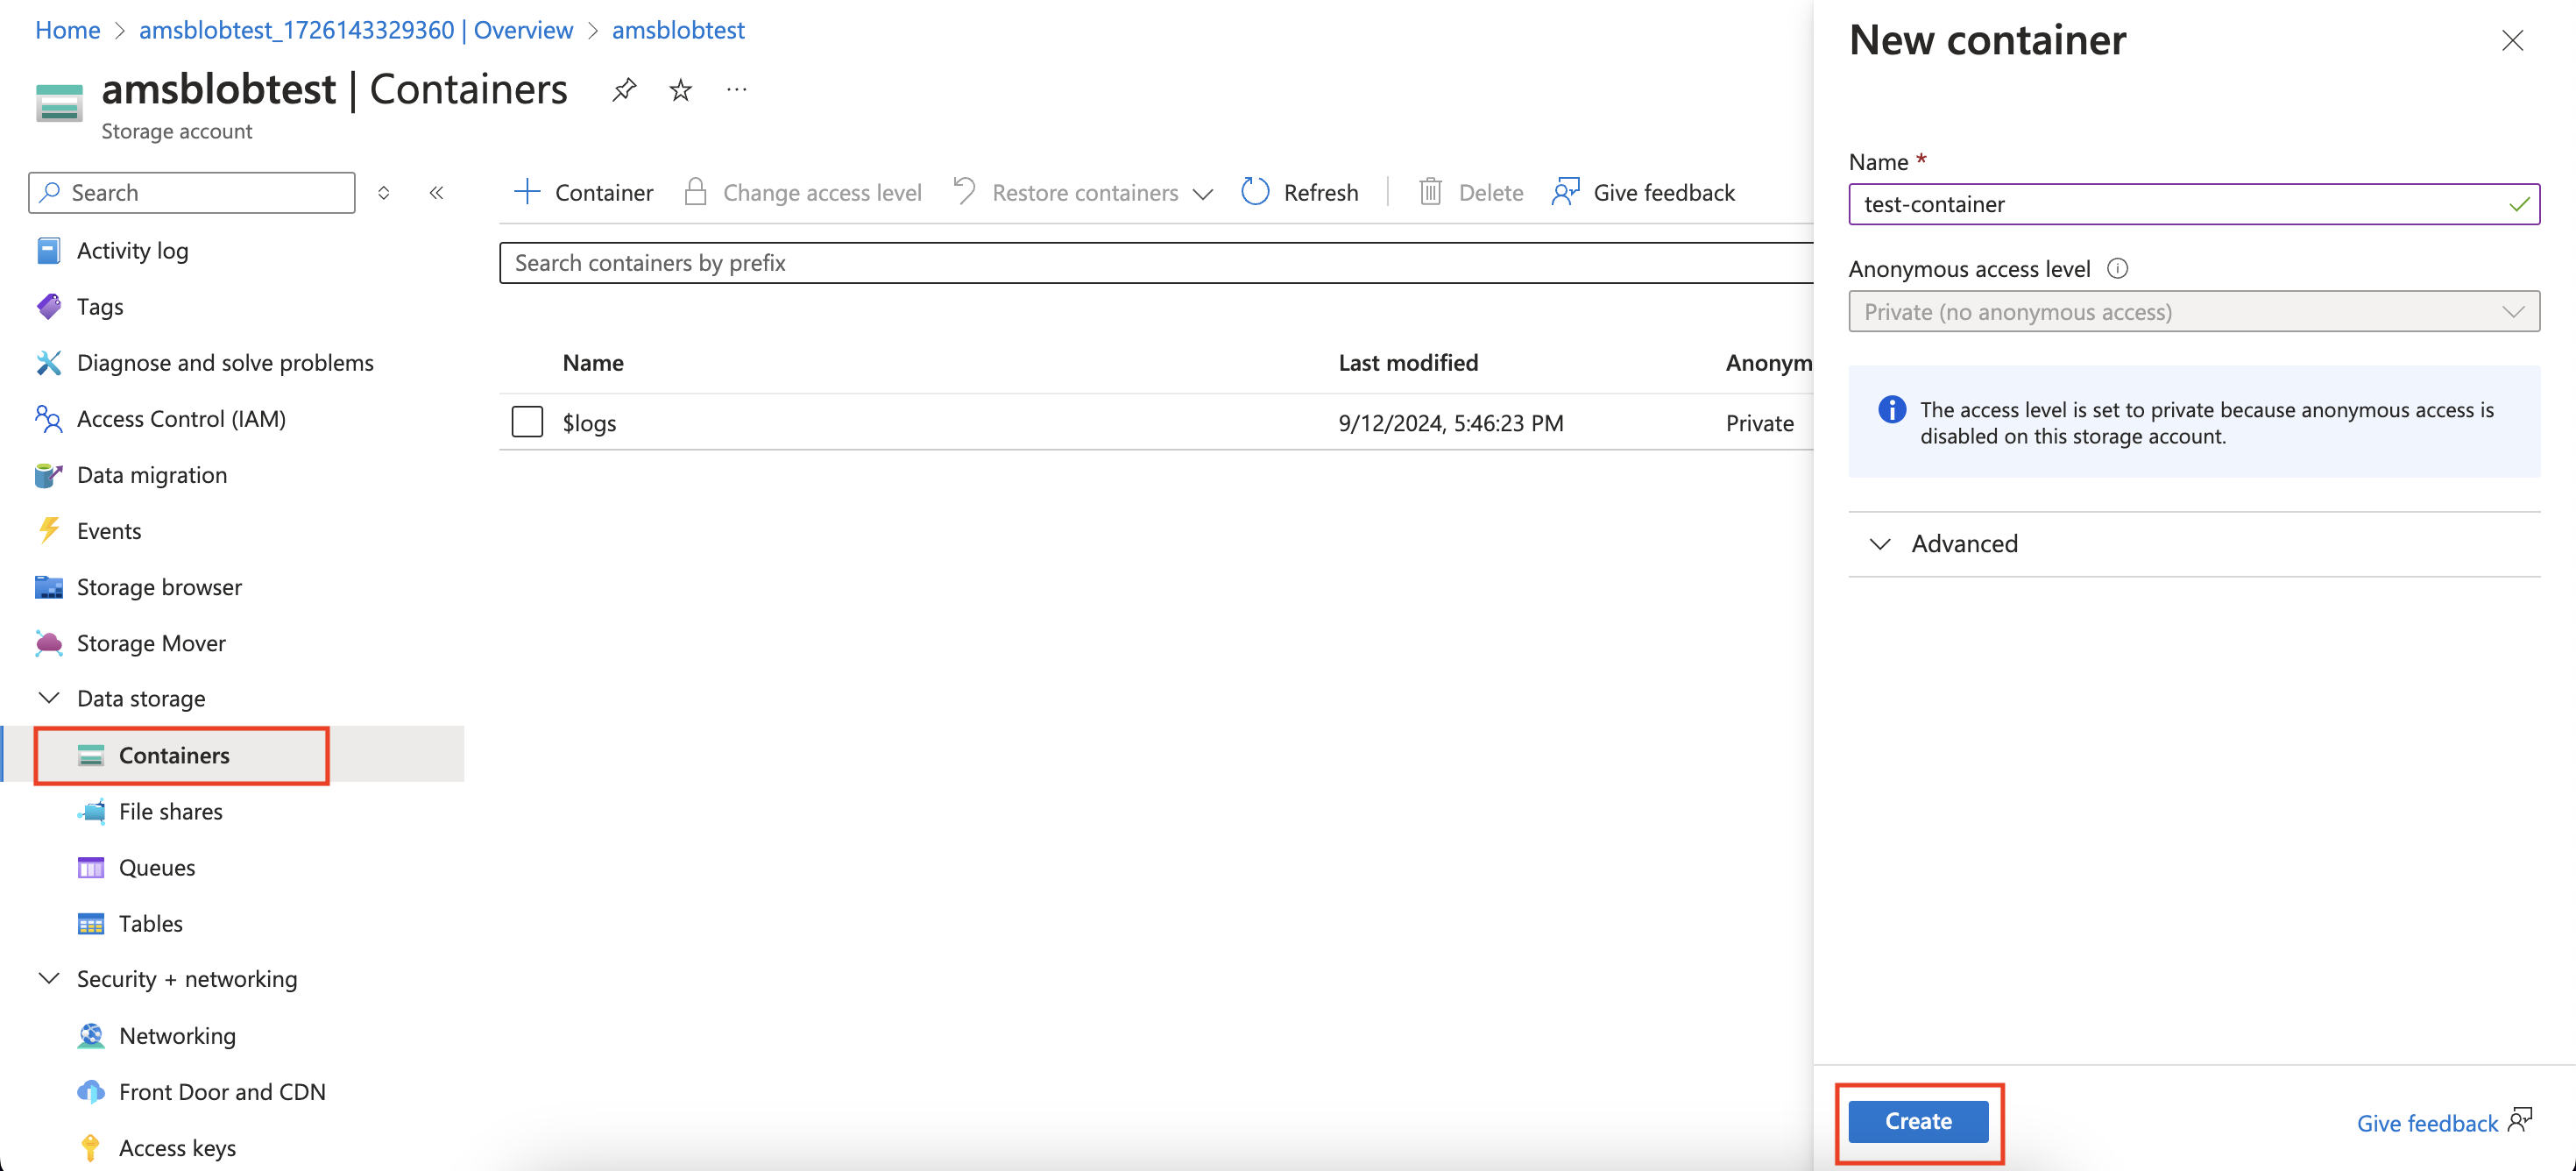
- After the storage account is created, go to
Containersunder Data Storage and create one container with default settings.
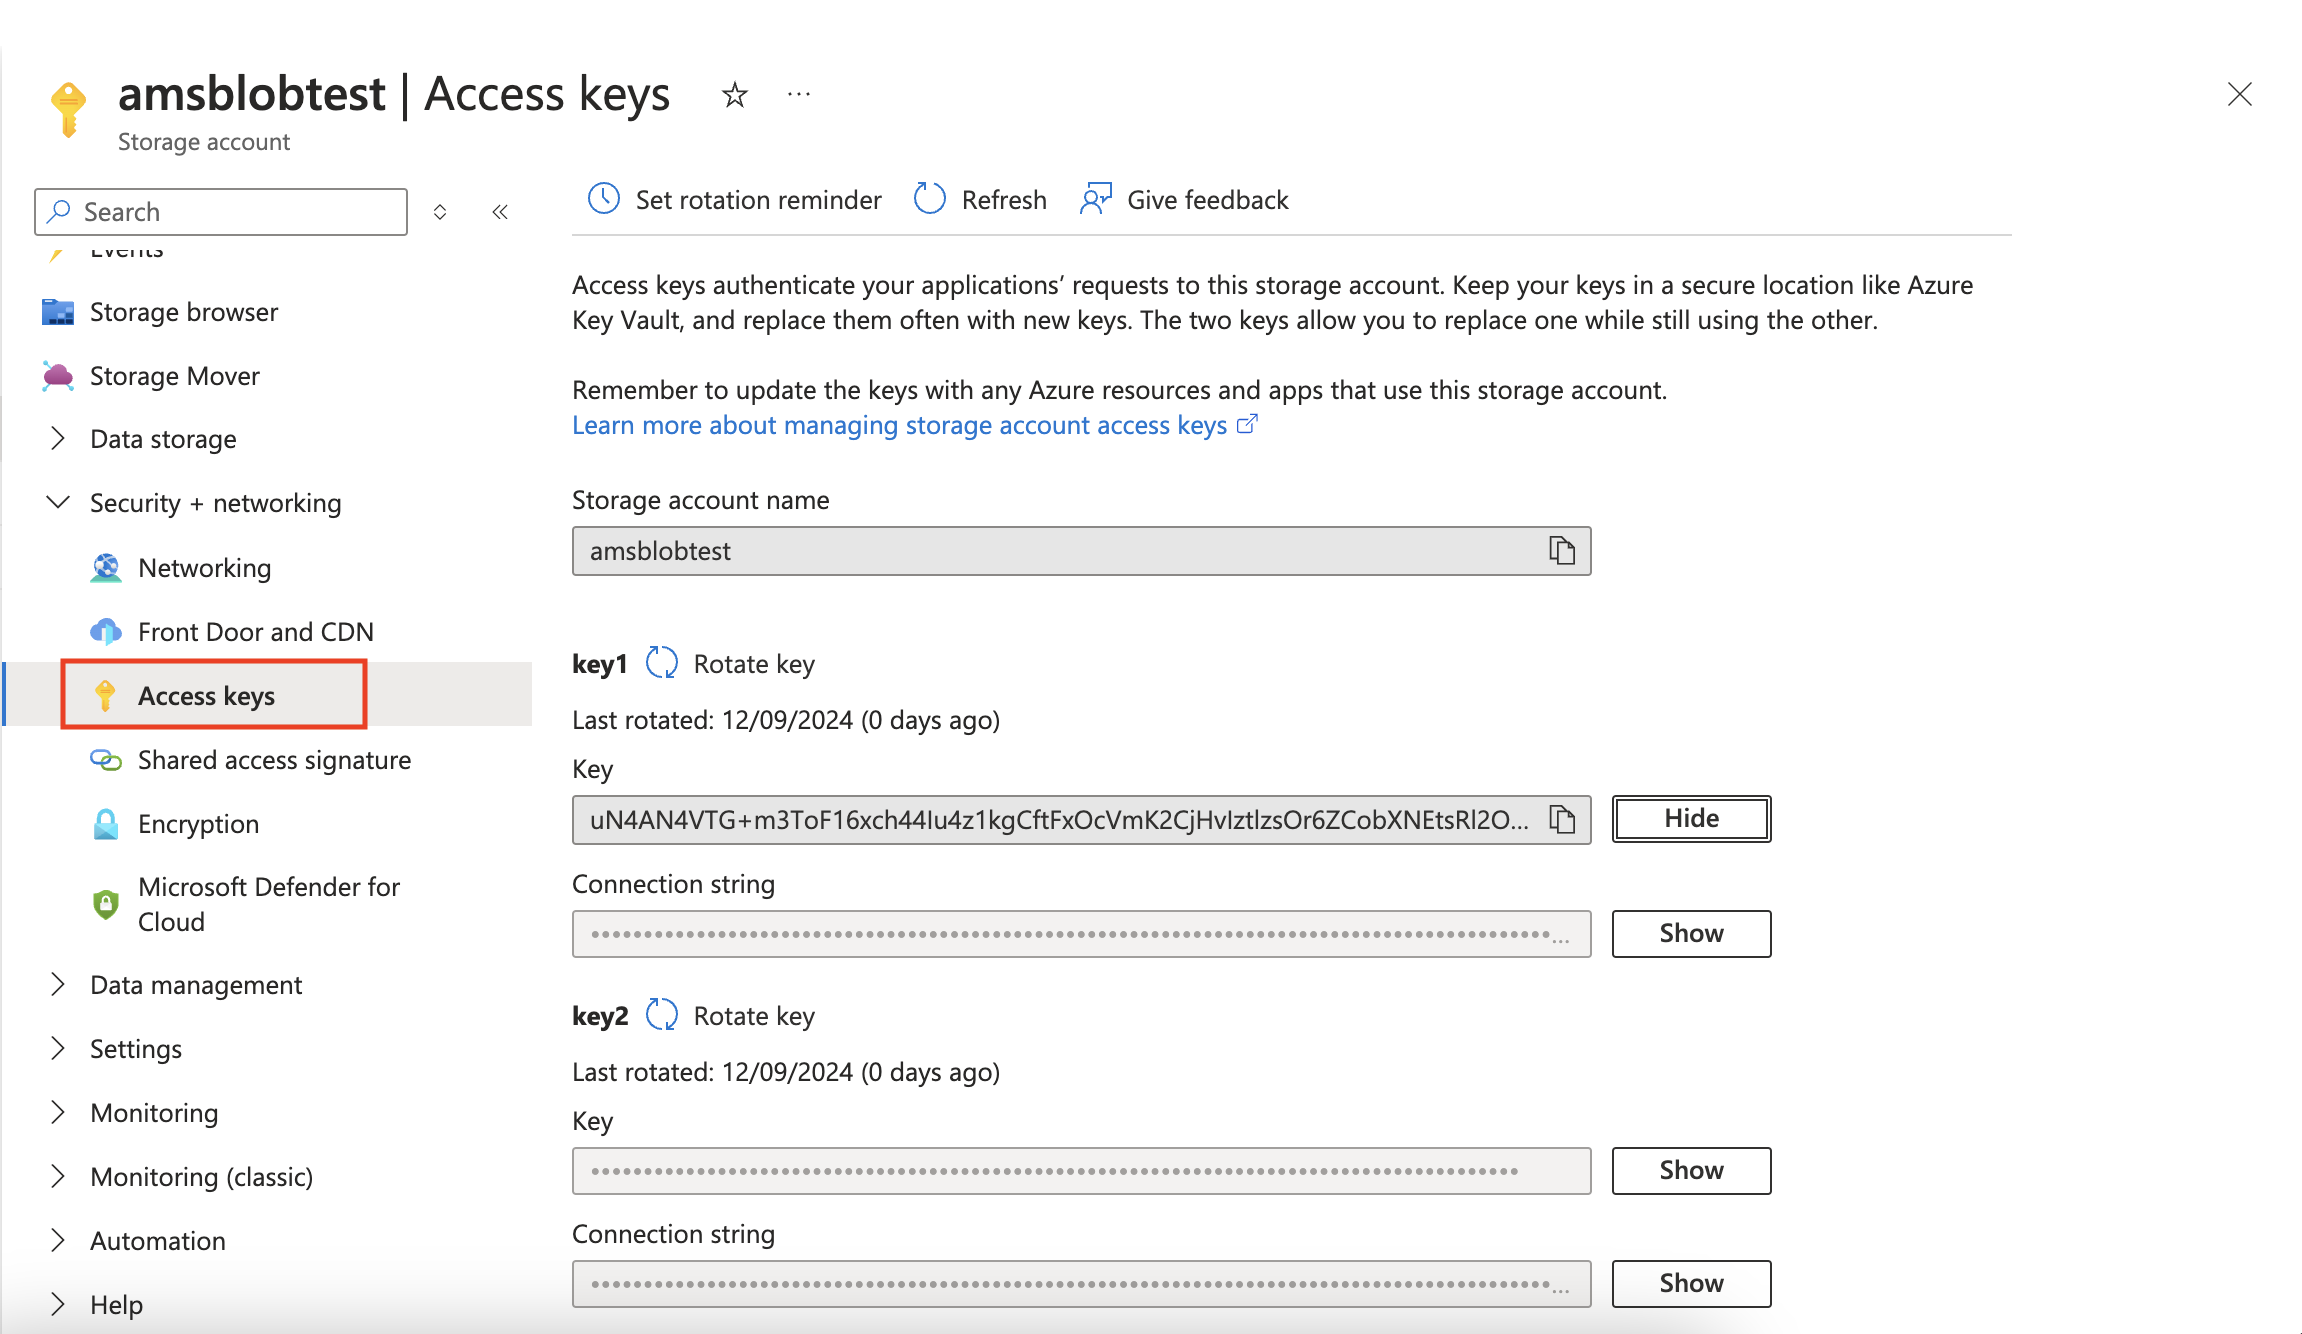
- Once the container has been created, now move to the
Access Keysunder security & networking and copy the access key somewhere. It will be required in next steps.
Step-3: Azure Blob Fuse Configuration File
Now, create a YAML file for the fuse connection to the Azure Blob Storage account.
For example, I created the fuse_connection.yaml file in the blobfuse_config folder of my home directory.
Now in this file, you need to put the storage account name, access key, endpoint and container name.
account-name: storage-account-name
account-key: storage-account-access-key
endpoint: https://storagename.blob.core.windows.net/
container: your-container-name
Here is the sample file:
allow_other: true

logging:
  type: syslog
  level: log_debug

components:
  - libfuse
  - stream
  - attr_cache
  - azstorage

libfuse:
  attribute-expiration-sec: 120
  entry-expiration-sec: 120
  negative-entry-expiration-sec: 240

stream:
  block-size-mb: 1
  max-buffers: 4
  buffer-size-mb: 128

attr_cache:
  max-size-mb: 1024
  timeout-sec: 3600

azstorage:
  type: block
  account-name: amsblobtest
  account-key: your-access-key-copied-from-previous-step
  endpoint: https://amsblobtest.blob.core.windows.net/
  mode: key
  container: test-container
Step-4: Mount Azure Blob Storage
The following command will mount the streams directory of any Ant Media Server application to Azure blob storage.
For example, link the live application's streams directory to the storage account.
sudo blobfuse2 mount /usr/local/antmedia/webapps/live/streams --config-file ~/blobfuse_config/fuse_connection.yaml -o allow_other
After mounting, all the recordings or files of the live application will be stored in the Azure Storage account container.