AWS Wavelength Standalone Deployment
In this documentation, we would like to demonstrate how to set up an Ant Media Server Standalone on the Wavelength zone. In this template, you can add SSL automatically if you want, or you can install it manually.
The template creates the VPC, Carrier IP, and Internet Gateway configuration automatically. The VPC network has the 10.0.0.0/16, 10.0.1.0/24 subnets in use.
Prerequisite
- Subscribe the Ant Media Server on AWS Marketplace. If you don't know how to do that just follow the 3 steps here
Step by Step Deployment
1. Download the template and import to the AWS Cloudformation
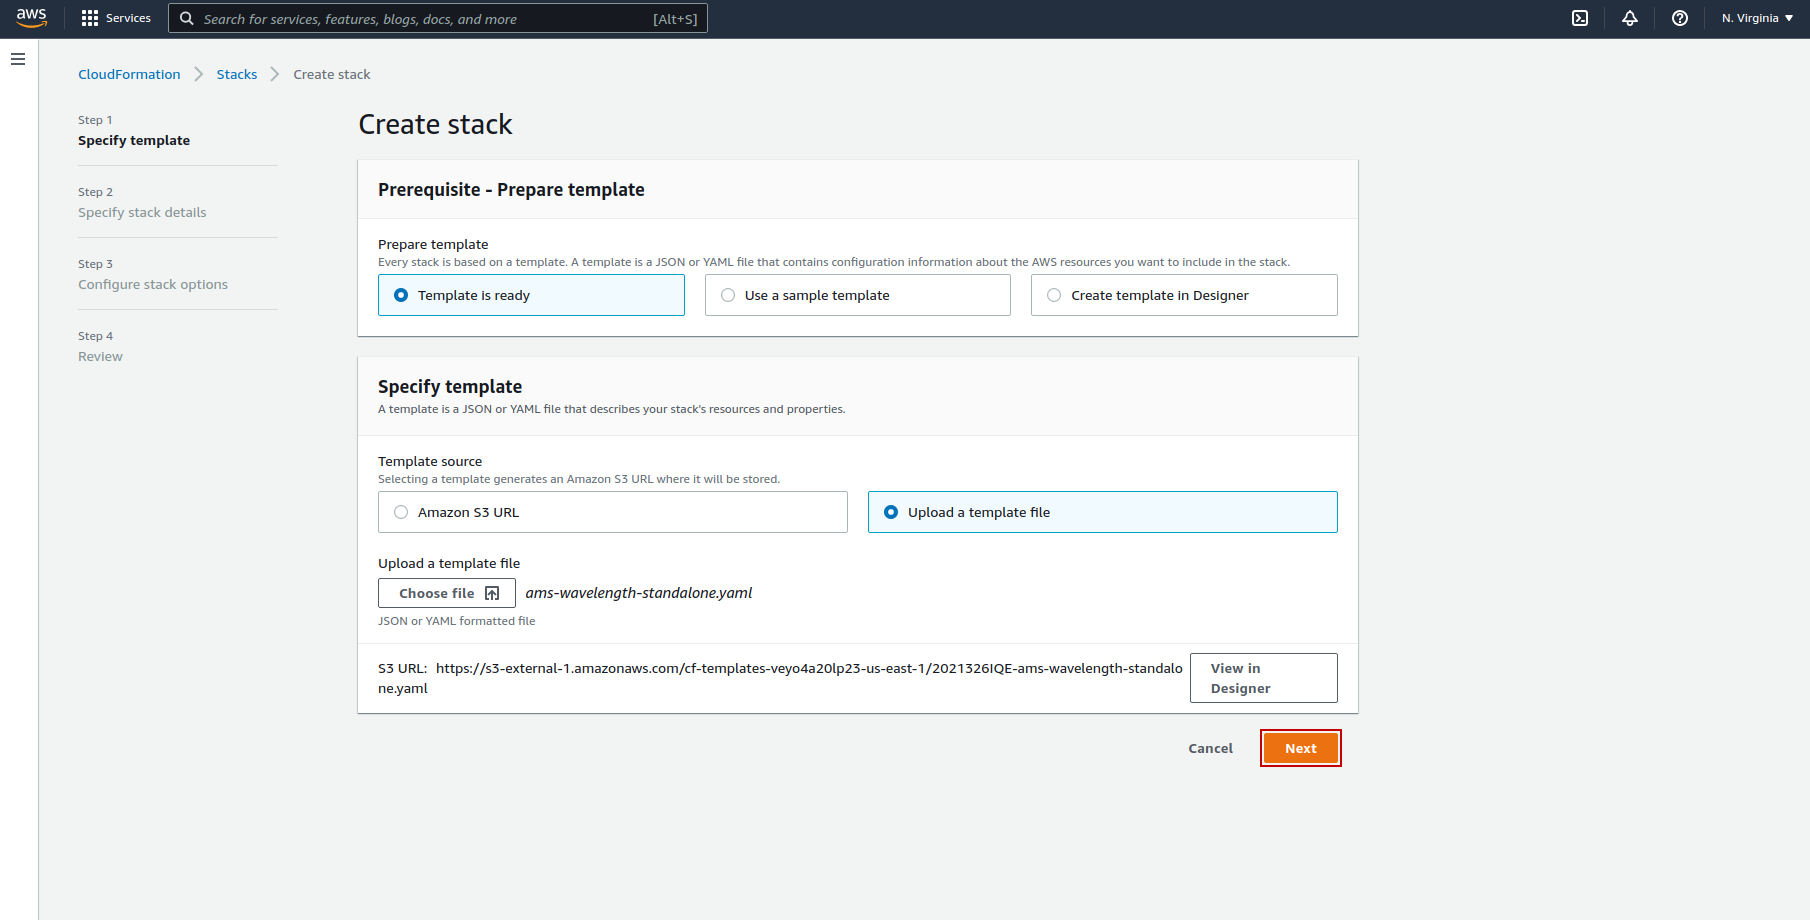
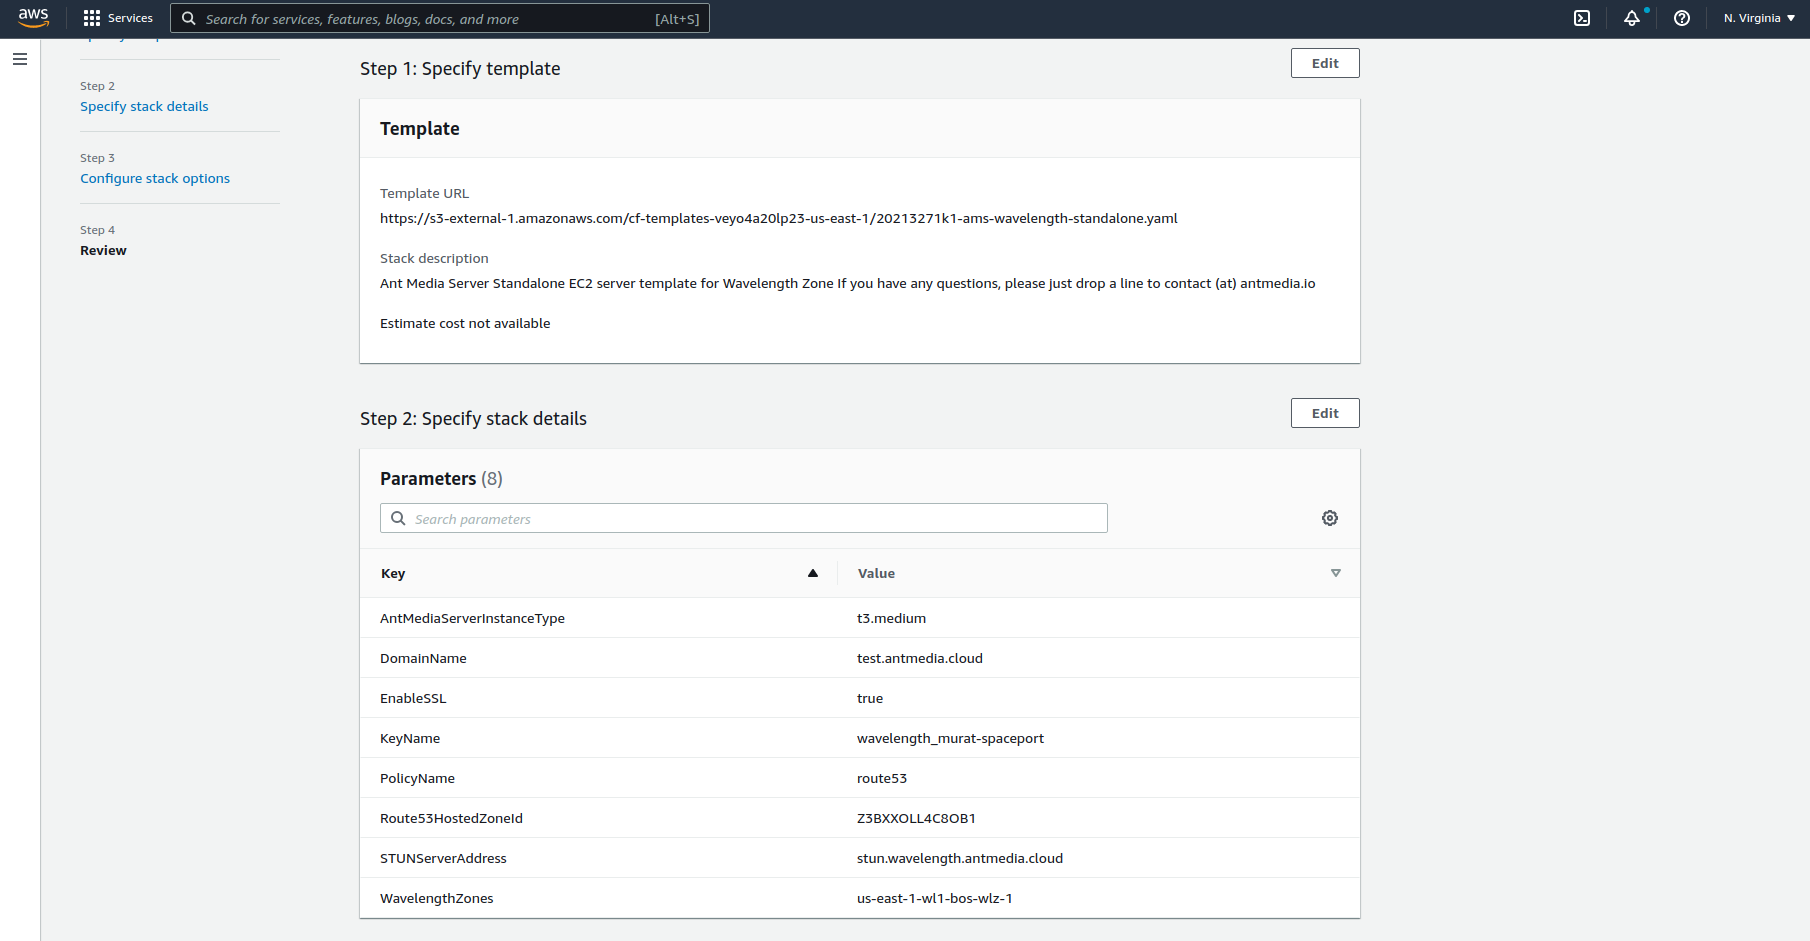
2. Fill the Cloudformation Form
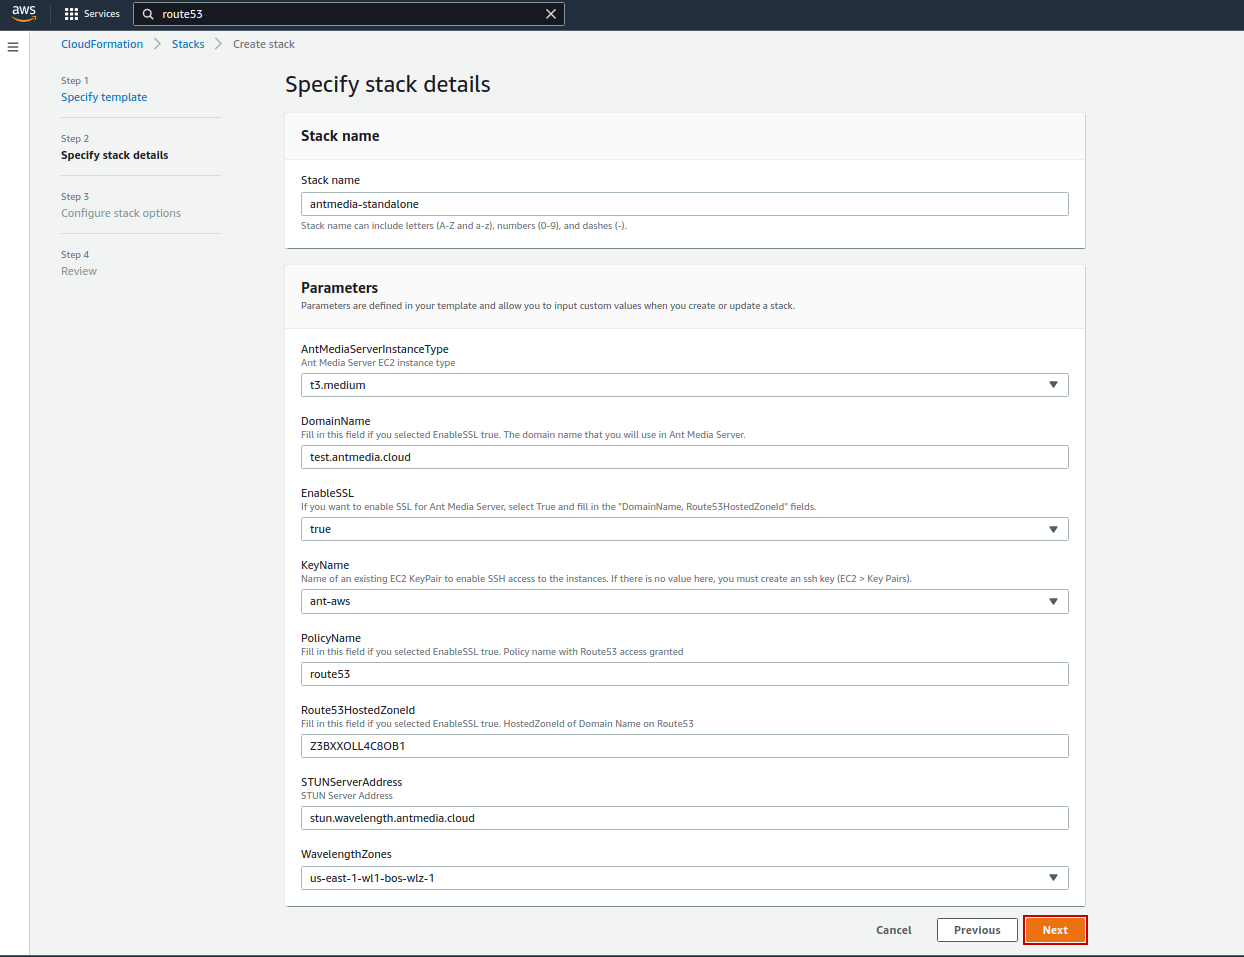
If you do not configure SSL automatically, you should leave these fields (DomainName, Route53HostedZoneId, PolicyName) blank and set **EnableSSL: False** and you can use this link to install SSL later.
Here are the information about fields.
- StackName: it will describe your stacks, it will be like a skeleton. Give any name you want.
- AntMediaServerInstanceType: Choose the Instance Type that Ant Media Server will be deployed
- EnableSSL: If you want to enable SSL for Ant Media Server, select True and fill the "DomainName, Route53HostedZoneId" and "PolicyName" fields.
- DomainName: Fill in this field if you selected
EnableSSLtrue. The domain name that you will use in Ant Media Server. - KeyName: Name of an existing EC2 KeyPair to enable SSH access to the instances. If there is no value here, you must create an ssh key (EC2 >` Key Pairs).
- PolicyName: Fill in this field if you selected EnableSSL true. Policy name with Route53 access granted.
- Route53HostedZoneId: Fill in this field if you selected EnableSSL true. HostedZoneId of Domain Name on Route53
- STUNServerAddress: STUN Server Address. You can use your own Stun Server or provided by Ant Media.
- WavelengthZones: Available Wavelength Zones
3. Click the “Next”
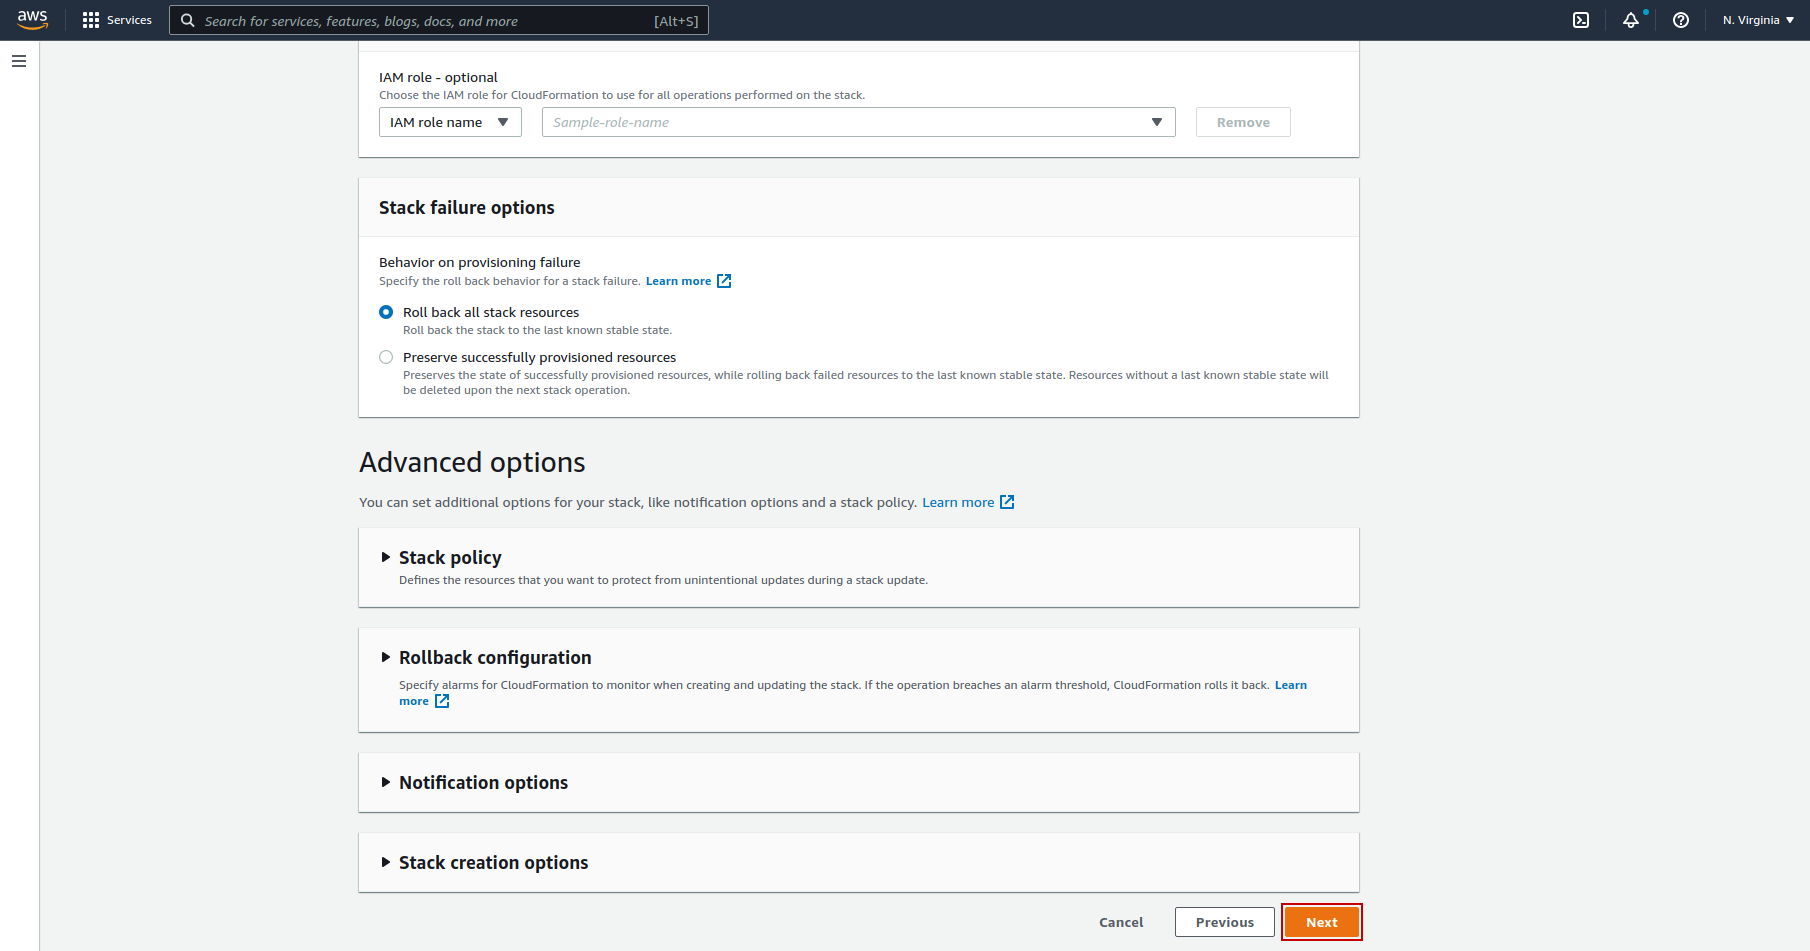
4. Review the Deployment
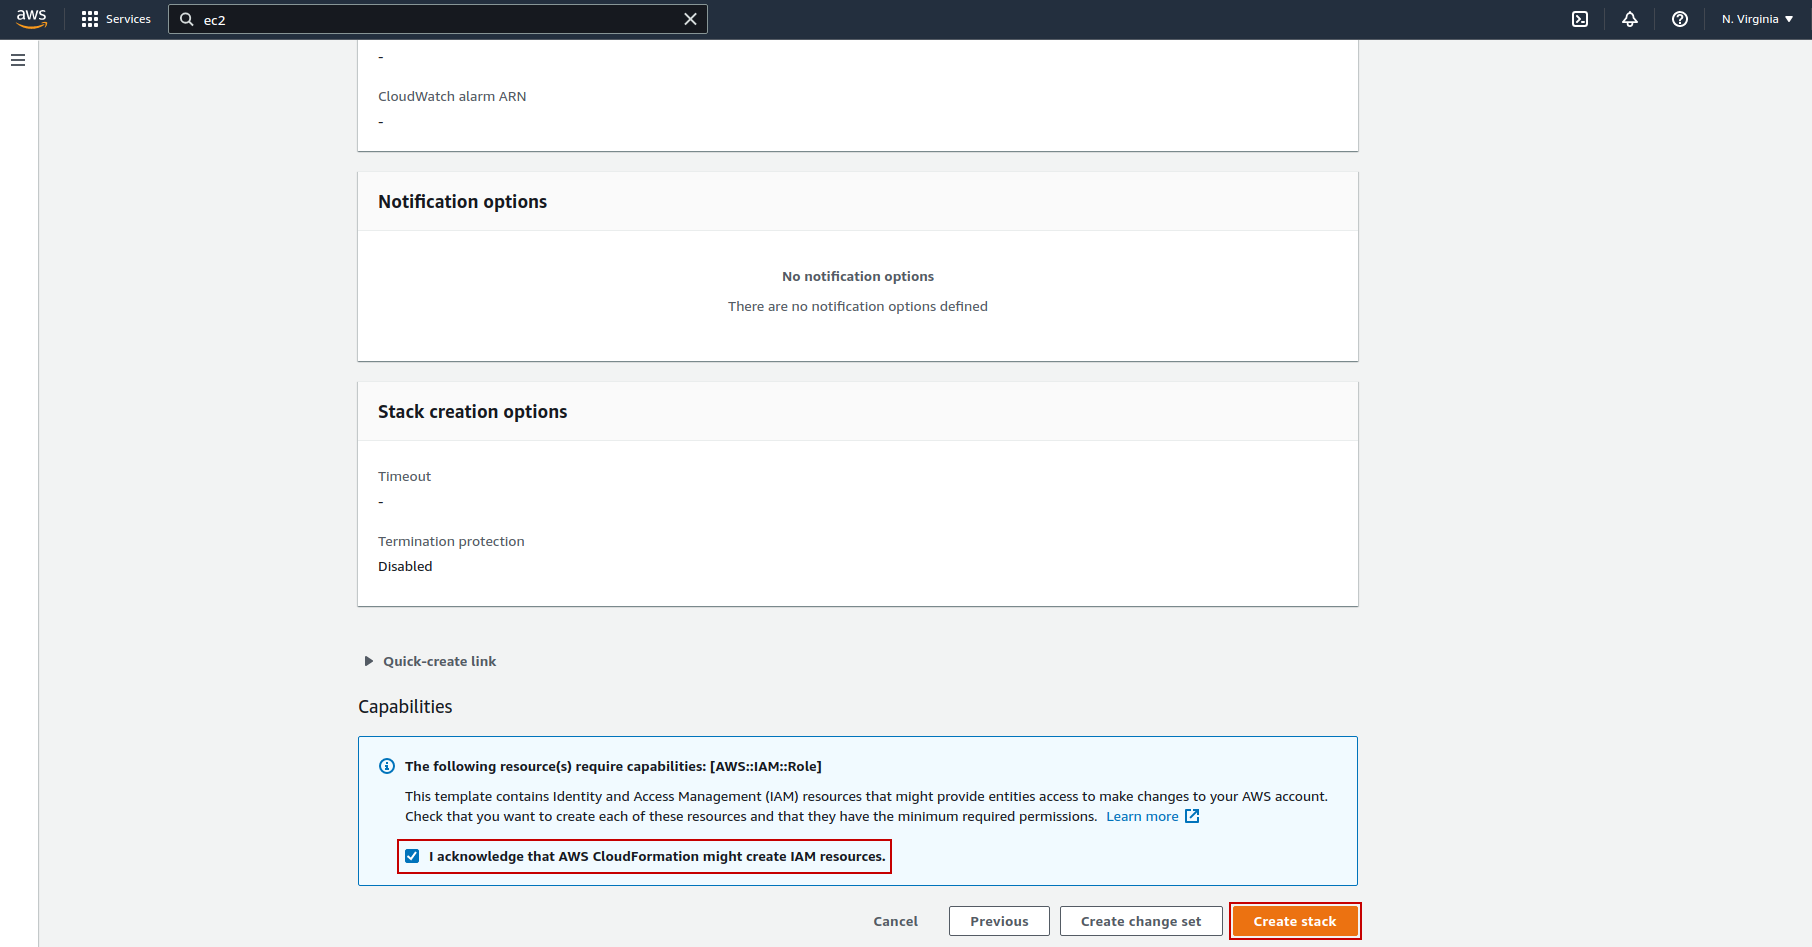
5. Allow IAM permission to get the Latest Ant Media Server AMI from AWS Marketplace
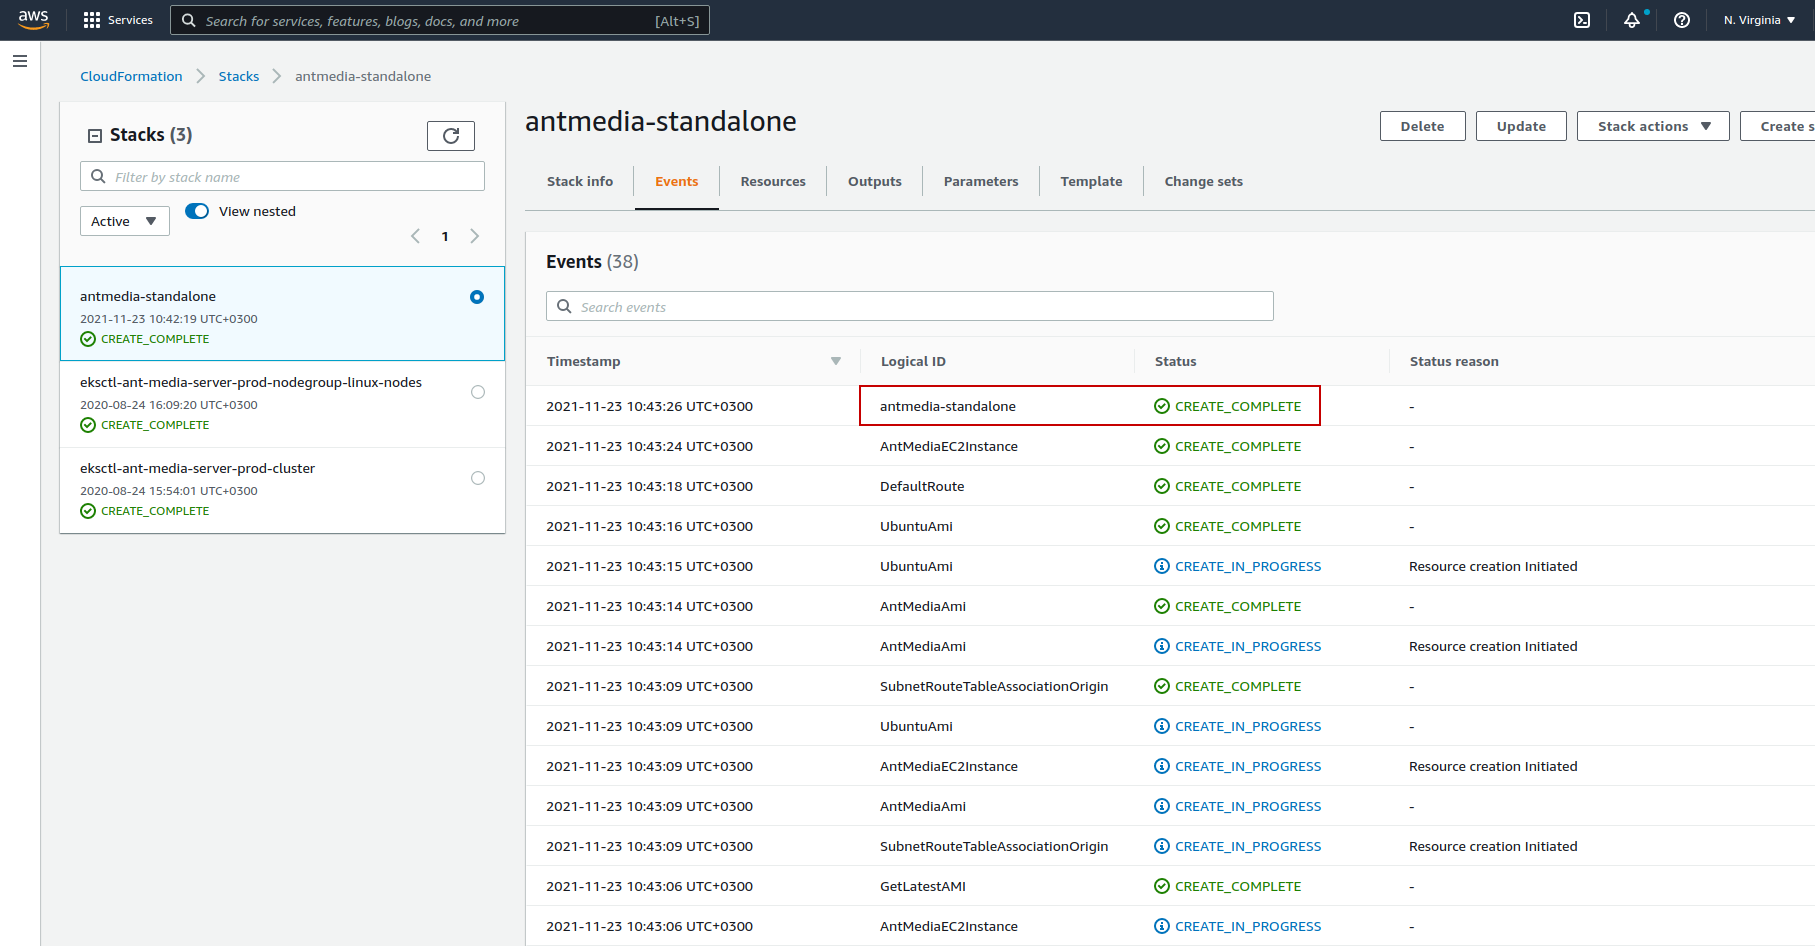
6. Wait to see "Create Complete" message for the cloudformation deployment
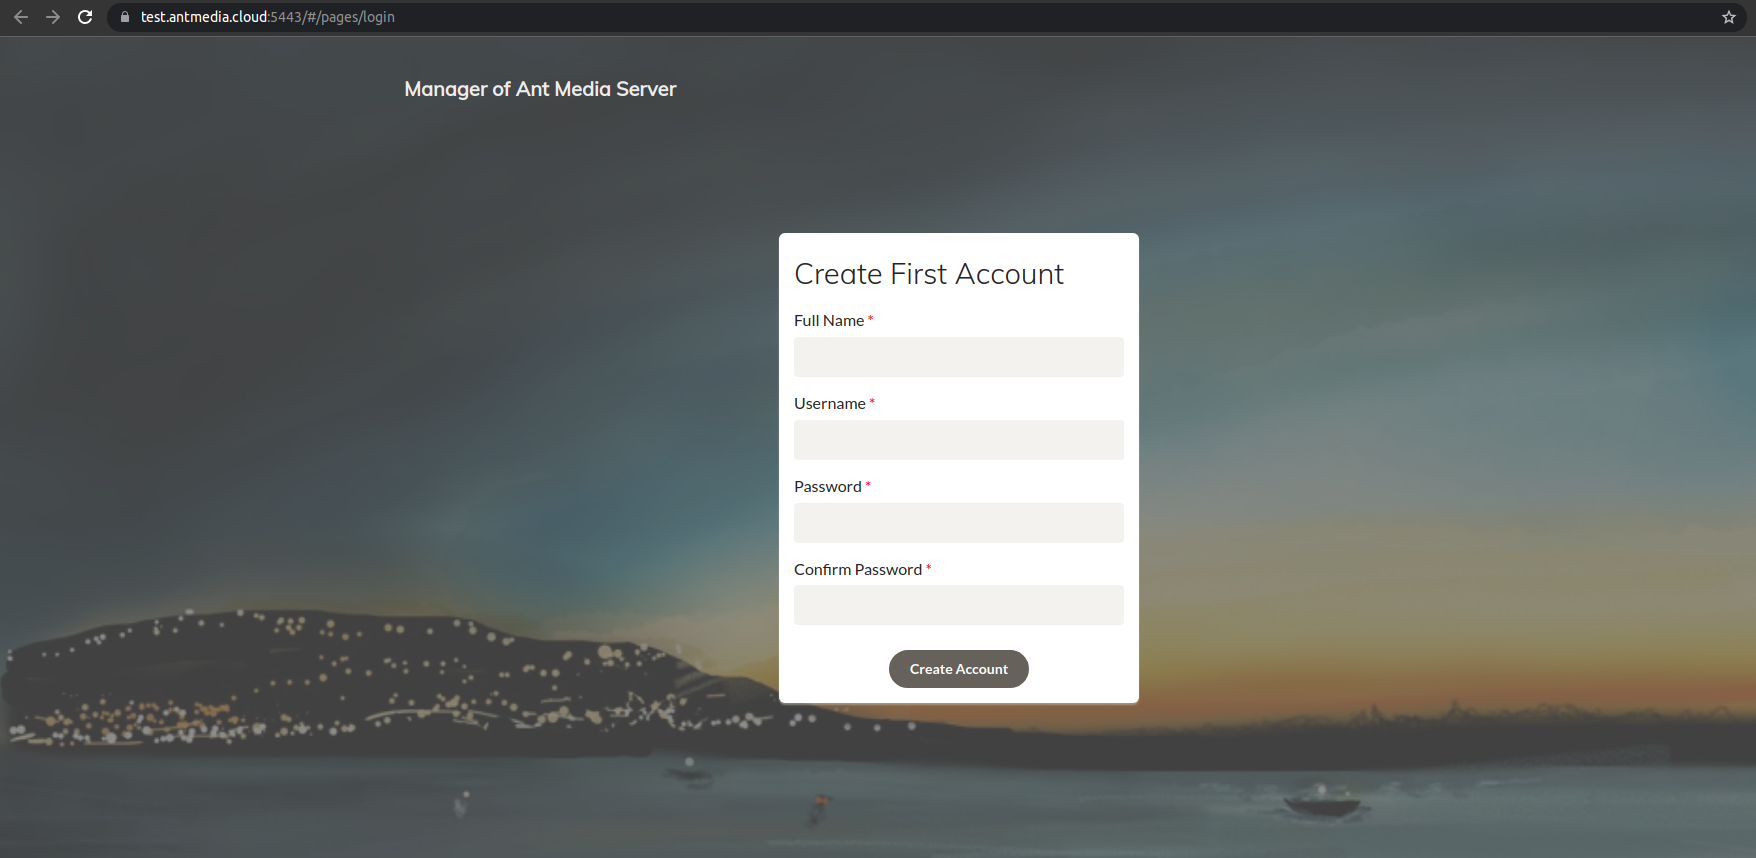
7. Visit the Web panel, create and login to your account
