Play WebRTC Stream
Step 4: Play WebRTC Live Stream in Android
Playing a WebRTC Live Stream in an Android application is easier because we already have everything. The only changes are two lines of code in our WebRTCStreamingActivity class. We should make our SurfaceViewRenderer object a remote video renderer instead of a local one, and we will call play instead of publish. It will look like:
package com.antmedia.mywebrtcstreamingapp;

import android.app.Activity;
import android.os.Bundle;
import io.antmedia.webrtcandroidframework.api.IWebRTCClient;

public class WebRTCStreamingActivity extends Activity {
    @Override
    protected void onCreate(Bundle savedInstanceState) {
        super.onCreate(savedInstanceState);
        setContentView(R.layout.webrtc_streaming);

        IWebRTCClient webRTCClient = IWebRTCClient.builder()
                .setActivity(this)
                //.setLocalVideoRenderer(findViewById(R.id.full_screen_renderer))
                .addRemoteVideoRenderer(findViewById(R.id.full_screen_renderer))
                .setServerUrl("wss://test.antmedia.io:5443/WebRTCAppEE/websocket")
                .build();

        //webRTCClient.publish("stream1");
        webRTCClient.play("stream1");
    }
}
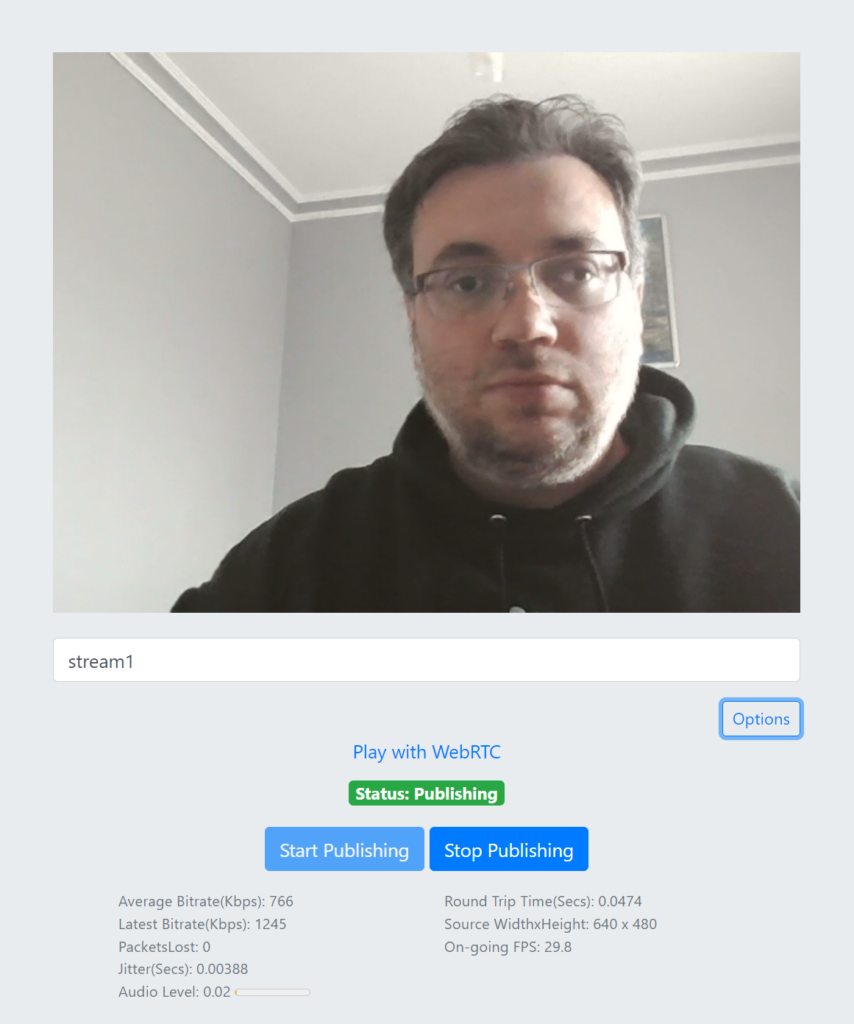
To test our WebRTC Android Play application, we should create a stream first. Visit the WebRTC Publish page and write stream1 in the box and click Start Publishing.

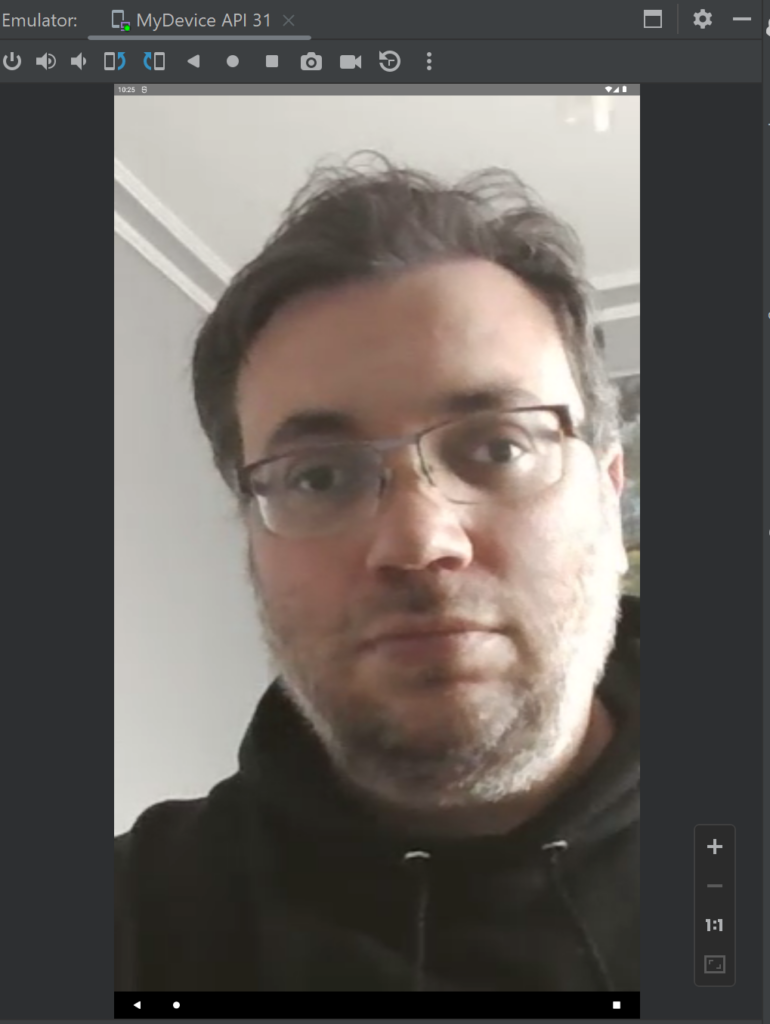
After we see green publishing text, we know there is a WebRTC stream on the server with the stream id stream1. So we can run our WebRTC Android Play application to play that stream.

If you can see your video on your Android device or emulator, you have done so. Otherwise, their might be some issue, and you may always reach us in Github Discussions. Also you can access the source code here for the project we have created in this post.
By following this guide, you have learned how to publish and play WebRTC live streams in your Android application.
If you're eager to explore more features and samples, visit the WebRTC-Android-SDK repository.