Collecting logs from AMS cluster
Graylog is an open source centeralized log collection and analysis software which uses elastic-search and MongoDB in its architecture. This guide will be about Graylog setup, configuration and how to send Ant Media Server logs to it.
If you are using the cluster structure and want to keep track of all logs from one place, this article is for you.
The following example is for Ubuntu with a 4Gb RAM (minimum), however the same setup is also valid for other Linux distributions as well.
Test environment:
Graylog Server: 192.168.1.250 Ant Media Server 1: 192.168.1.251 Ant Media Server 2: 192.168.1.252
Prerequisites
- In order to run Elasticsearch, you must install Java. Run the following commands to install.
    sudo apt-get update
    sudo apt-get install apt-transport-https openjdk-11-jre openjdk-11-jre-headless uuid-runtime pwgen
``
### Step 1: Install MongoDB

- MongoDB stores the configurations and meta information. Install MongoDB using the following commands.
```sh
    sudo apt-get install gnupg
    wget -qO - https://www.mongodb.org/static/pgp/server-4.4.asc | sudo apt-key add -
    echo "deb [ arch=amd64,arm64 ] https://repo.mongodb.org/apt/ubuntu `lsb_release -cs`/mongodb-org/4.4 multiverse" | sudo tee /etc/apt/sources.list.d/mongodb-org-4.4.list
    sudo apt-get update && sudo apt-get install -y mongodb-org
- Enable and restart MongoDB service by running the commands below.
sudo systemctl enable mongod.service & sudo systemctl restart mongod.service
- Make sure the service is running:
sudo systemctl status mongod.service
Step 2: Install Elasticsearch
Graylog can be used with Elasticsearch 7.x. Elasticsearch acts as a search server, requiring Graylog to work.
Install Elasticsearch using the following commands.
    wget -O - https://artifacts.elastic.co/GPG-KEY-elasticsearch | sudo apt-key add
    echo "deb https://artifacts.elastic.co/packages/oss-7.x/apt stable main" | sudo tee -a /etc/apt/sources.list.d/elastic-7.x.list
    sudo apt-get update && sudo apt-get install elasticsearch-oss
Once the installation of Elasticsearch 7.x is complete, set the cluster name for Graylog.
Edit the following file:
vim /etc/elasticsearch/elasticsearch.yml
and then add the 2 lines below.
    cluster.name: graylog
    action.auto_create_index: false
Save the file and exit.
Enable and restart Elasticsearch service by running the commands below:
    sudo systemctl enable elasticsearch.service
    sudo systemctl restart elasticsearch.service
Make sure the service is running. To check the status of Elasticsearch, run the command below:
sudo systemctl status elasticsearch.service
Make sure everything is correct by running the following command:
curl -X GET http://localhost:9200
Output:
    root@graylog:~# curl -X GET http://localhost:9200
    {
      "name" : "cdN0aJ1",
      "cluster_name" : "graylog",
      "cluster_uuid" : "hyWsngLVRqq_IWU1cr75AA",
      "version" : {
        "number" : "6.8.13",
        "build_flavor" : "oss",
        "build_type" : "deb",
        "build_hash" : "be13c69",
        "build_date" : "2020-10-16T09:09:46.555371Z",
        "build_snapshot" : false,
        "lucene_version" : "7.7.3",
        "minimum_wire_compatibility_version" : "5.6.0",
        "minimum_index_compatibility_version" : "5.0.0"
      },
      "tagline" : "You Know, for Search"
    }
Make sure the output status is green.
    curl -XGET 'http://localhost:9200/_cluster/health?pretty=true'

    {
      "cluster_name" : "graylog",
      "status" : "green",
      "timed_out" : false,
      "number_of_nodes" : 1,
      "number_of_data_nodes" : 1,
      "active_primary_shards" : 12,
      "active_shards" : 12,
      "relocating_shards" : 0,
      "initializing_shards" : 0,
      "unassigned_shards" : 0,
      "delayed_unassigned_shards" : 0,
      "number_of_pending_tasks" : 0,
      "number_of_in_flight_fetch" : 0,
      "task_max_waiting_in_queue_millis" : 0,
      "active_shards_percent_as_number" : 100.0
    }
Step 3: Install Graylog
Graylog is a log parser. It collects logs from various inputs. Now that we have installed MongoDB and Elasticsearch, it is time to install Graylog.
Install Graylog using the following commands:
    wget https://packages.graylog2.org/repo/packages/graylog-4.3-repository_latest.deb
    sudo dpkg -i graylog-4.3-repository_latest.deb
    sudo apt-get update && sudo apt-get install graylog-server -y
To create your root_password_sha2 run the following command. You will need this password to login to the Graylog web interface.
echo -n "Enter Password: " && head -1 `</dev/stdin | tr -d '\n' | sha256sum | cut -d" " -f1
Output: 8d969eef6ecad3c29a3a629280e686cf0c3f5d5a86aff3ca12020c923adc6c92
You will need to generate a secret to secure the user passwords. To generate the password_secret, you can use the pwgen tool to do.
pwgen -N 1 -s 96
Output: jyOQ188lAq1ssEMvCndsj2ImEOuWkC4v3aL4AQg9Dj4wvavkk3BAkSzMXFyH8aN8GiMoIJl2xmT4T5aGwS1r06Cz38SMsgDK
Edit the /etc/graylog/server/server.conf file then add root_password_sha2 and password_secret outputs.
    password_secret = jyOQ188lAq1ssEMvCndsj2ImEOuWkC4v3aL4AQg9Dj4wvavkk3BAkSzMXFyH8aN8GiMoIJl2xmT4T5aGwS1r06Cz38SMsgDK
    root_password_sha2 = 8d969eef6ecad3c29a3a629280e686cf0c3f5d5a86aff3ca12020c923adc6c92
If you don't want to use reverse proxy with SSL termination, uncomment the following line then change according to your server ip address.
http_bind_address = 127.0.0.1:9000`
to
http_bind_address = your_server_public_ip:9000
` If you want to use the reverse proxy with SSL termination, please go to this step.
Save the file and exit.
Enable and restart Graylog Server service by running the commands below.
    sudo systemctl enable graylog-server.service
    sudo systemctl restart graylog-server.service
Make sure the service is running.
sudo systemctl status graylog-server.service
Optional: Configuring Nginx reverse proxy with SSL termination
Run the following commands to install Nginx and certbot:
    sudo apt install curl ca-certificates lsb-release -y
    echo "deb http://nginx.org/packages/`lsb_release -d | awk '{print $2}' | tr '[:upper:]' '[:lower:]'` `lsb_release -cs` nginx" \
        | sudo tee /etc/apt/sources.list.d/nginx.list
    curl -fsSL https://nginx.org/keys/nginx_signing.key | sudo apt-key add -
    sudo apt-get update
    sudo apt-get install nginx certbot python-certbot-nginx -y
Run the following commands to create a certificate:
certbot --nginx -d yourdomain.com -d www.yourdomain.com
Edit crontab file crontab -e add below line to renew certificate each 80 days:
0 0 */80 * * root certbot -q renew --nginx
Backup default Nginx configuration.
mv /etc/nginx/conf.d/default.conf{,_bck}
Create a new file called graylog.conf and edit and save the following lines according to you.
    vim /etc/nginx/conf.d/graylog.conf

    server {
    	listen 443 ssl;
            server_name yourdomain.com;
    	ssl_certificate /etc/letsencrypt/live/yourdomain.com/fullchain.pem;
            ssl_certificate_key /etc/letsencrypt/live/yourdomain.com/privkey.pem;
            ssl_session_cache shared:le_nginx_SSL:1m;
    	ssl_session_timeout 1440m;
    	ssl_protocols TLSv1.2;
    	ssl_prefer_server_ciphers on;
    	ssl_ciphers "EECDH+ECDSA+AESGCM EECDH+aRSA+AESGCM EECDH+ECDSA+SHA384 EECDH+ECDSA+SHA256 EECDH+aRSA+SHA384 EECDH+aRSA+SHA256 EECDH+aRSA+RC4 EECDH EDH+aRSA HIGH !RC4 !aNULL !eNULL !LOW !3DES !MD5 !EXP !PSK !SRP !DSS";
           ssl_dhparam /etc/letsencrypt/ssl-dhparams.pem;
           add_header X-Frame-Options "SAMEORIGIN";
           add_header X-XSS-Protection "1; mode=block";
           location / {
                    proxy_set_header HOST $host;
                    proxy_set_header X-Forwarded-Proto $scheme;
                    proxy_set_header X-Real-IP $remote_addr;
                    proxy_set_header X-Forwarded-For $proxy_add_x_forwarded_for;
                    proxy_pass http://127.0.0.1:9000;
                }
    }
Save and exit the file then restart nginx service as follows:
systemctl restart nginx
Now you can reach to Graylog server as follows.
https://yourdomain.com
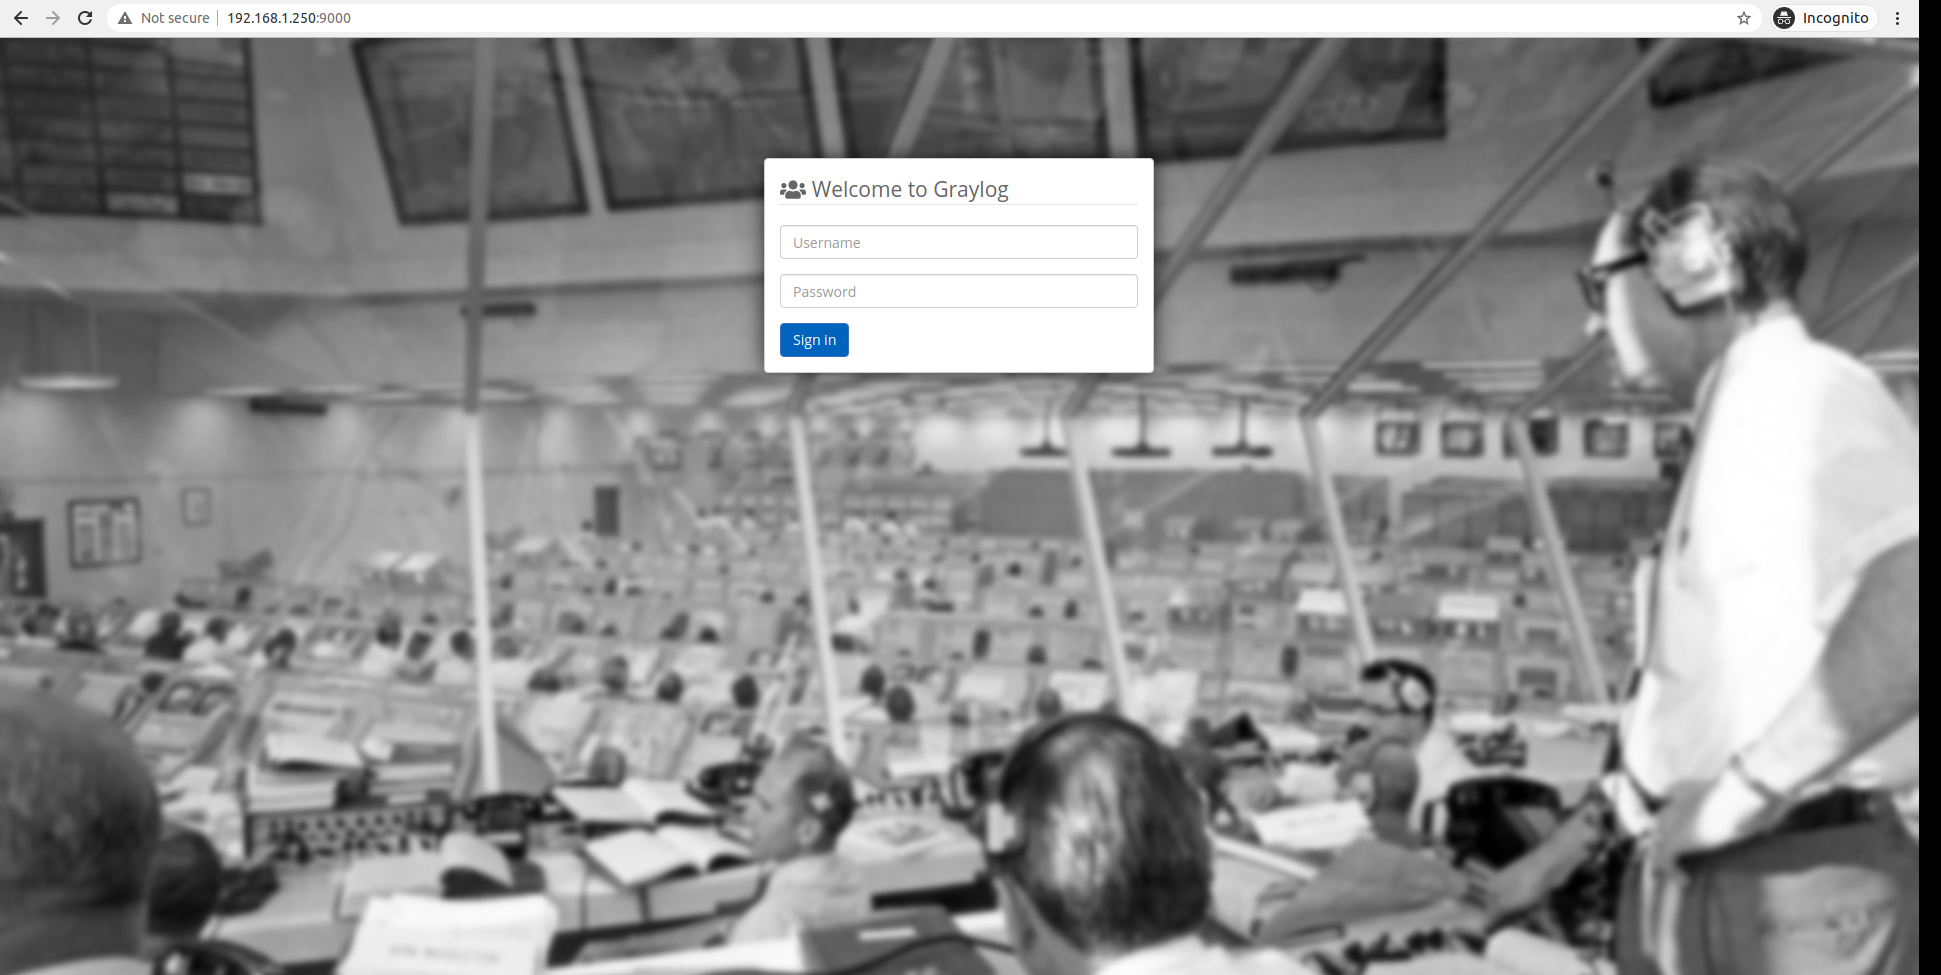
Step 4: Access Graylog web interface
Access Graylog web interface using its IP Address and port 9000
http://serverip_or_hostname:9000
or
https://yourdomain.com
Step 5: AMS log settings for Graylog
Login to your servers where Ant Media is installed with ssh and create /etc/rsyslog.d/25-antmedia.conf file then add the below lines:
    $ModLoad imfile
    $InputFileName /usr/local/antmedia/log/ant-media-server.log
    $InputFileTag antmedia
    $InputFileStateFile stat-antmedia
    $InputRunFileMonitor
    *.* @192.168.1.250:5144;RSYSLOG_SyslogProtocol23Format
Save and exit the file then restart rsyslog service.
sytemctl restart rsyslog
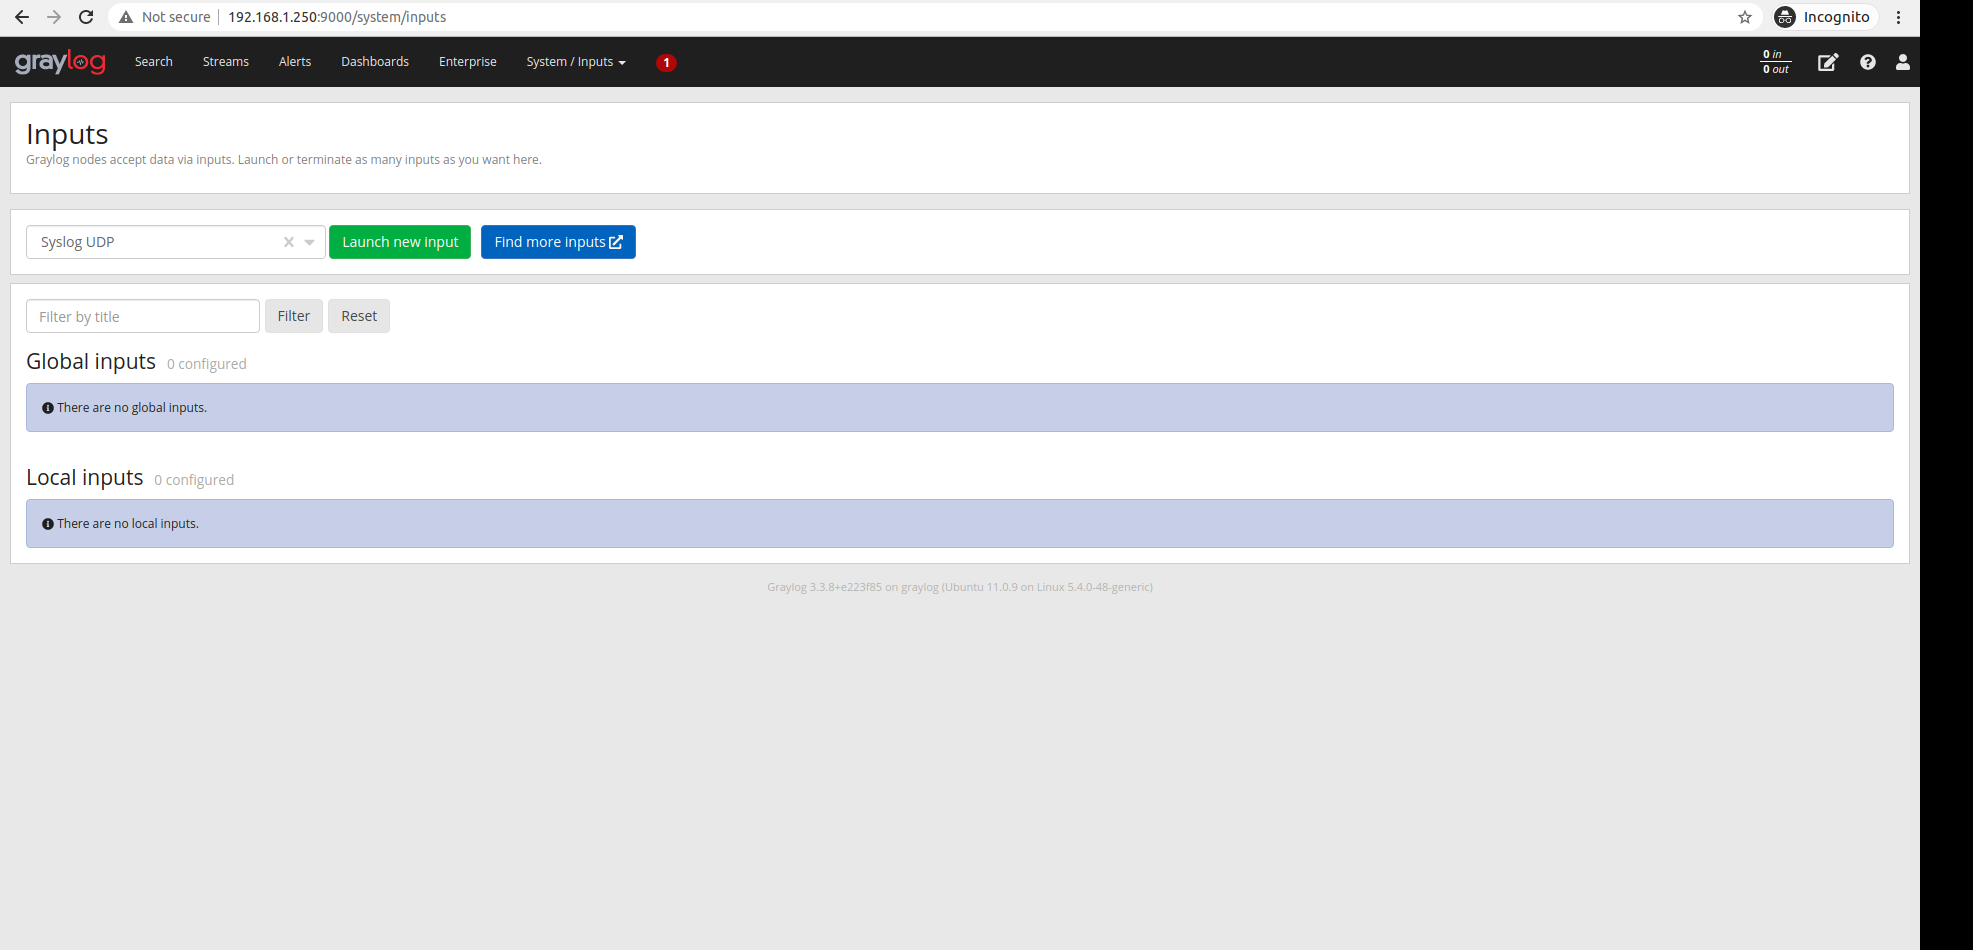
Step 6: Configuring Graylog
Open the dashboard and log in.
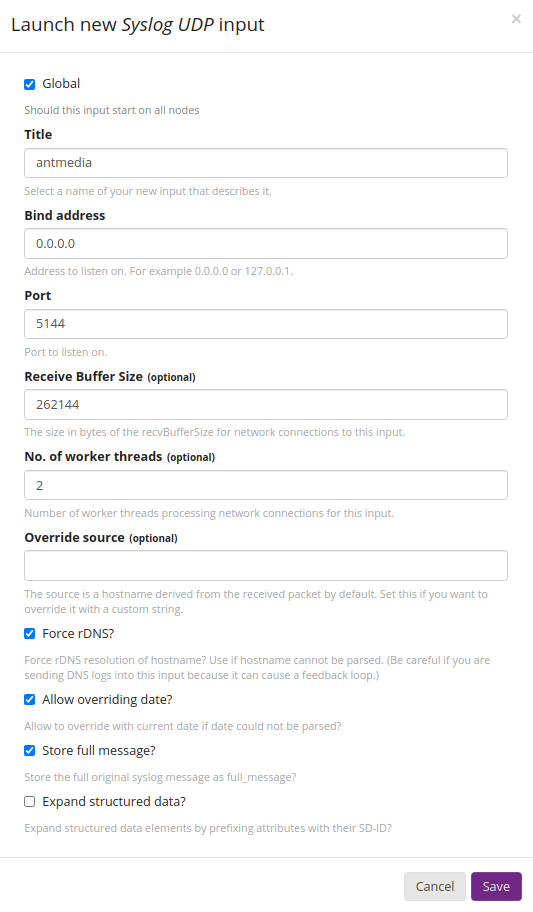
Click on Systems - Inputs and select Syslog UDP and click on Launch New Input.
Set the settings as in the screenshot and click Save.
Your input will appear as below.
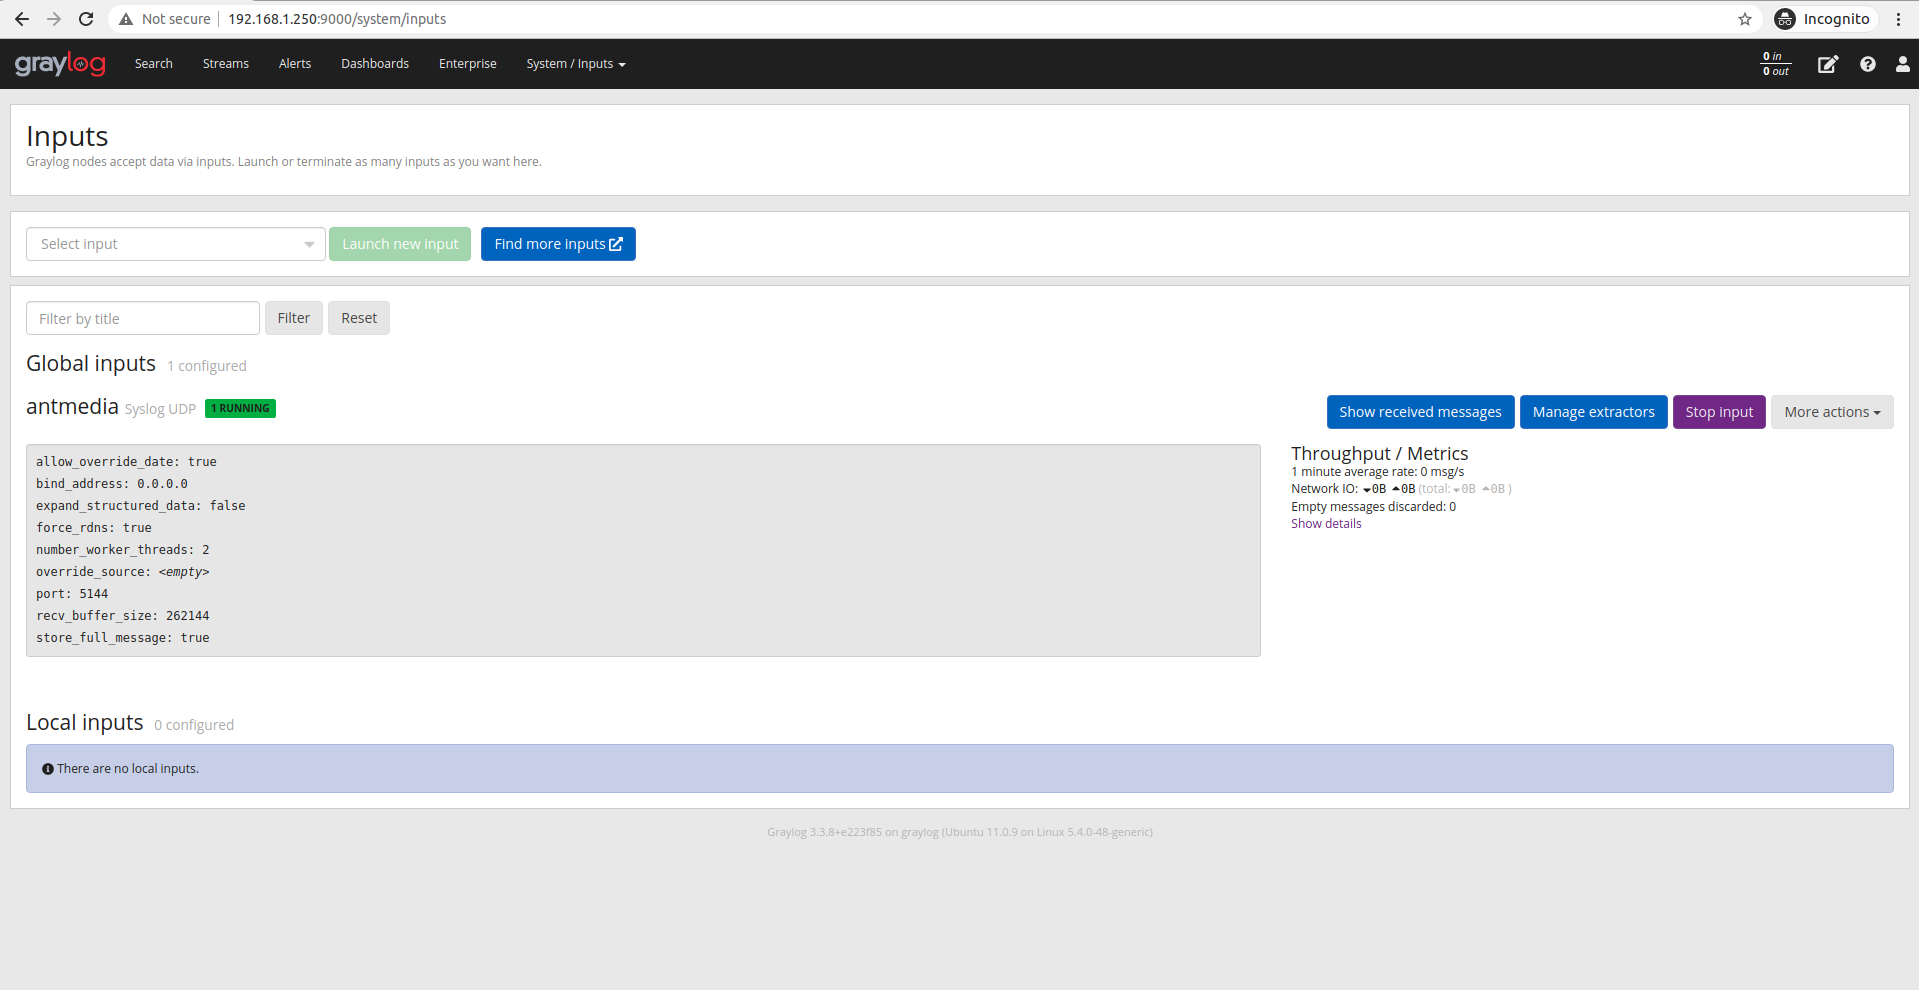
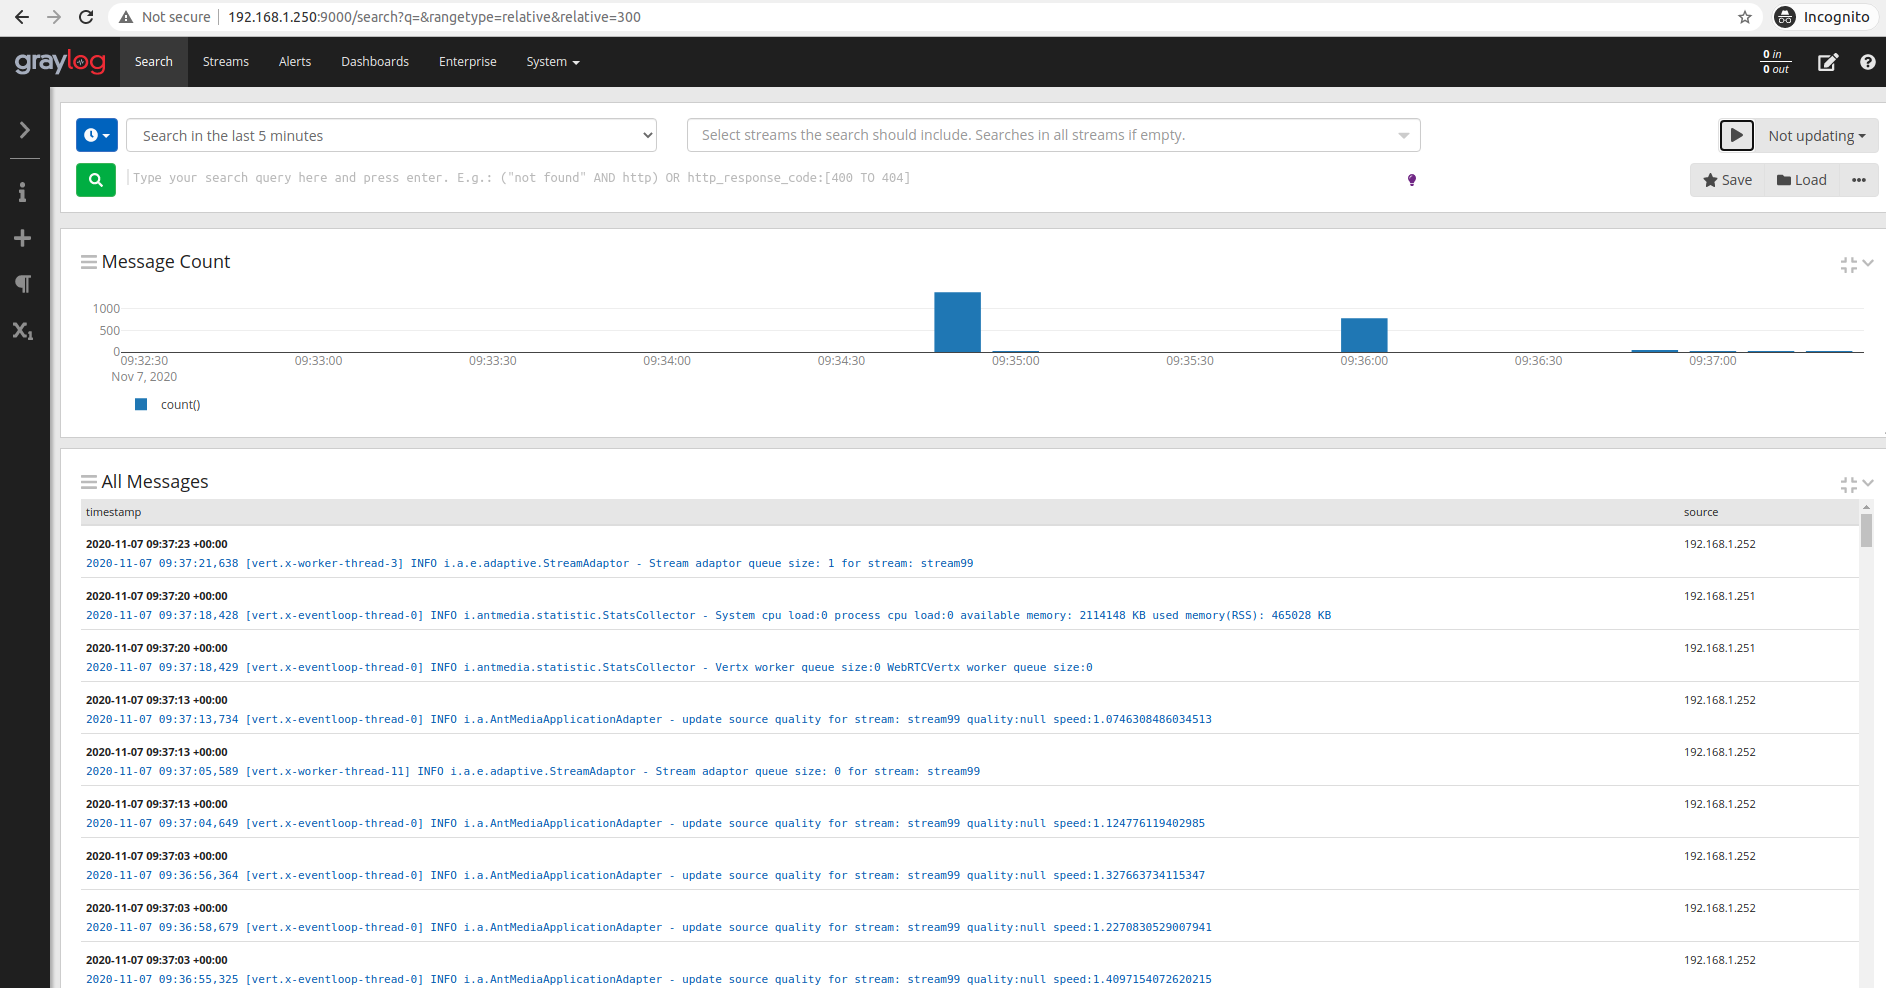
If you have made the correct log settings on Ant Media servers, the logs as below will start to appear.
Search query examples:
"stream1" (stream1 OR stream2) "stream1" AND NOT source:192.168.1.251 source:192.168.1.252 "stream*" NOT source:192.168.1.2