Get ready to simplify the installation of the Ant Media Server on Google Kubernetes Engine (GKE).
In this guide, we’ll walk you through each step, making the process easy to follow. With the help of Helm, we’ll streamline the deployment, ensuring a hassle-free setup. So let’s dive in and make deploying Ant Media Server on GKE a breeze!
Prerequisites
Before diving in, ensure you have the following tools ready:
Creating Your Google Kubernetes Engine Cluster
Let’s kick off by setting up a Google Kubernetes Engine cluster.
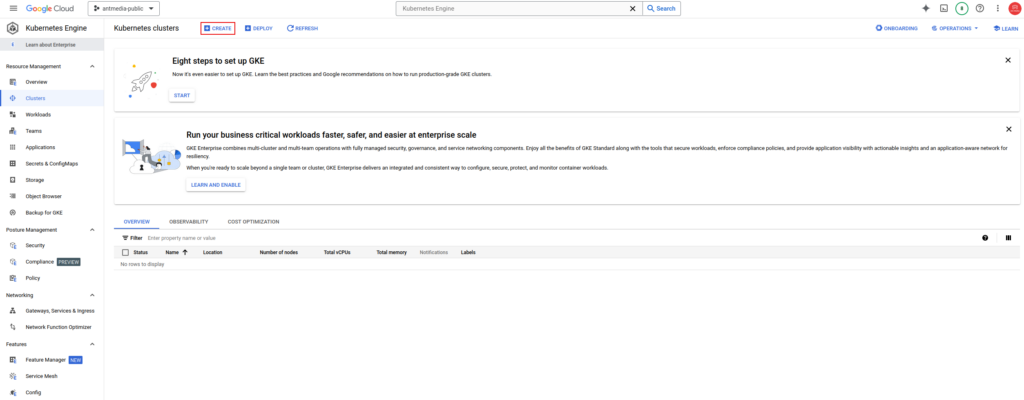
- Navigate to your Google Cloud console.
- Activate the Kubernetes Engine service if not active already, then click the Create button.
- Navigate to Kubernetes Engine and select SWITCH TO STANDARD CLUSTER.
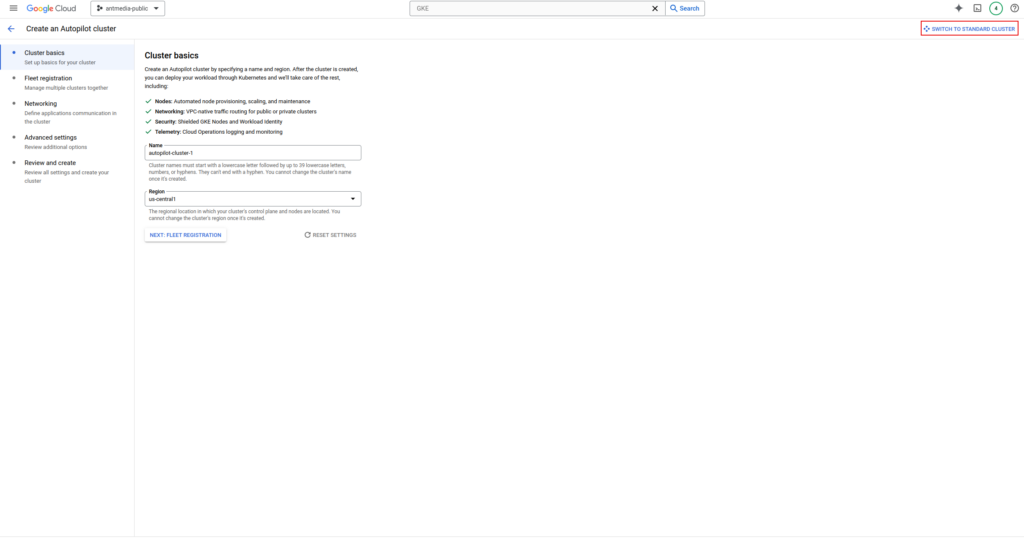
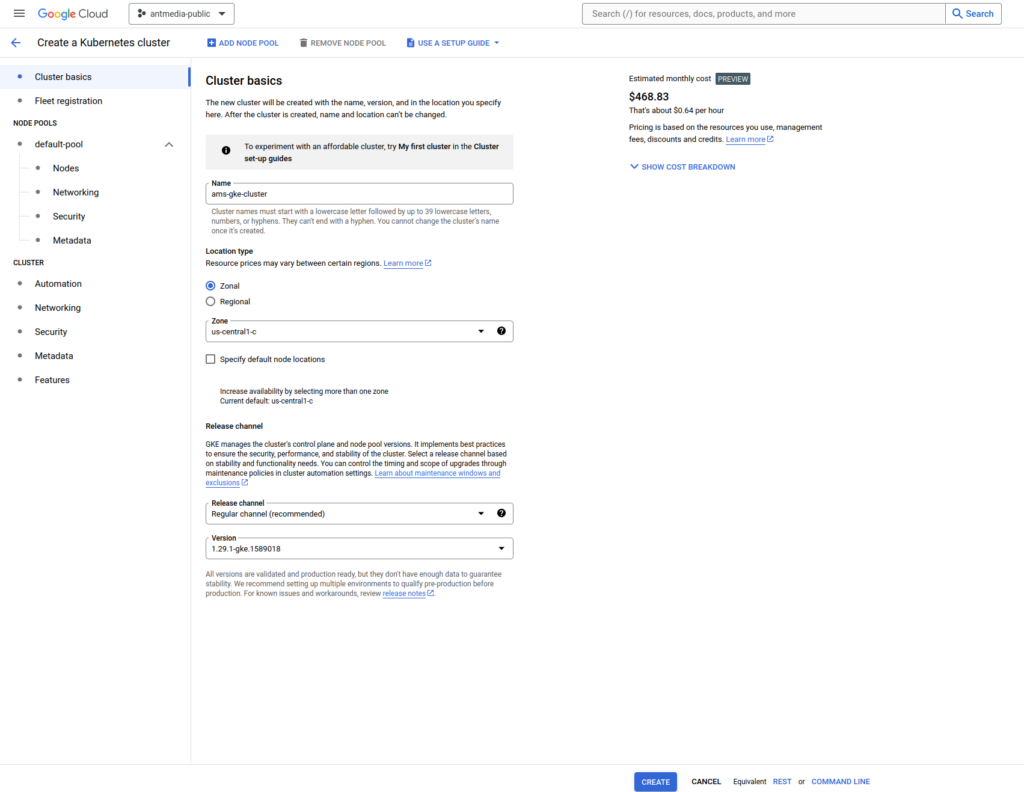
- Configure cluster details such as Zone, Name, and Kubernetes version, then proceed to the Nodes tab.
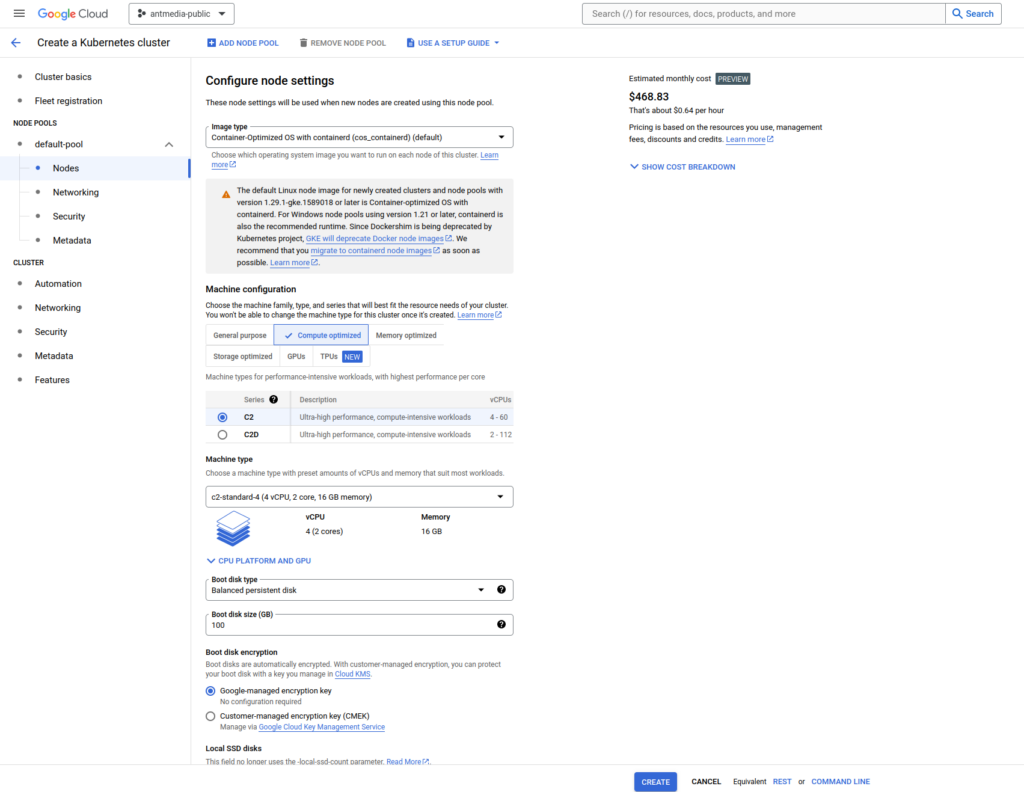
- Choose a compute-optimized instance type like the c2-standard-4 node type.
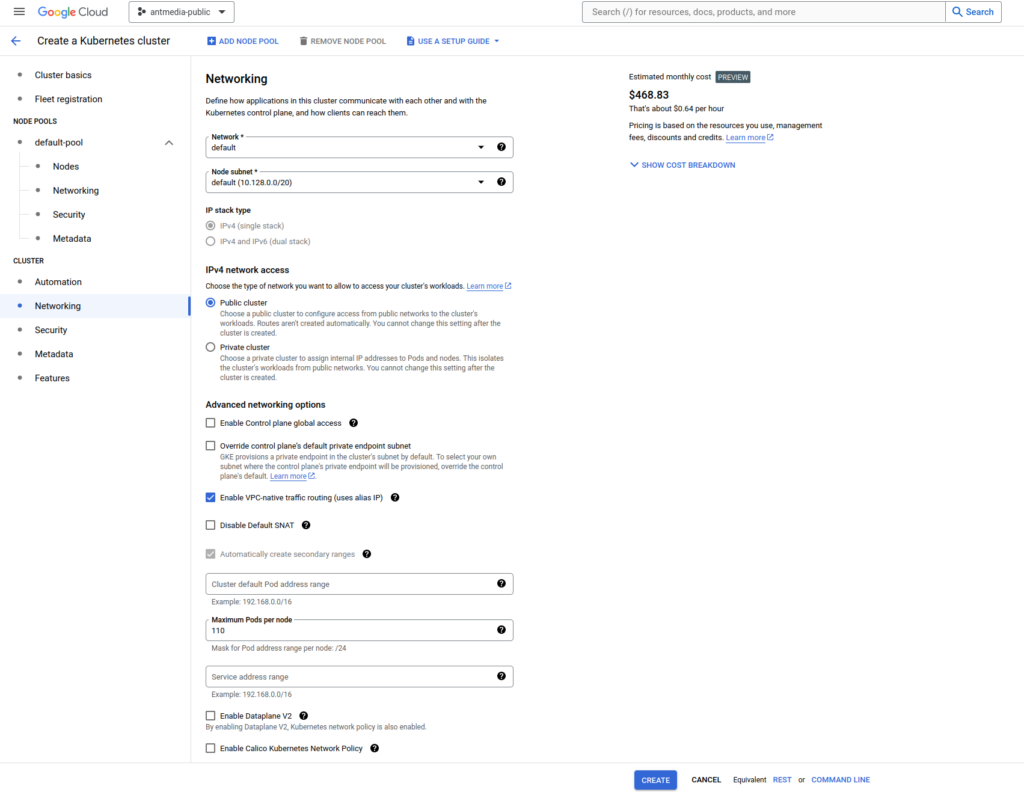
- Ensure the Public Cluster is selected in the Networking tab, adjust other settings as needed, and click Create to complete the cluster setup.
Connecting to Your Google Kubernetes Engine Cluster
Now that the cluster is up, let’s establish a connection using the Google SDK.
Run the following command:
gcloud container clusters get-credentials YOUR_CLUSTER_NAME --zone YOUR_ZONE --project YOUR_PROJECT_ID
Replace placeholders with your actual cluster name, zone, and project ID. For example:
gcloud container clusters get-credentials ams-gke-cluster --zone us-central1-c --project antmedia-public-385620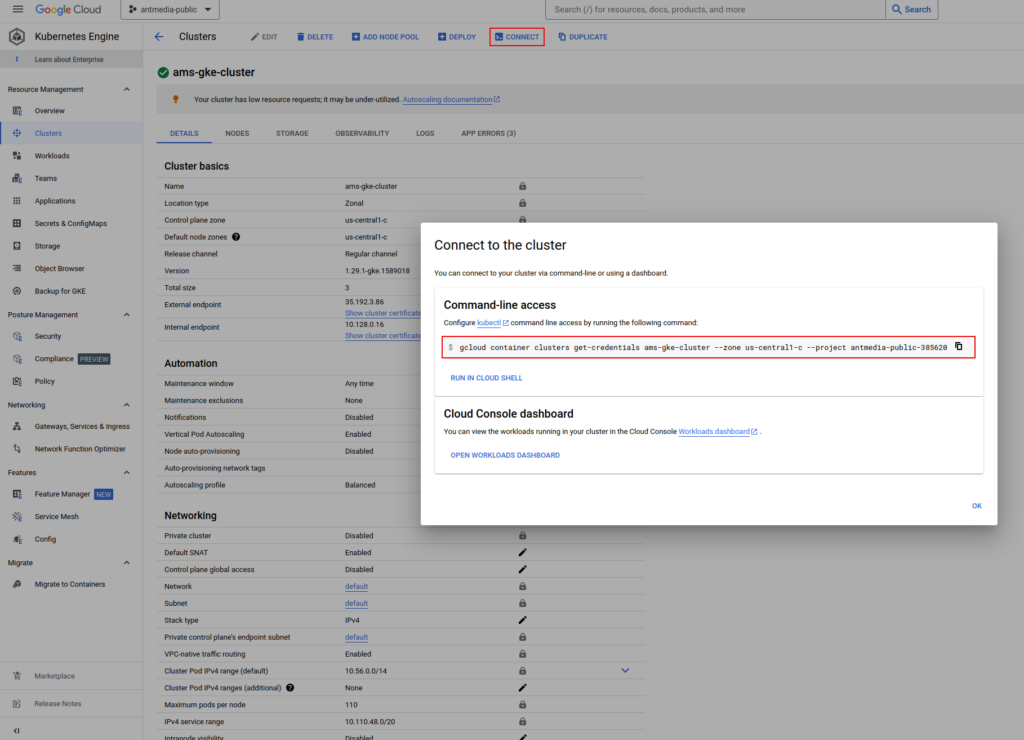
Note: Check these instructions to learn more about how to connect to your Google Kubernetes Engine cluster.
Installing Ant Media Server Cluster
Now that the Kubernetes cluster is created, it’s time to deploy the Ant Media Server onto our GKE cluster, effortlessly using Helm.
- Add the Ant Media repository to Helm:
helm repo add antmedia https://ant-media.github.io/helm
helm repo update- Set up your cluster using Helm, specifying the required parameters:
helm install antmedia antmedia/antmedia \
--set origin={origin}.{example.com} \
--set edge={edge}.{example.com} \
--set UseGlobalIP=false \
--set licenseKey="YOUR_LICENSE_KEY" \
--namespace antmedia \
--create-namespaceNote: For other parameters please visit here.
If successful, you’ll see the public IP address/domain name in the output of kubectl get ingress command.

- After DNS registration, you can enable SSL and access your Ant Media Server GKE cluster.
Congratulations! You’ve successfully deployed the Ant Media Server cluster on the Google Kubernetes Engine using Helm. Now, you’re ready to publish and play!
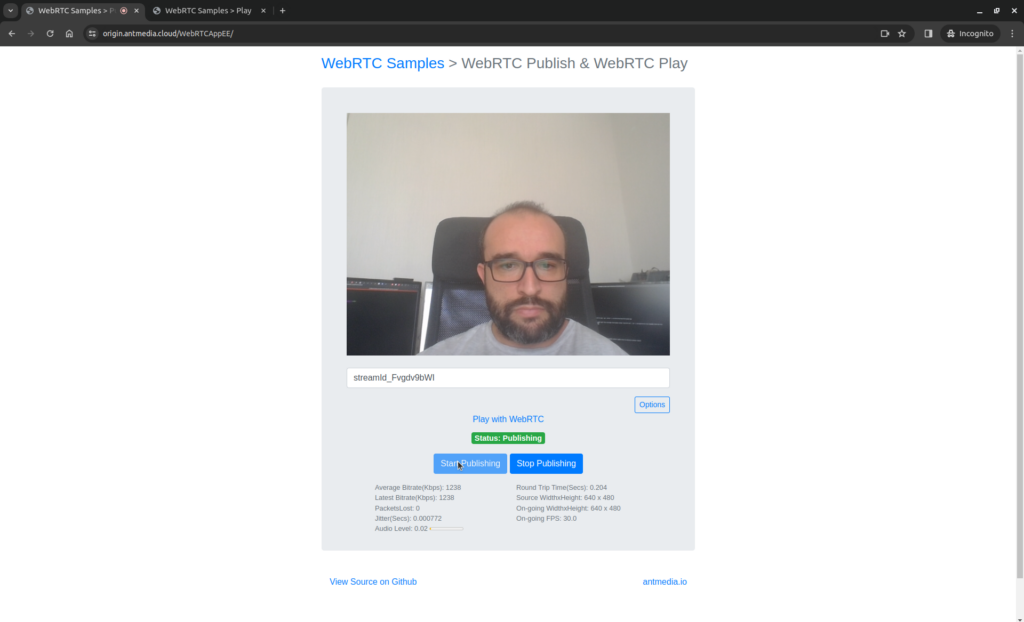
WebRTC Publish and Play
Now, that your AMS is deployed and ready, let’s publish a WebRTC stream following the Publish Live Stream instructions using the sample page.
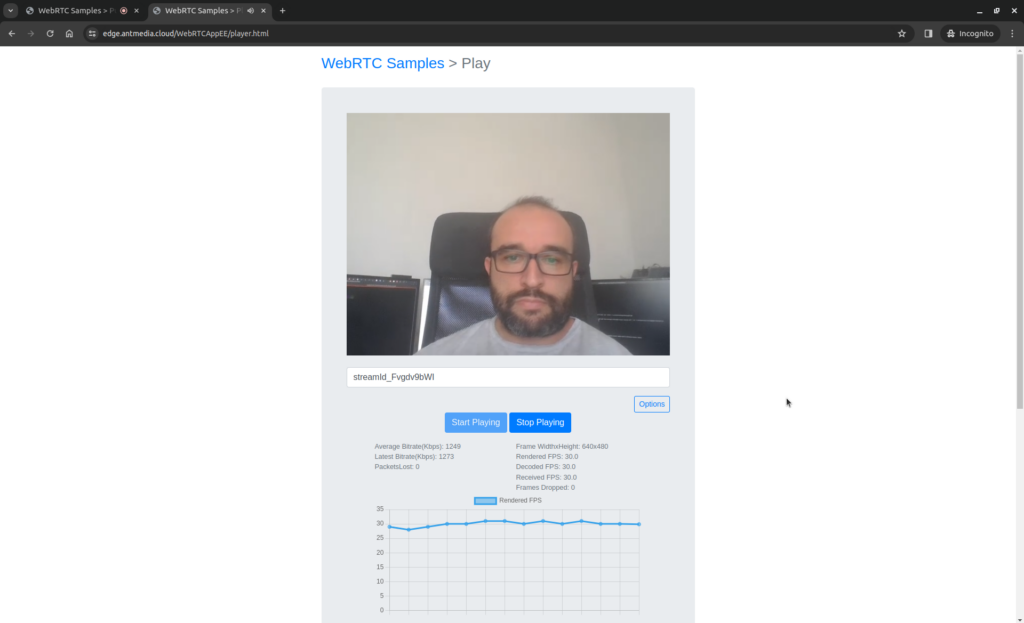
Now that your WebRTC stream is publishing, let’s play the stream 🙂
Conclusion
In this guide, we’ve elucidated the process of configuring a Google Kubernetes Engine cluster and learned how to install the Ant Media Server using Helm chart. By following these steps, you can ensure efficient content delivery to your audience, enhancing your real-time streaming experience with the power of GKE and AMS.
If you have questions or need any support, contact us via a form or schedule a meeting to have a coffee and chat, or write directly to contact@antmedia.io so that we can democratize live streaming together.
Cheers
Mohit