iOS Screen Share using Broadcast Extension
Screen Sharing in iOS
Screen sharing functionality allows users to broadcast their device screens in real-time, enabling various use cases like remote collaboration, live presentations, and interactive streaming. Through this document, you will leverage the power of the Ant Media Server’s iOS SDK and WebRTC to build an iOS application capable of seamless screen sharing with minimal effort.
To begin, it is first needed to create a project and include the necessary dependencies. These steps mirror those documented for publishing and playing.
Step 1: Creating an iOS app project in Xcode
Step 2: Adding the WebRTC-iOS-SDK dependency
Step 3: Implementing Screen Sharing
-
Add a new Target.
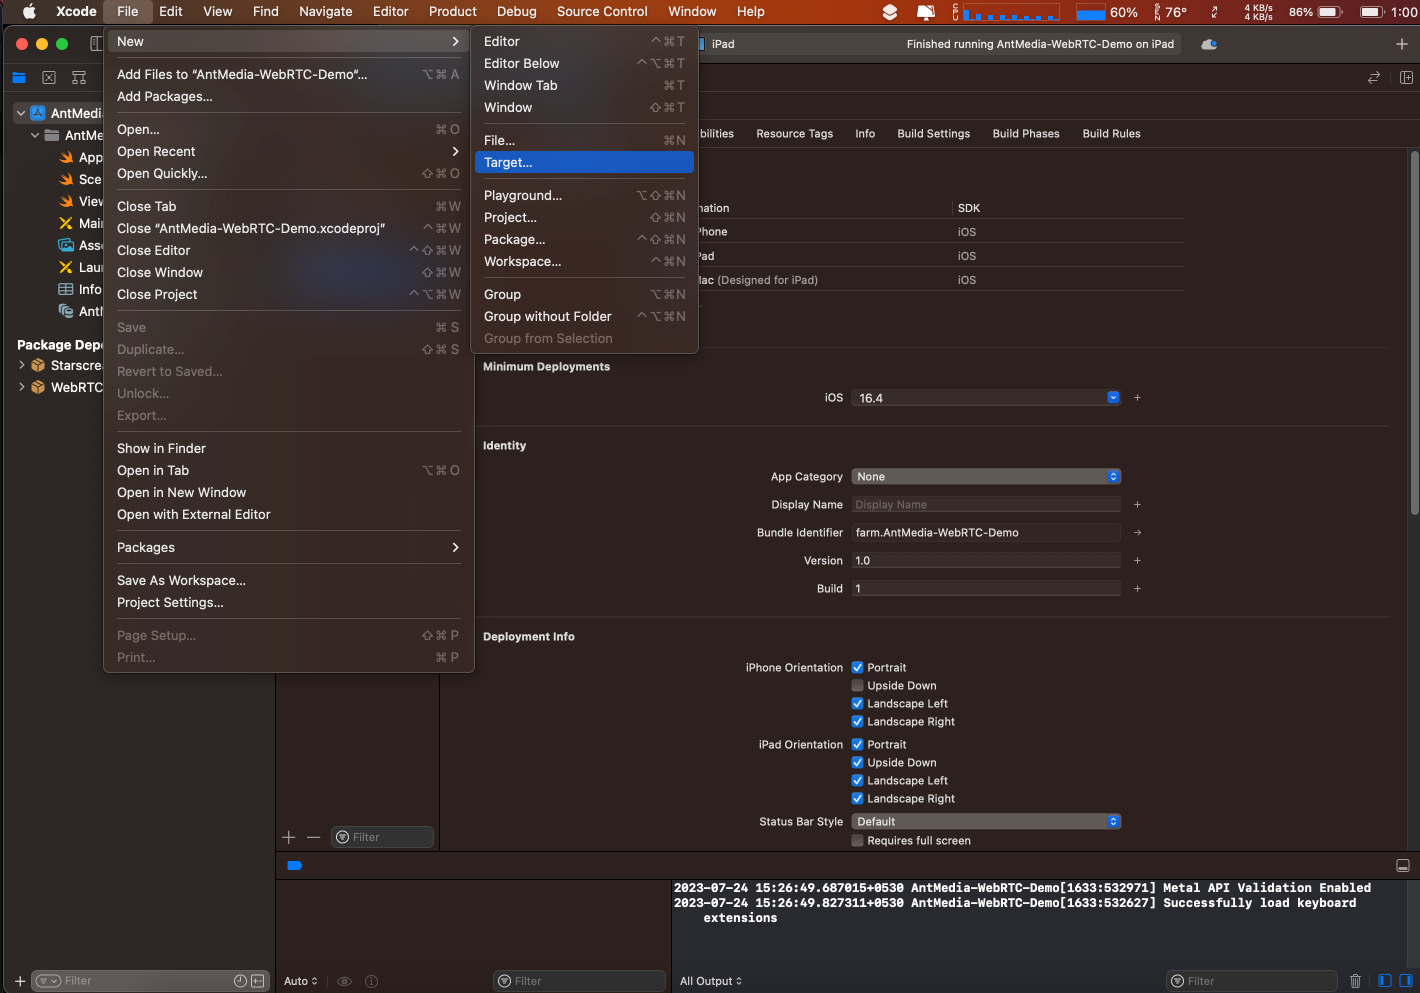
-
Choose Broadcast Upload Extension and click Next.

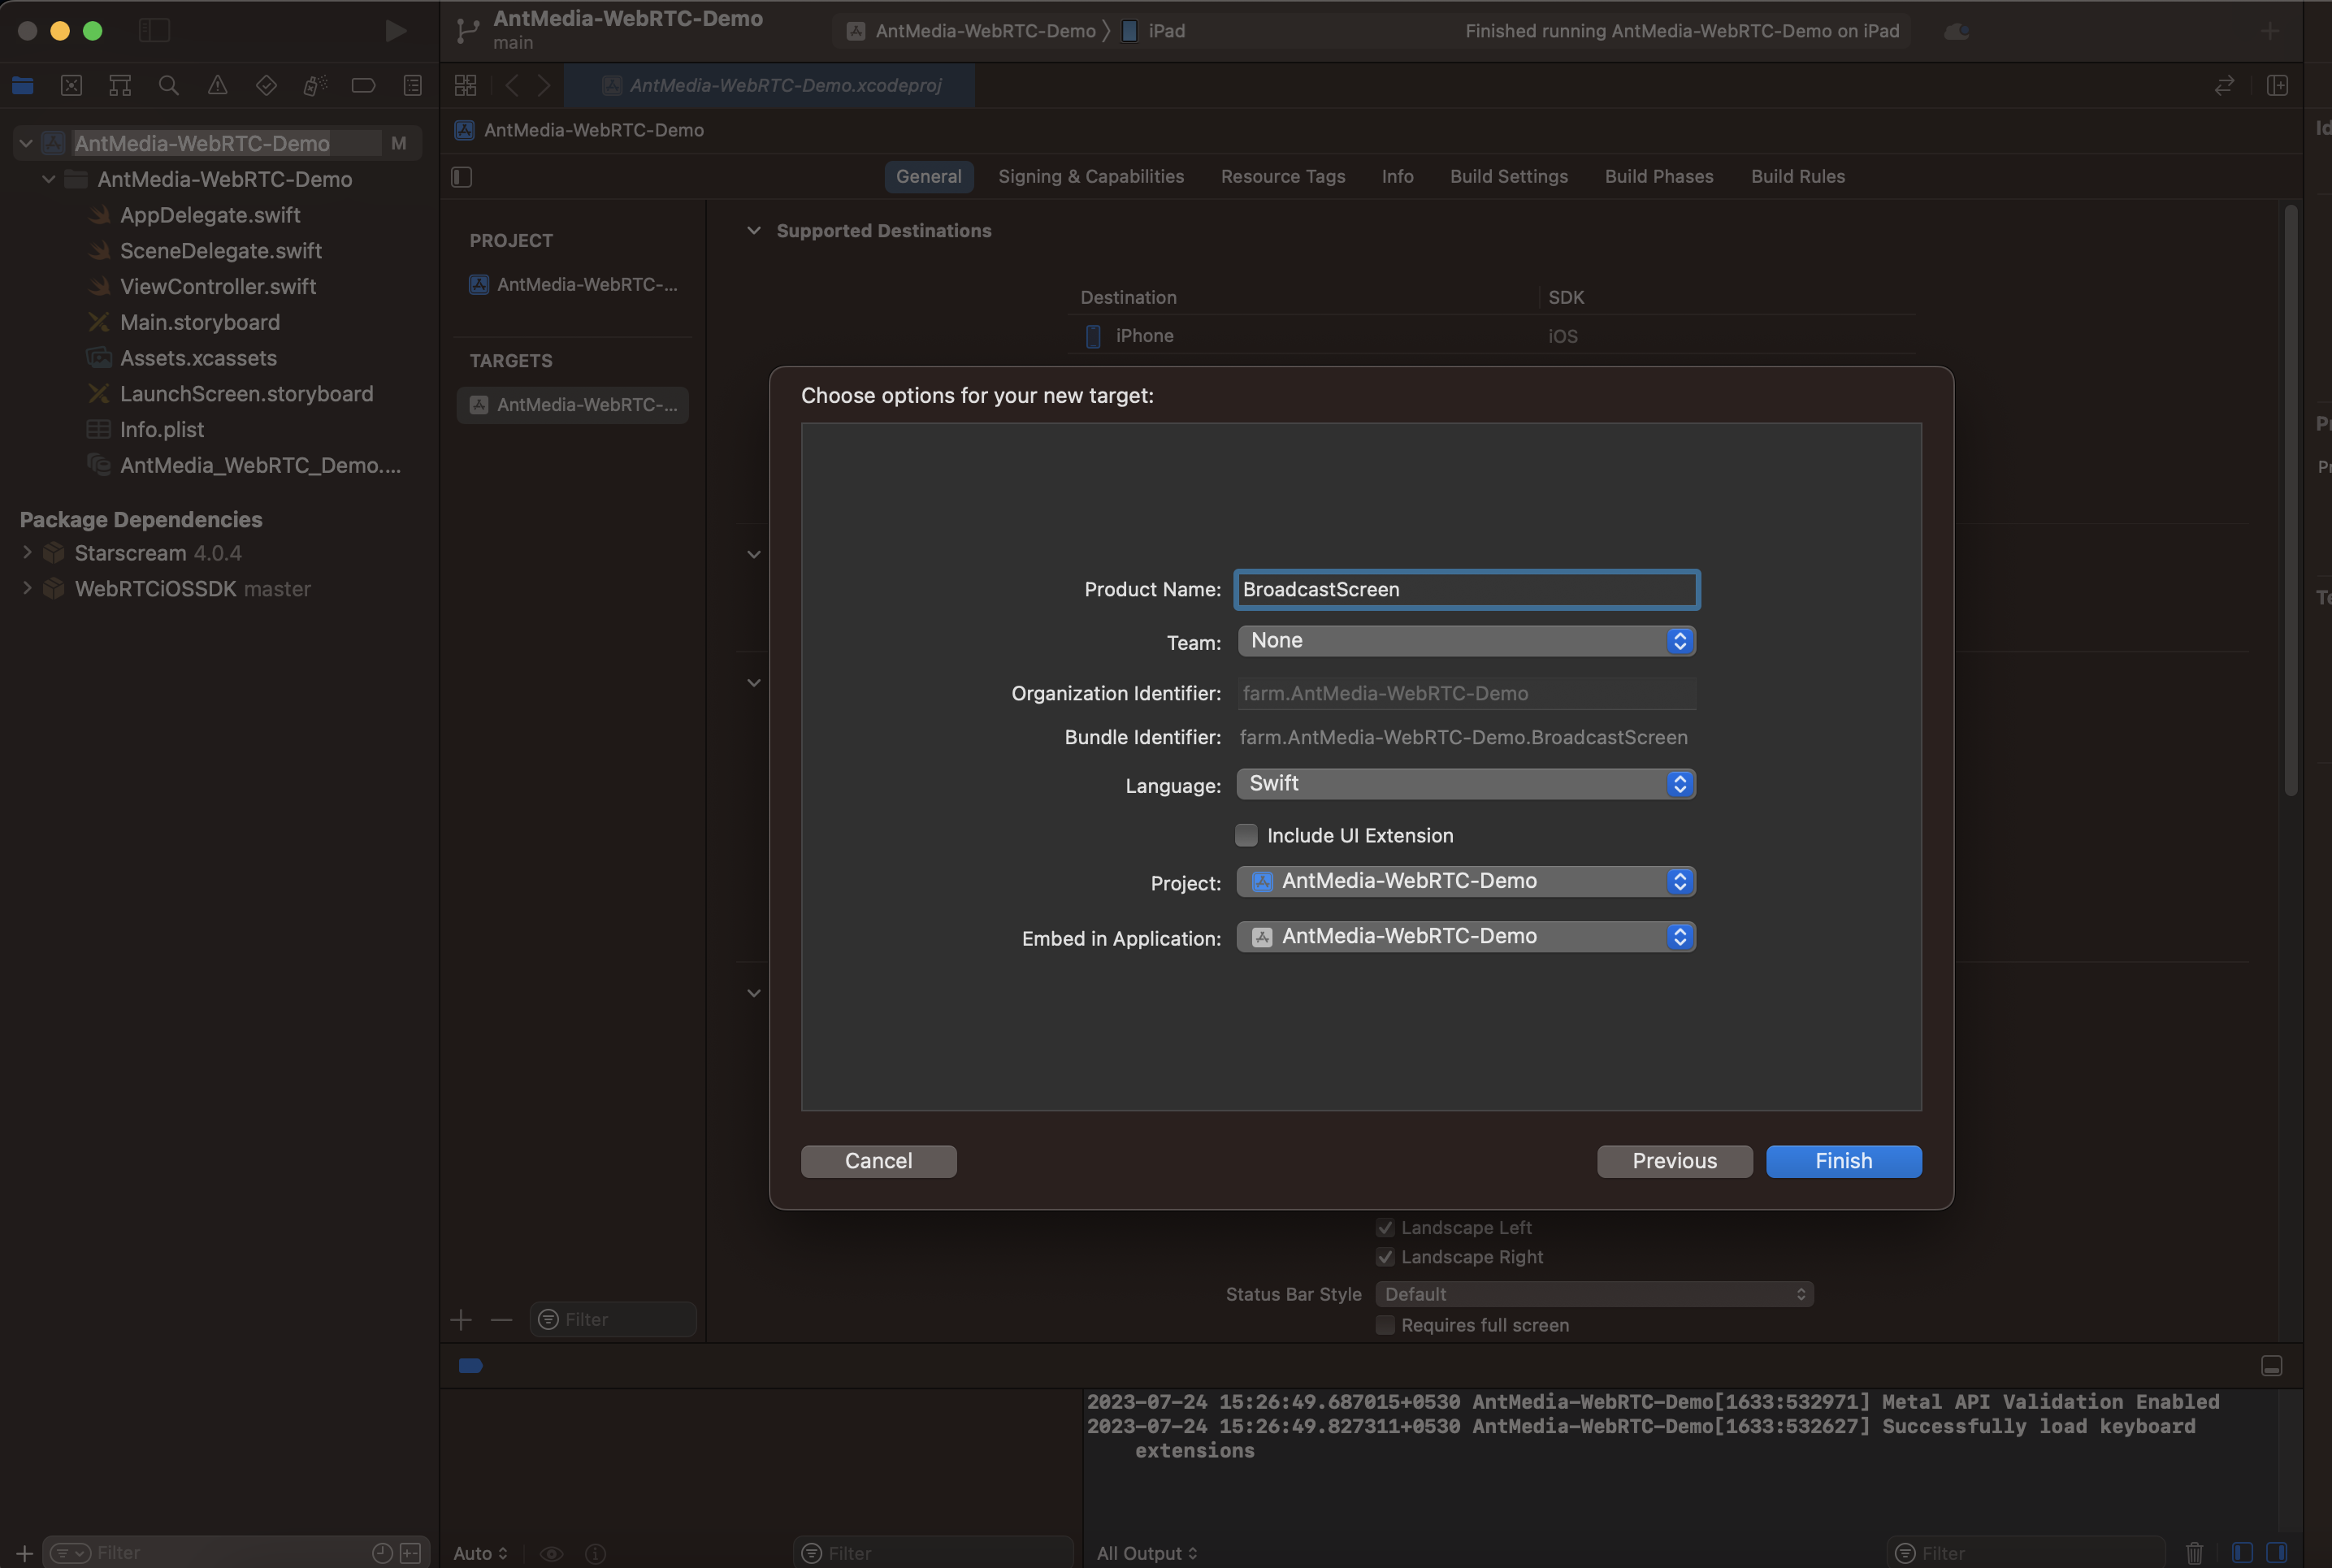
-
Name the product and click Next.
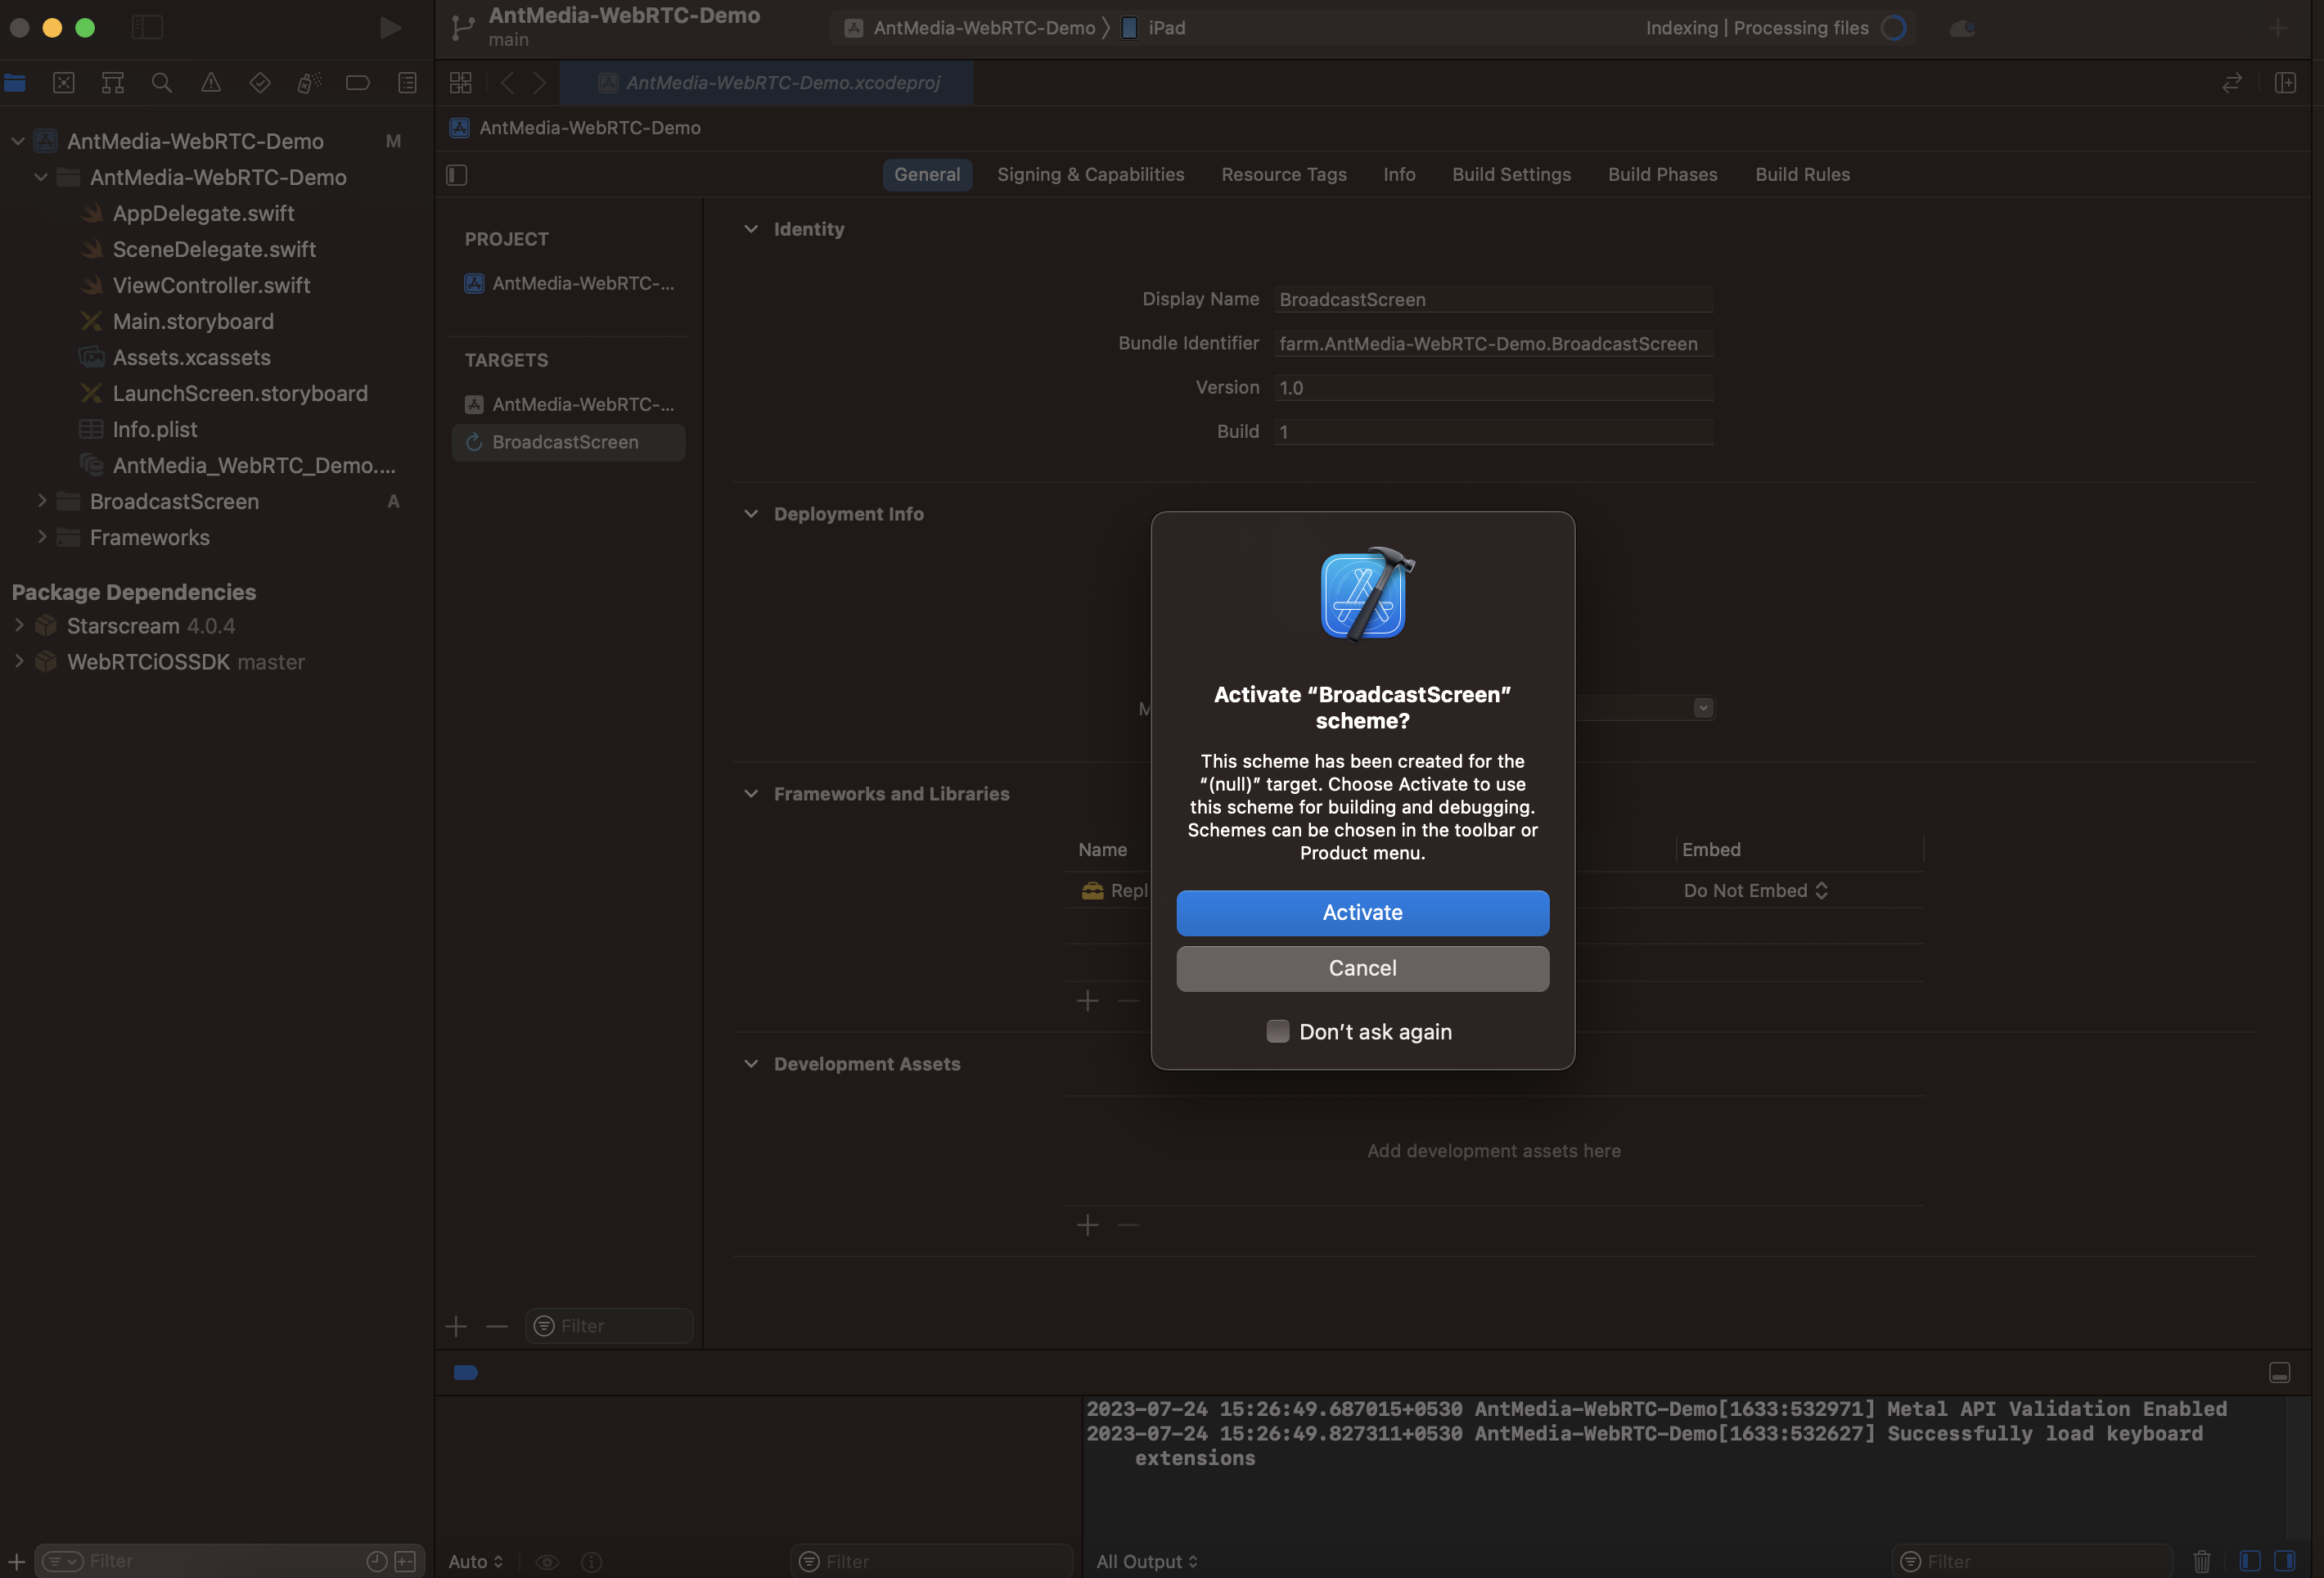
-
Activate your extension.
-
Click on the plus button under
Framework & Librariesto add the WebRTC-IOS-SDK dependency recently imported.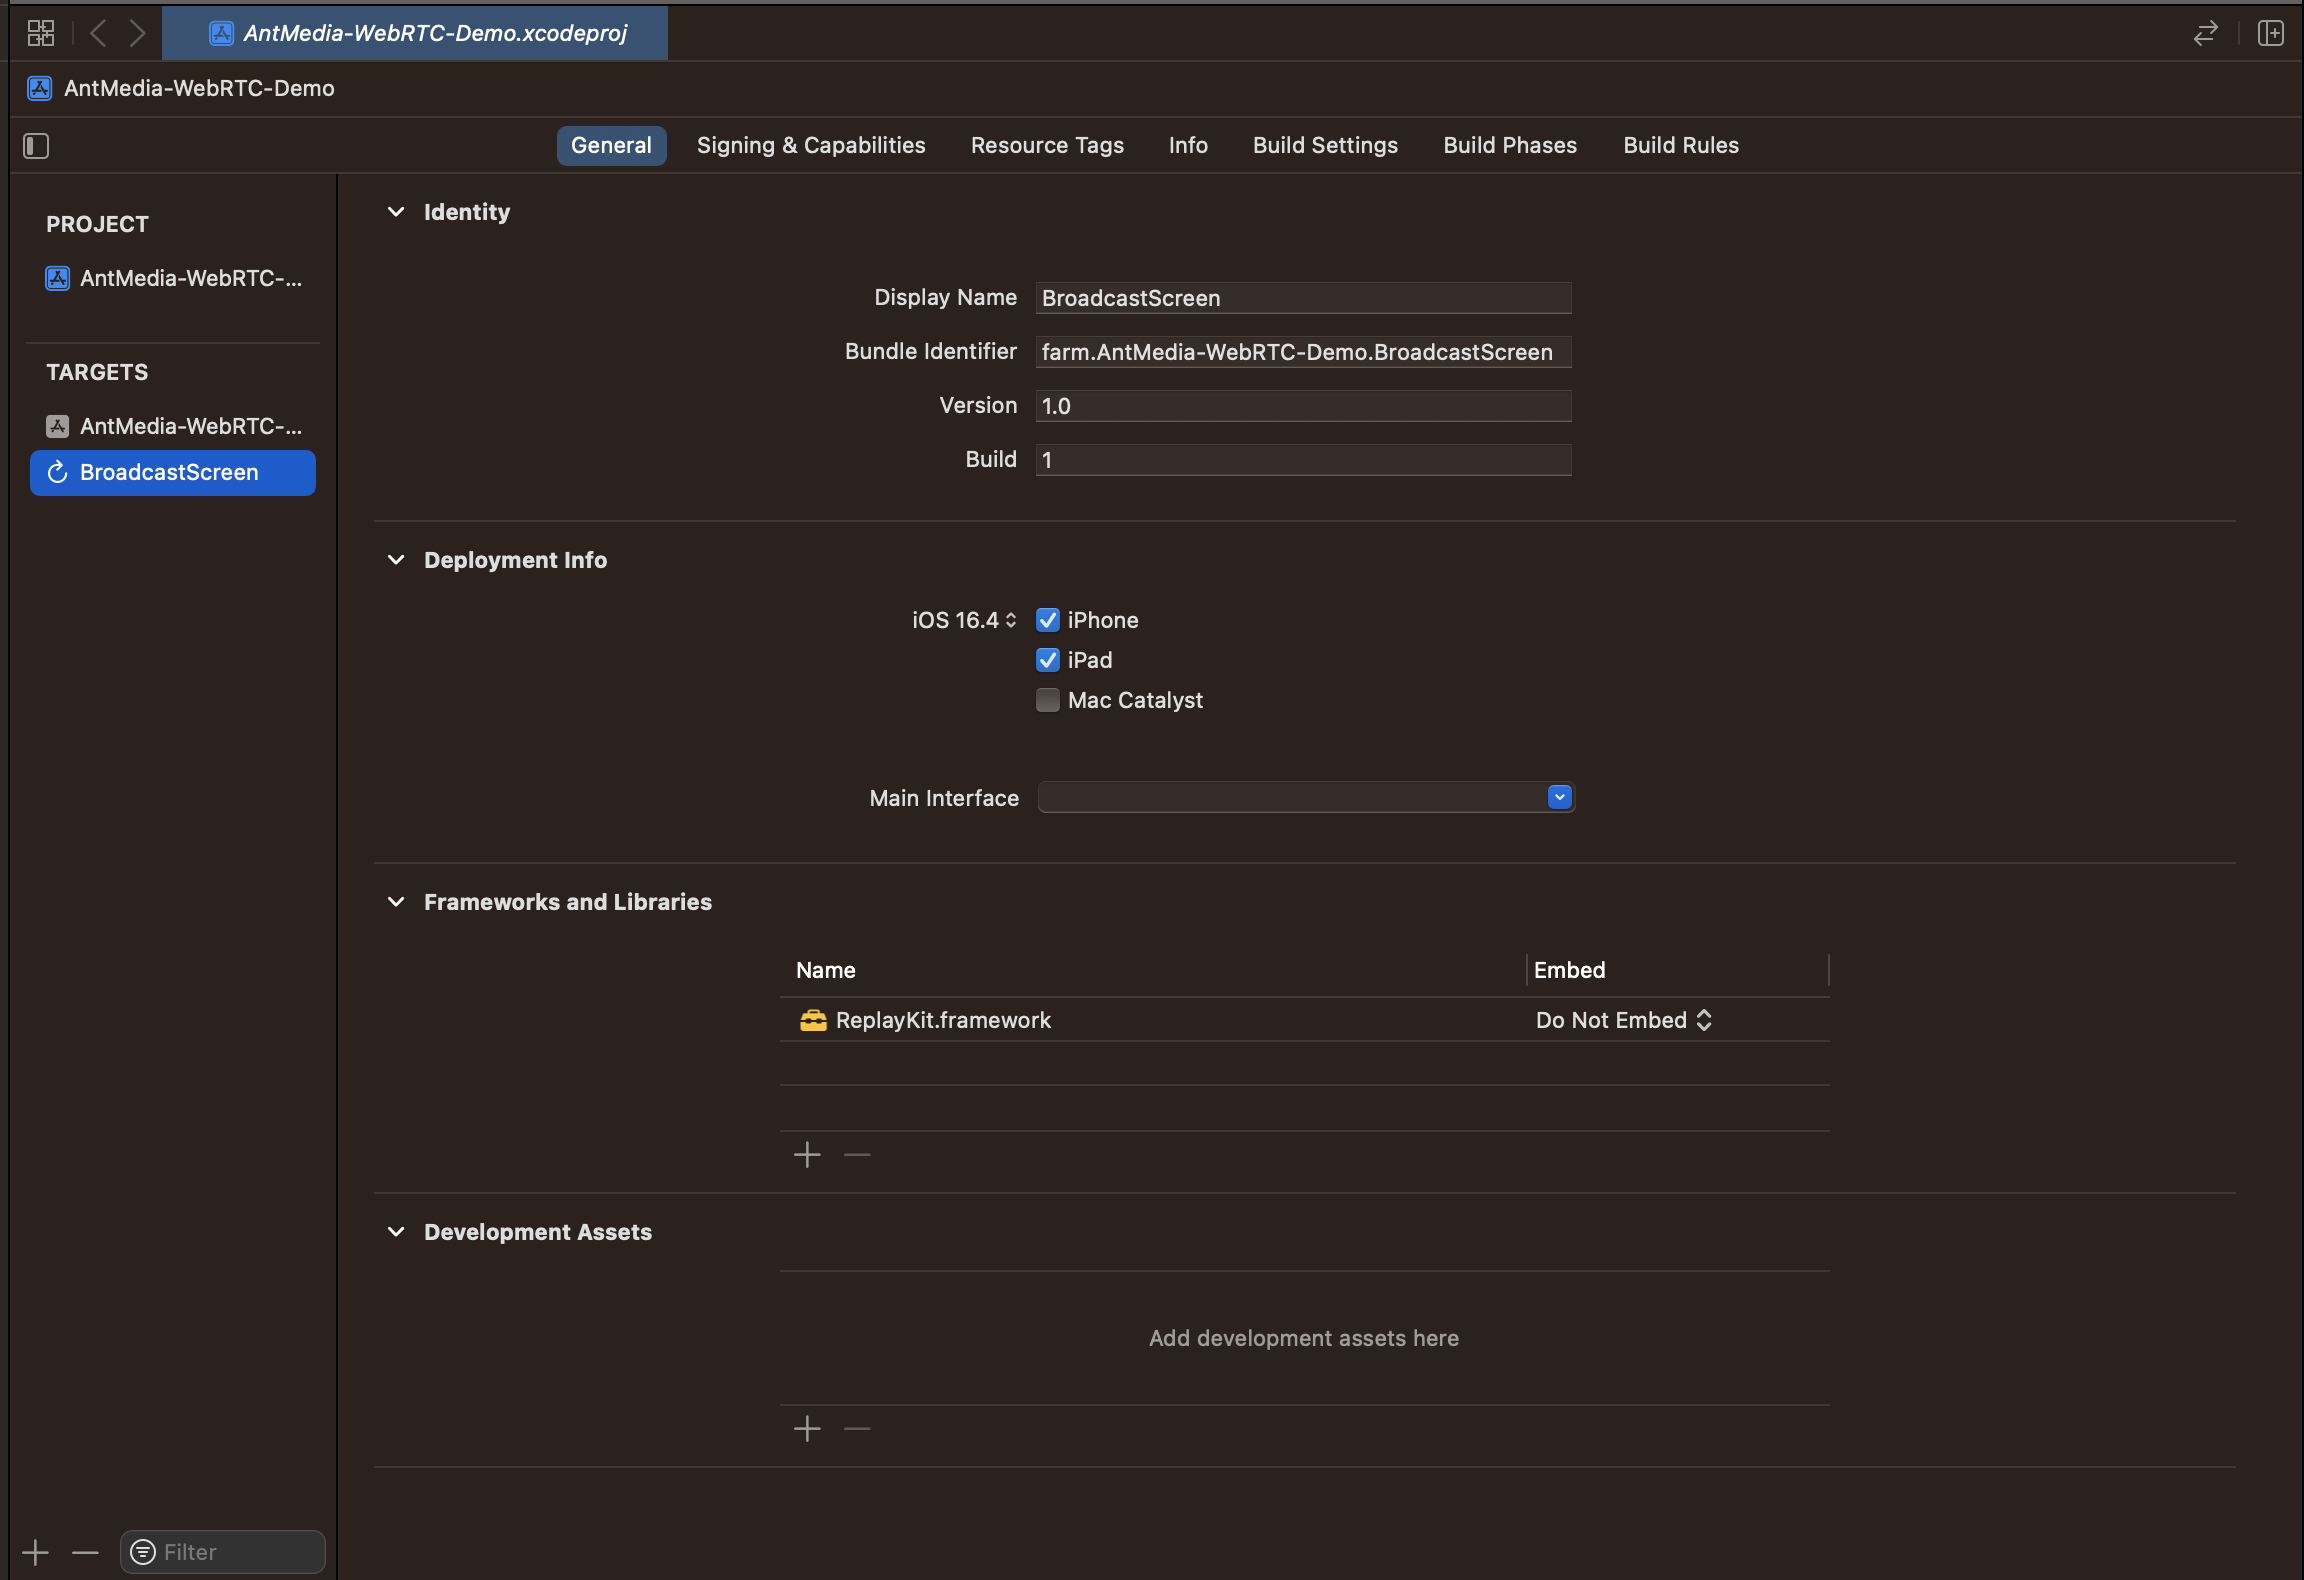
-
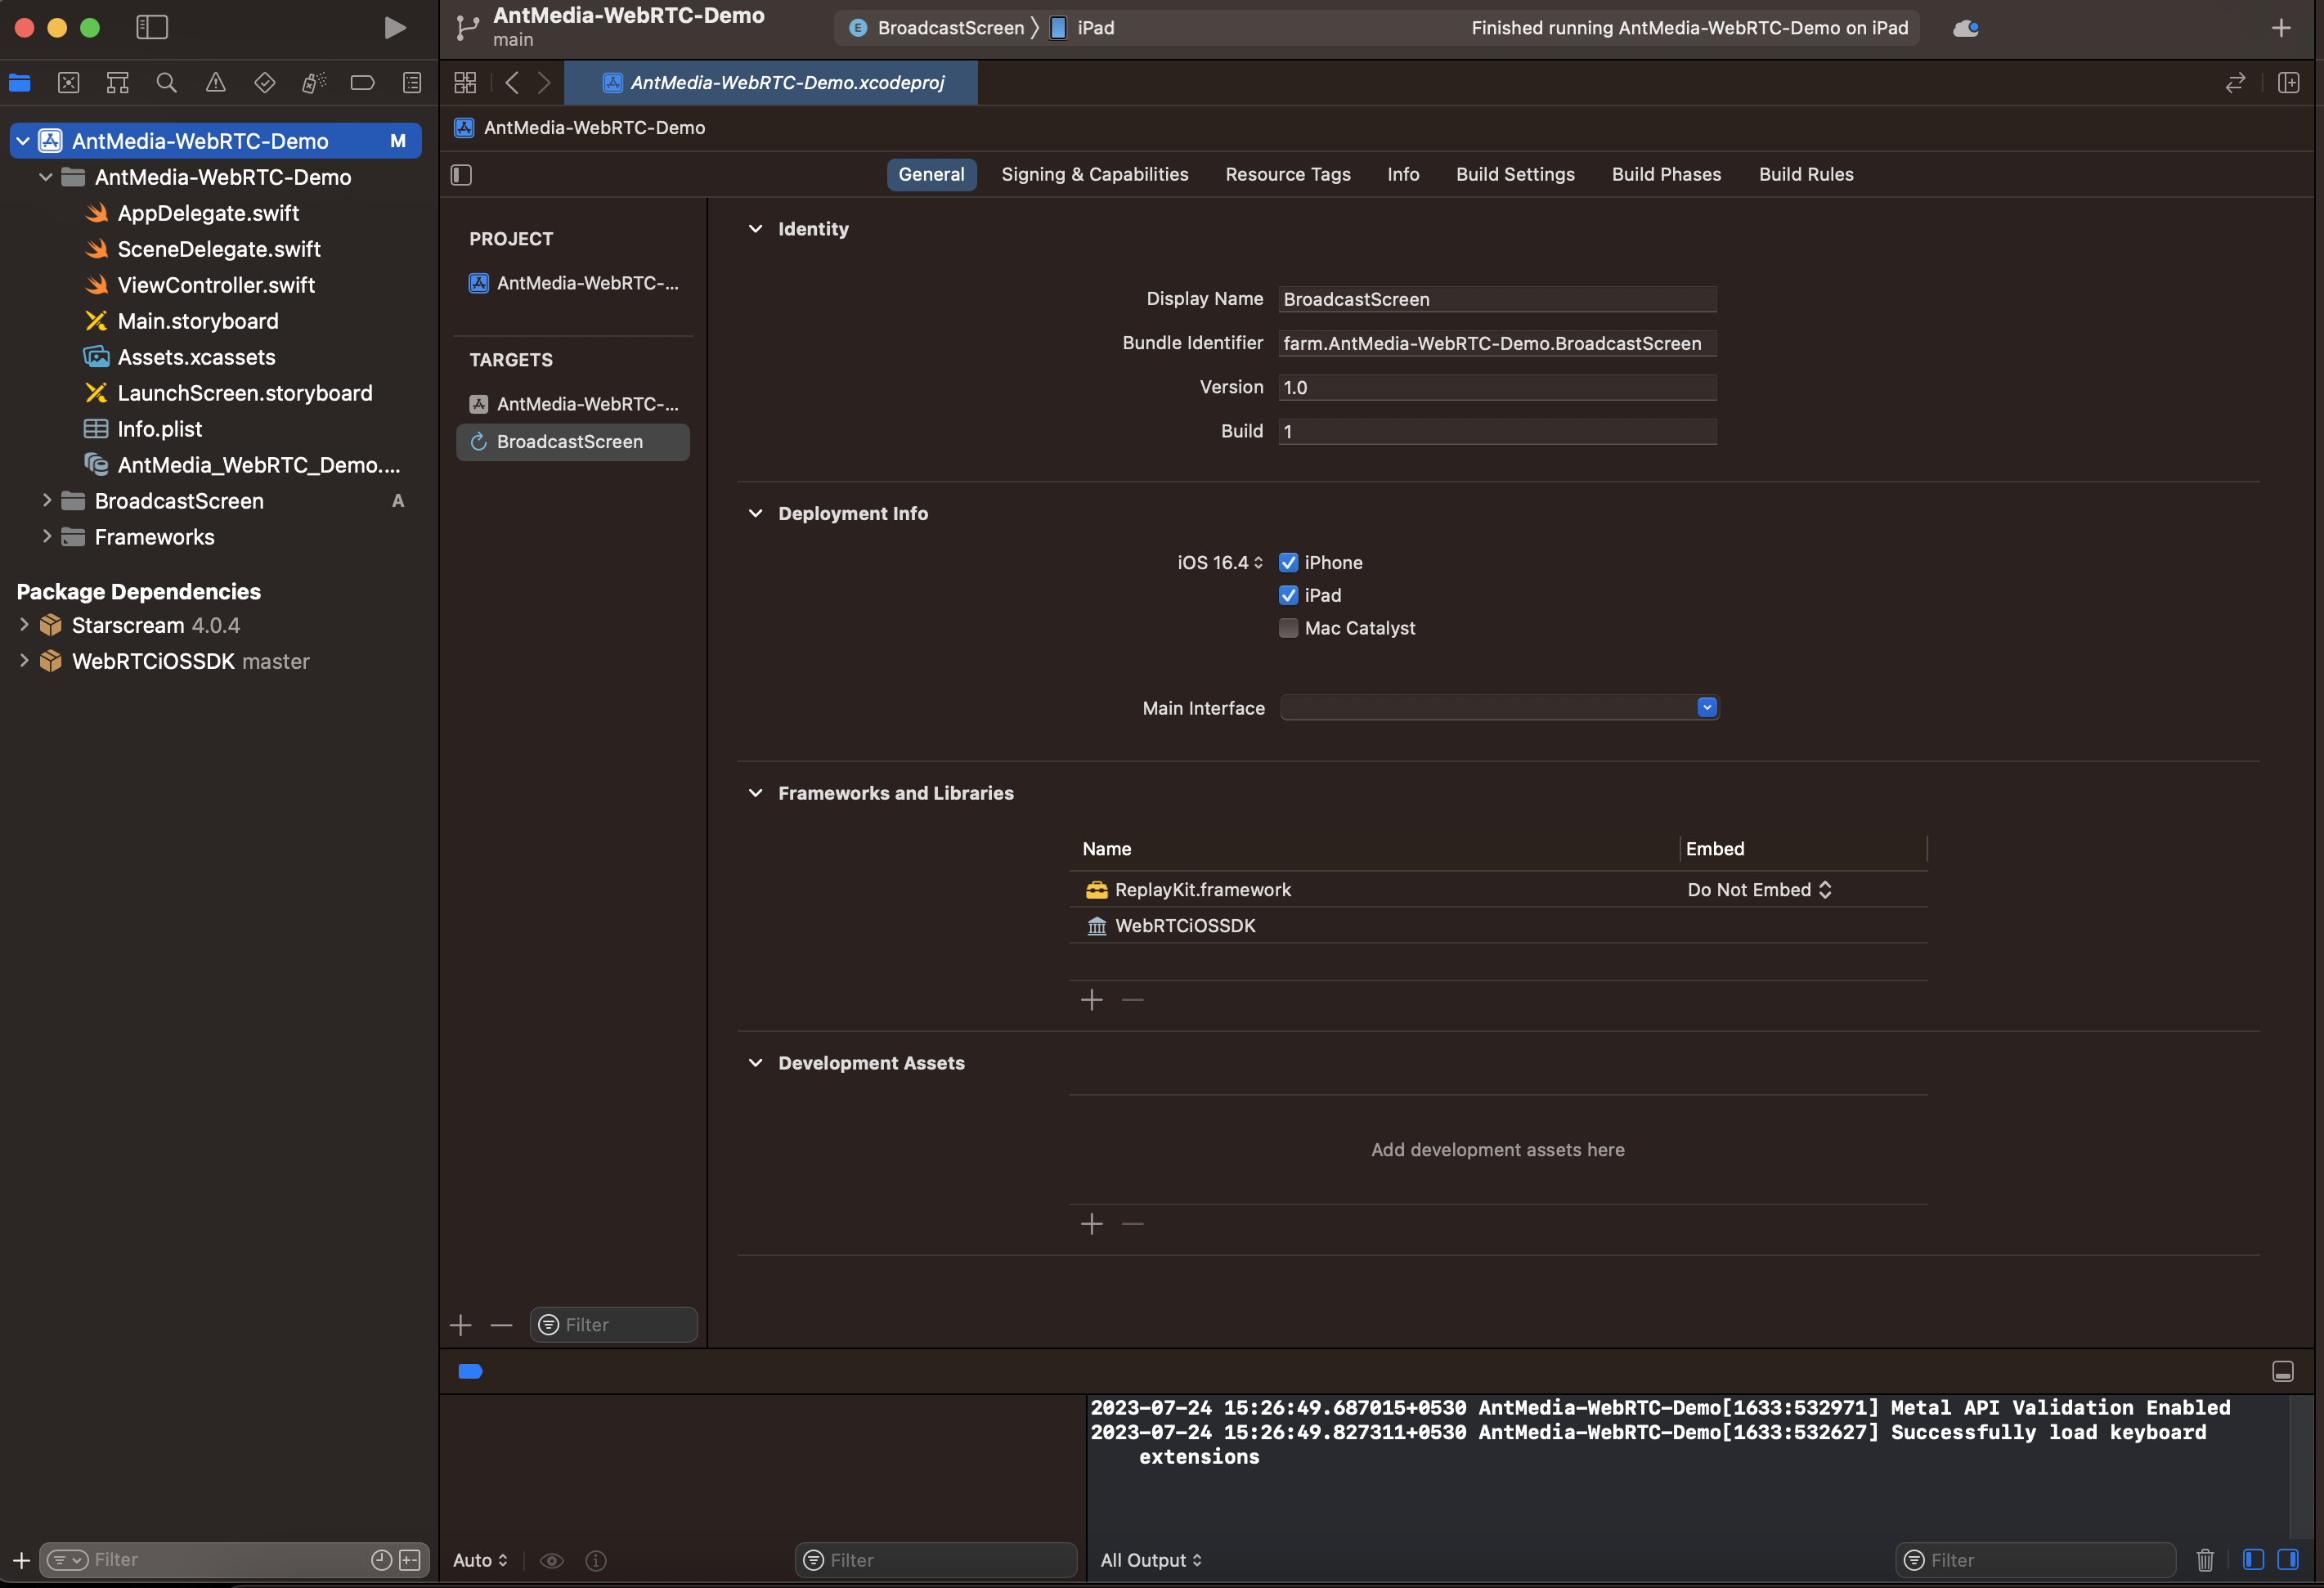
Select the dependency: WebRTC-IOS-SDK.
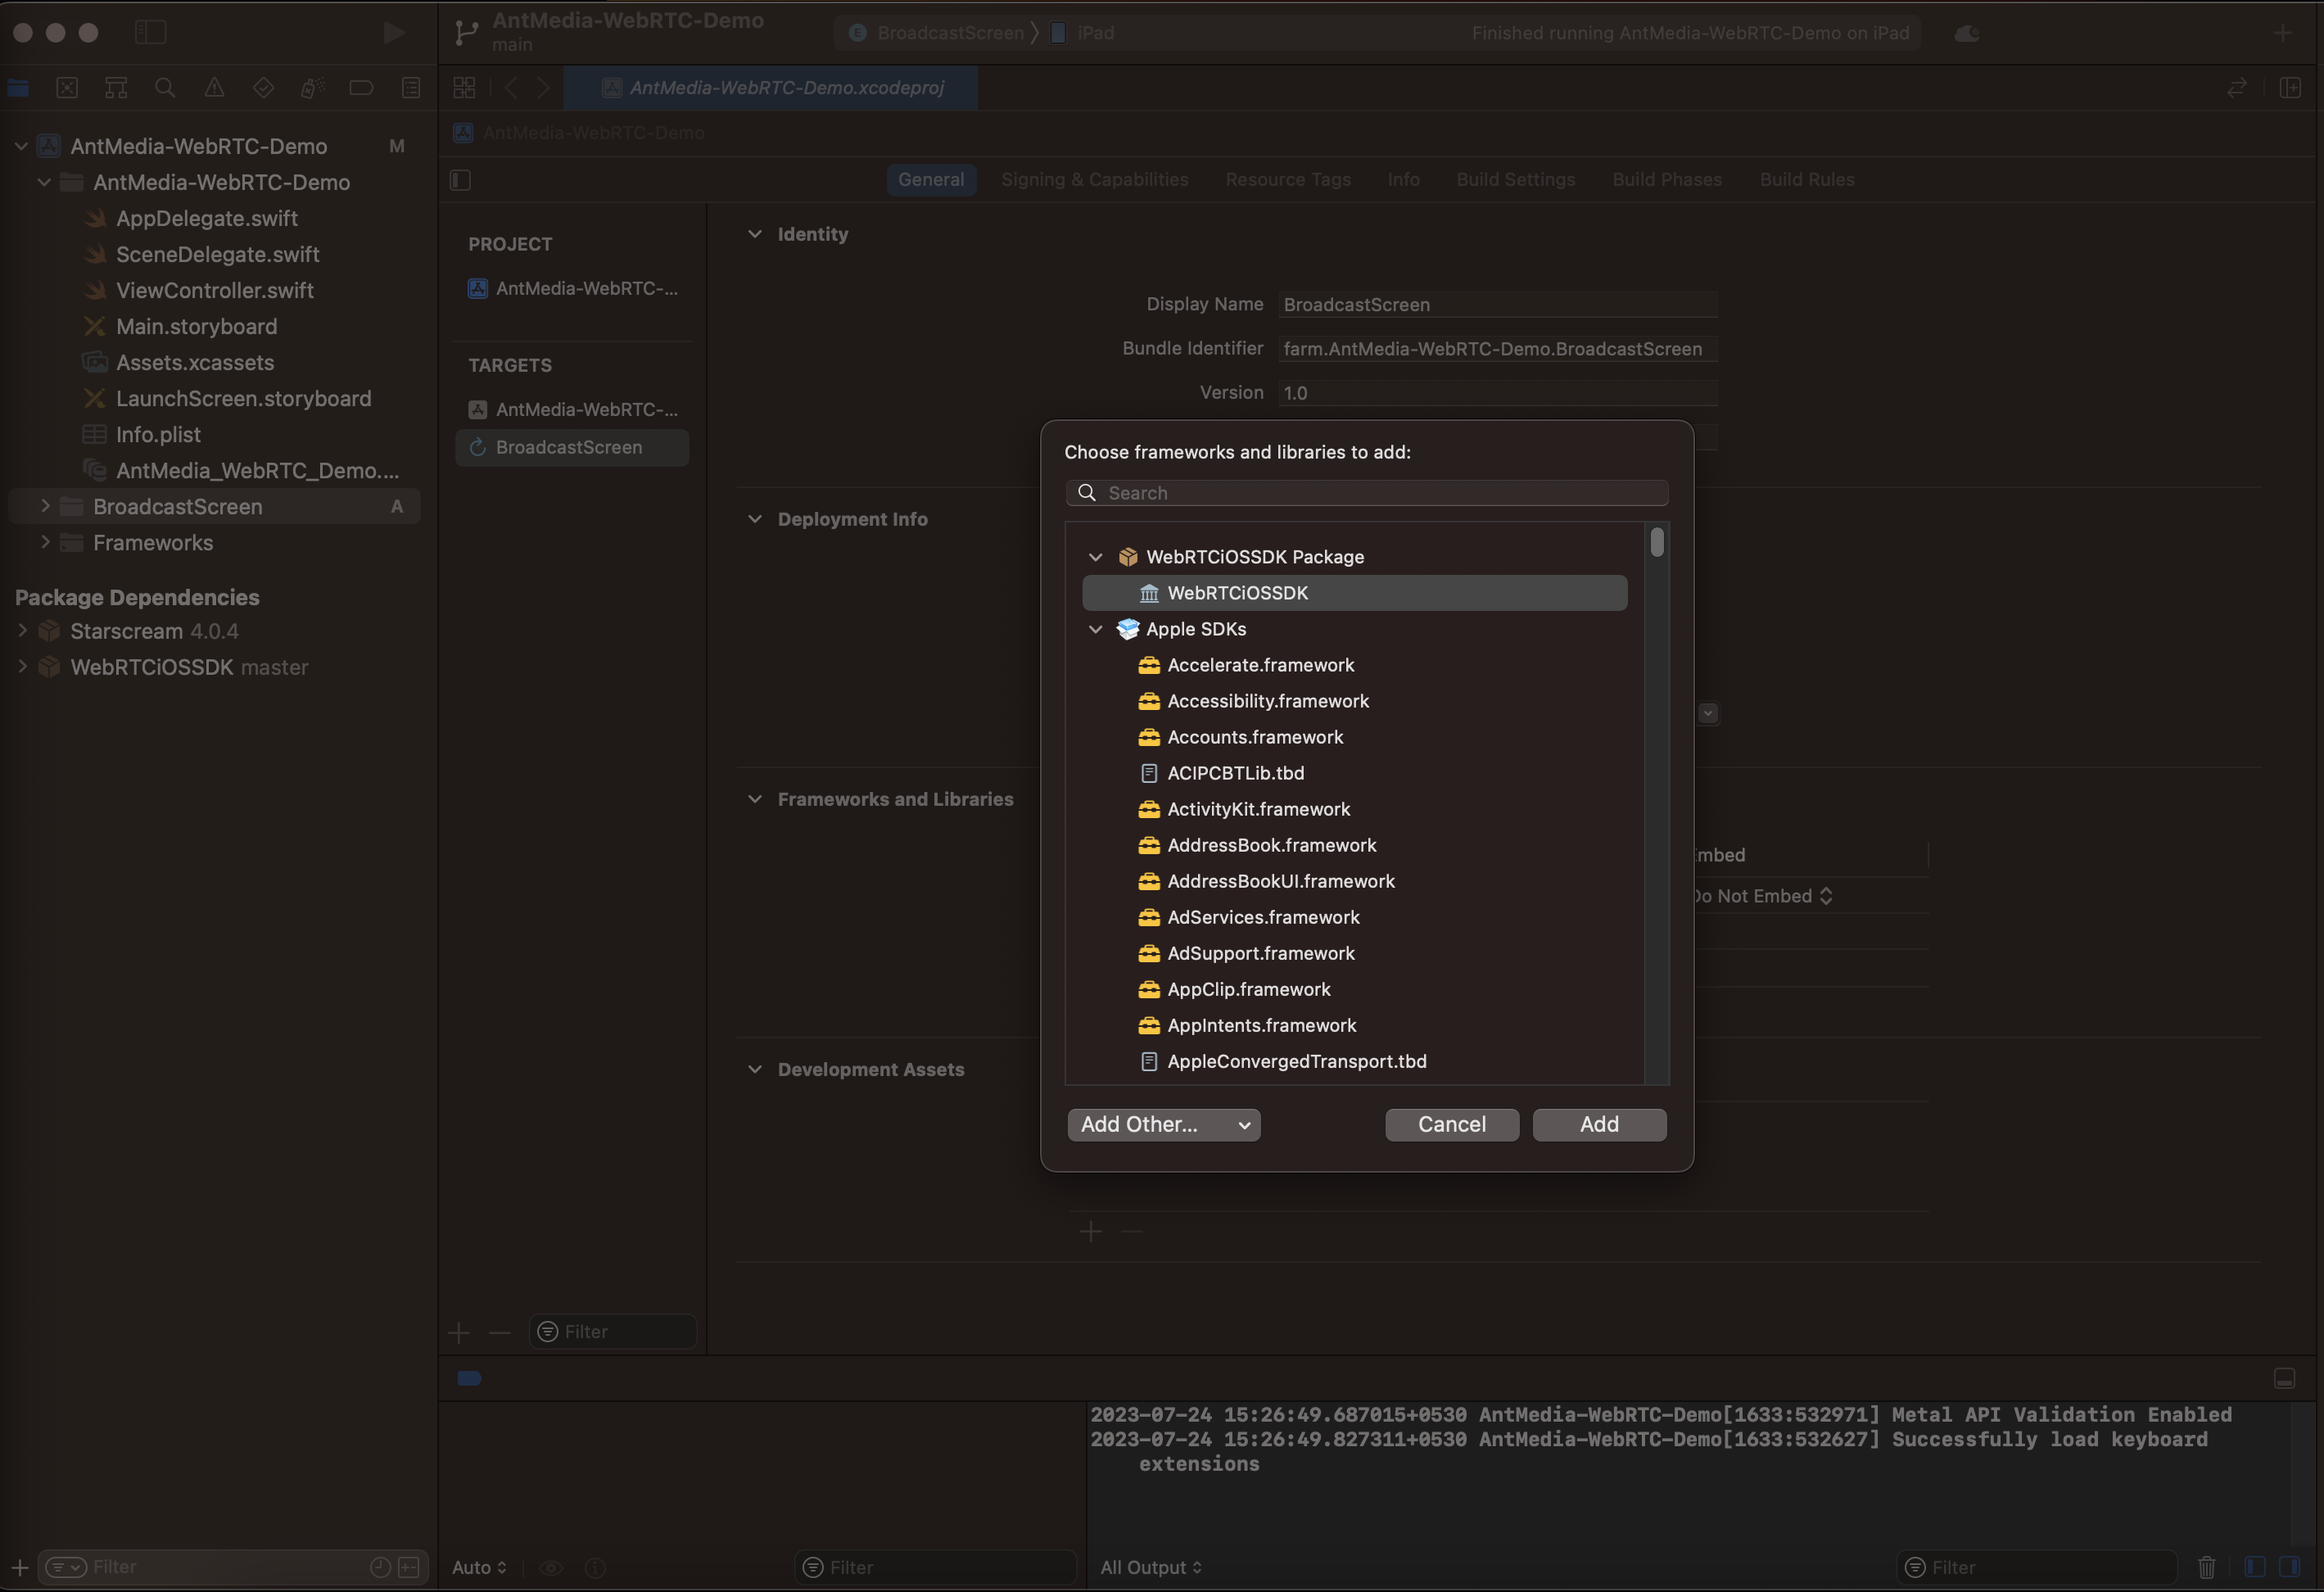
-
Update the version of the XCode Project as needed
-
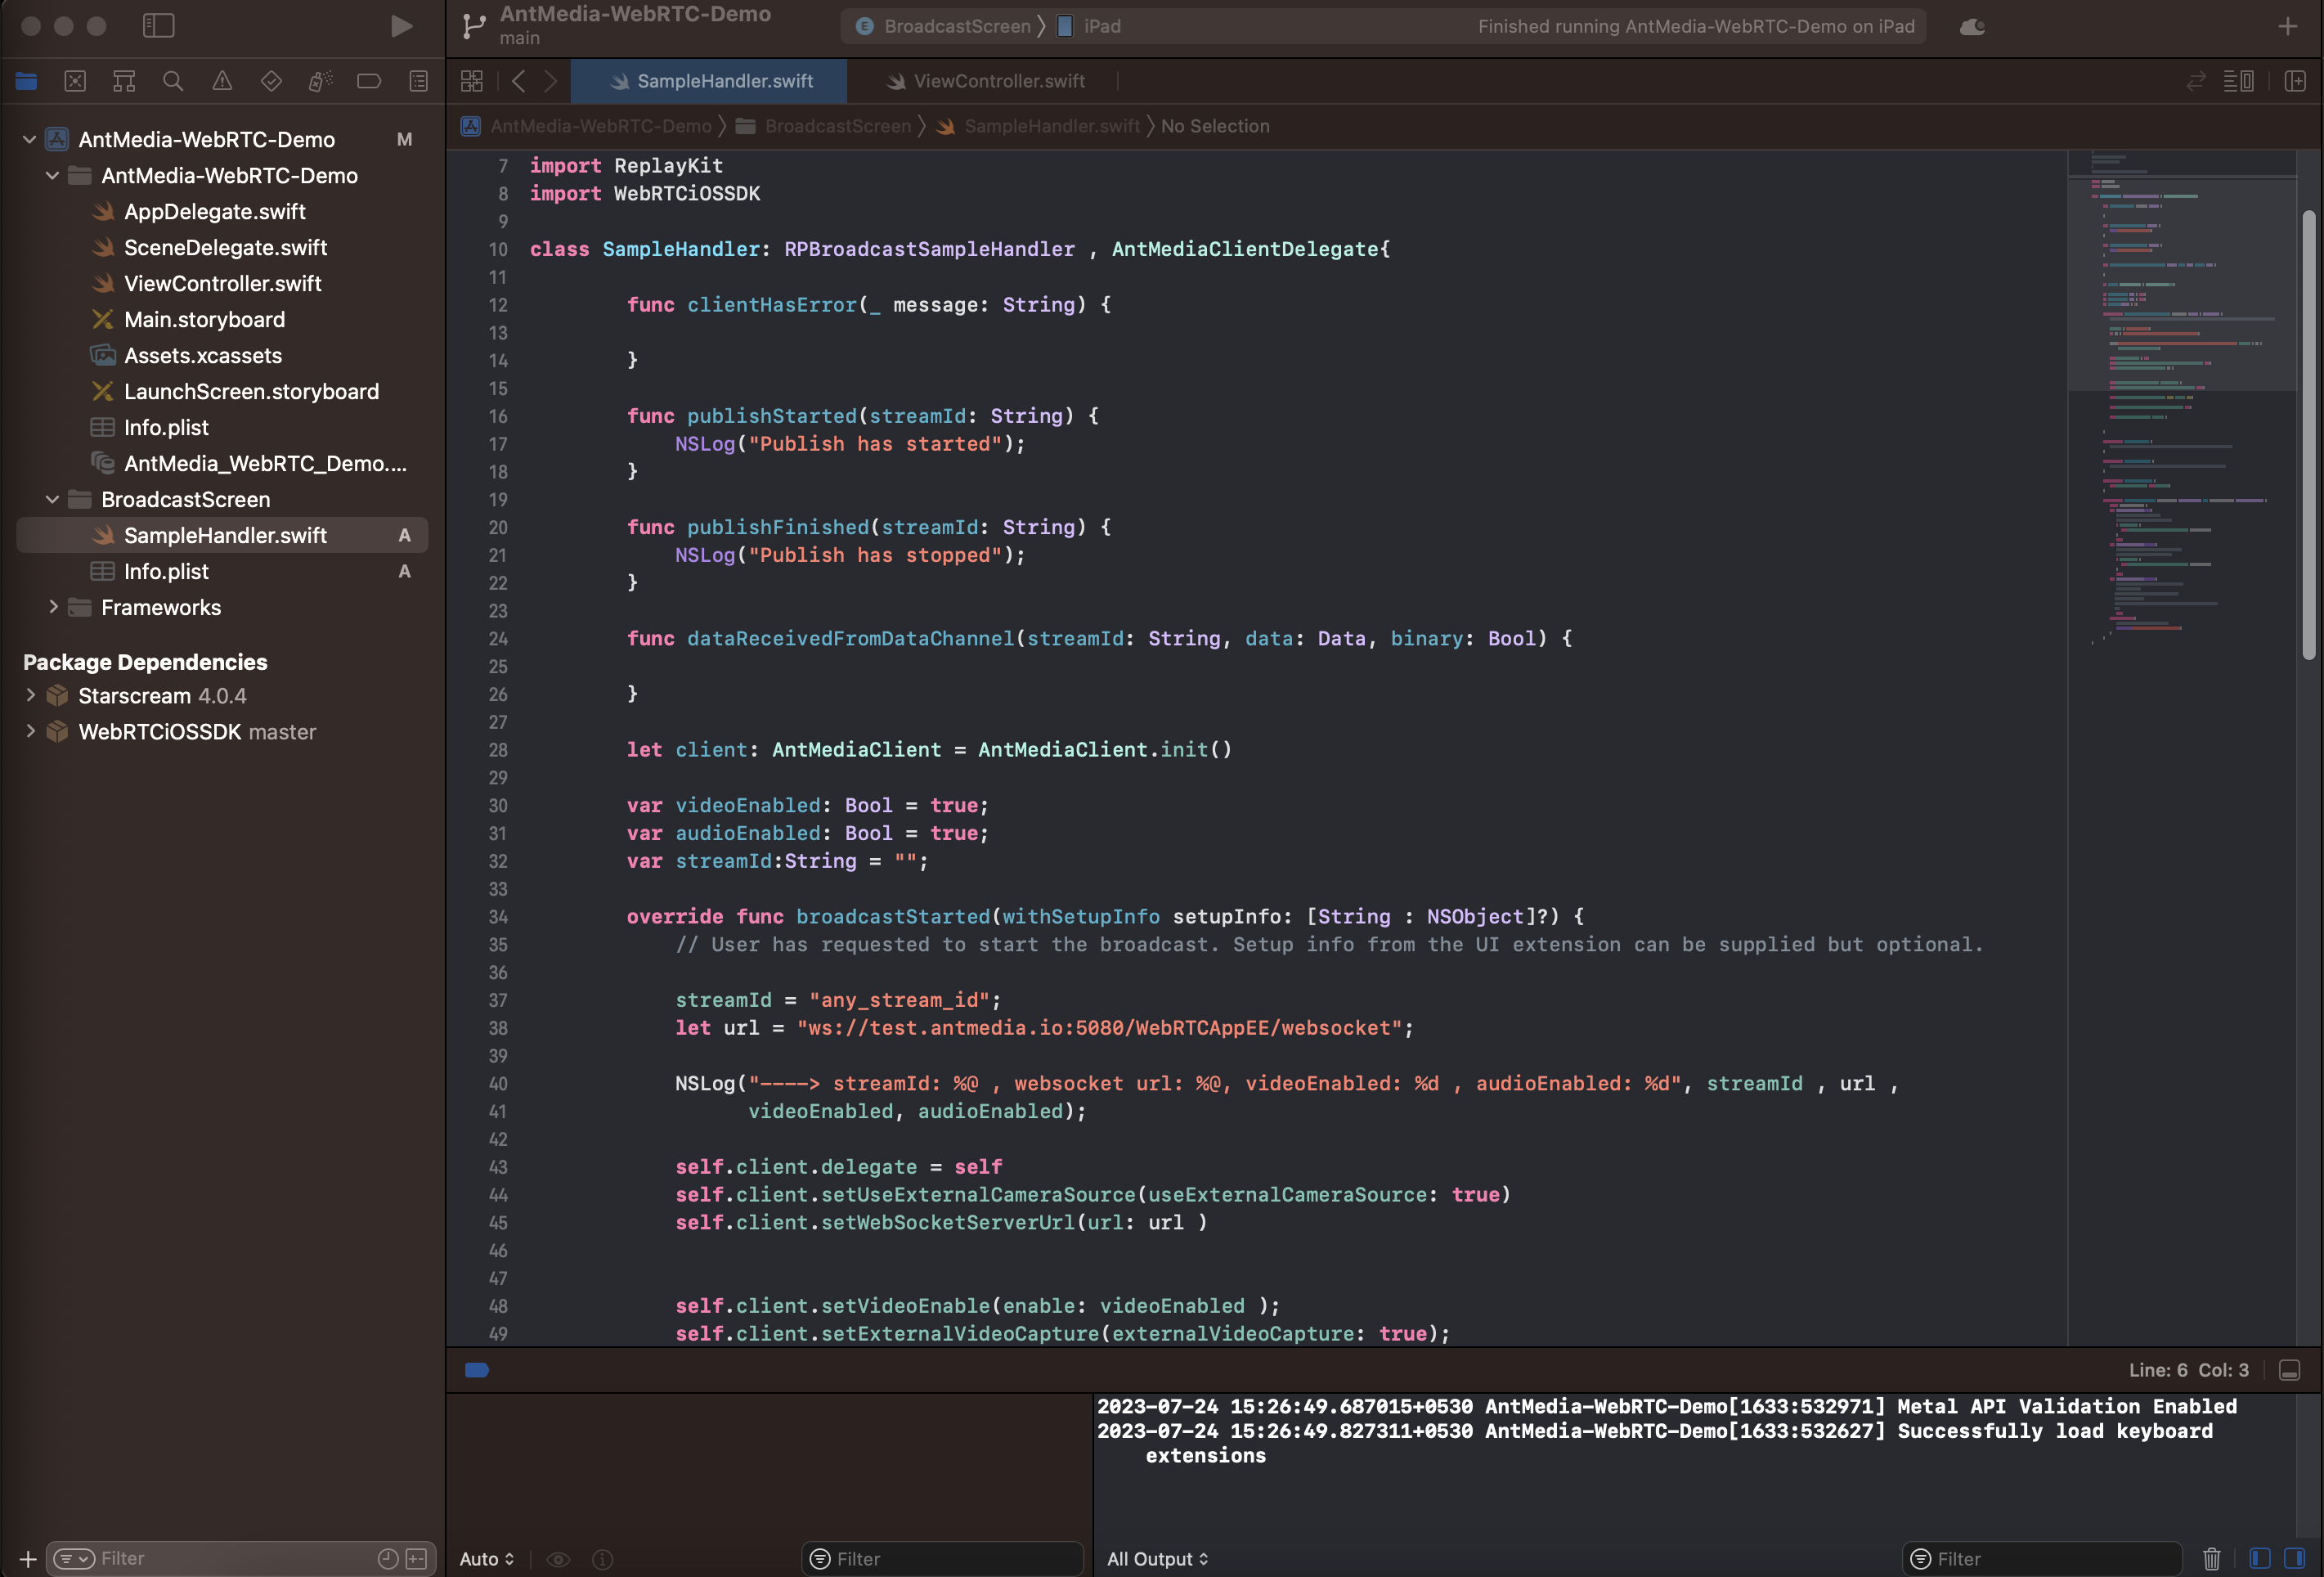
Open the
SampleHandler.swiftfile under the BroadcastScreen Extension and add the code from the link below https://gist.github.com/mekya/163a90523f7e7796cf97a0b966f2d61b
Make sure to set your server URL and a streamId
-
Optional: You may choose to enable the split window view by clicking on
Add editor to the right.TheAdd editor to the rightoption is the last button on the 2nd row, as shown in the screenshot below, which allows you to work in a split screen view
-
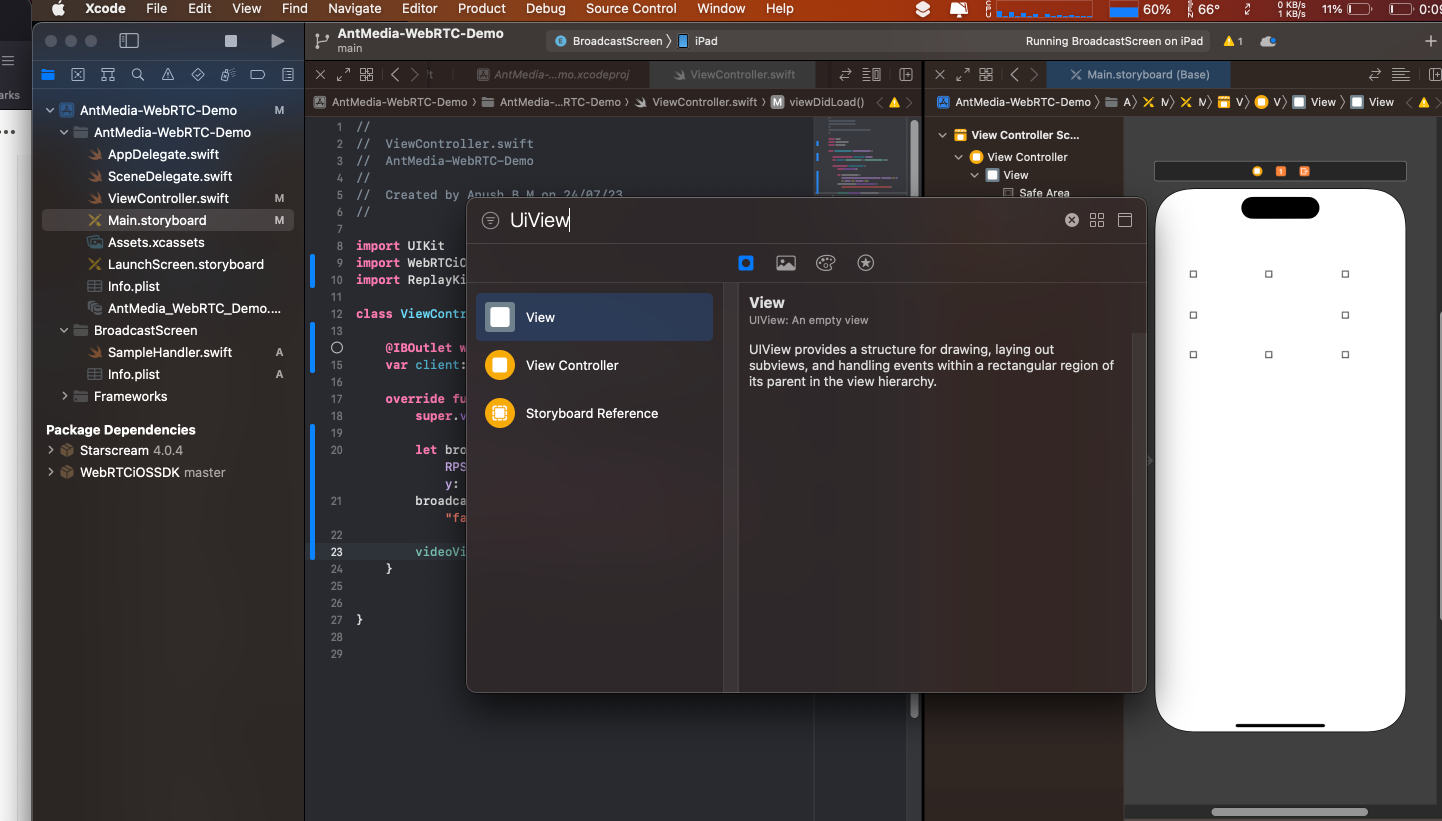
Navigate to the
Main.storyboardon the left menu. Open the Library by selecting View > Show Library from the menu, and then enter UIView in the search box, as shown in the image below.
Drag the View from the Library and drop it onto the Main.storyboard. Afterwards, adjust the size of the UIView to match the image below.
Optional: Customize the color and theme as needed.
-
If you have a split your screen, you should now have the
ViewController.swiftfile loaded on one screen and themain.storyboardloaded on the other screen. -
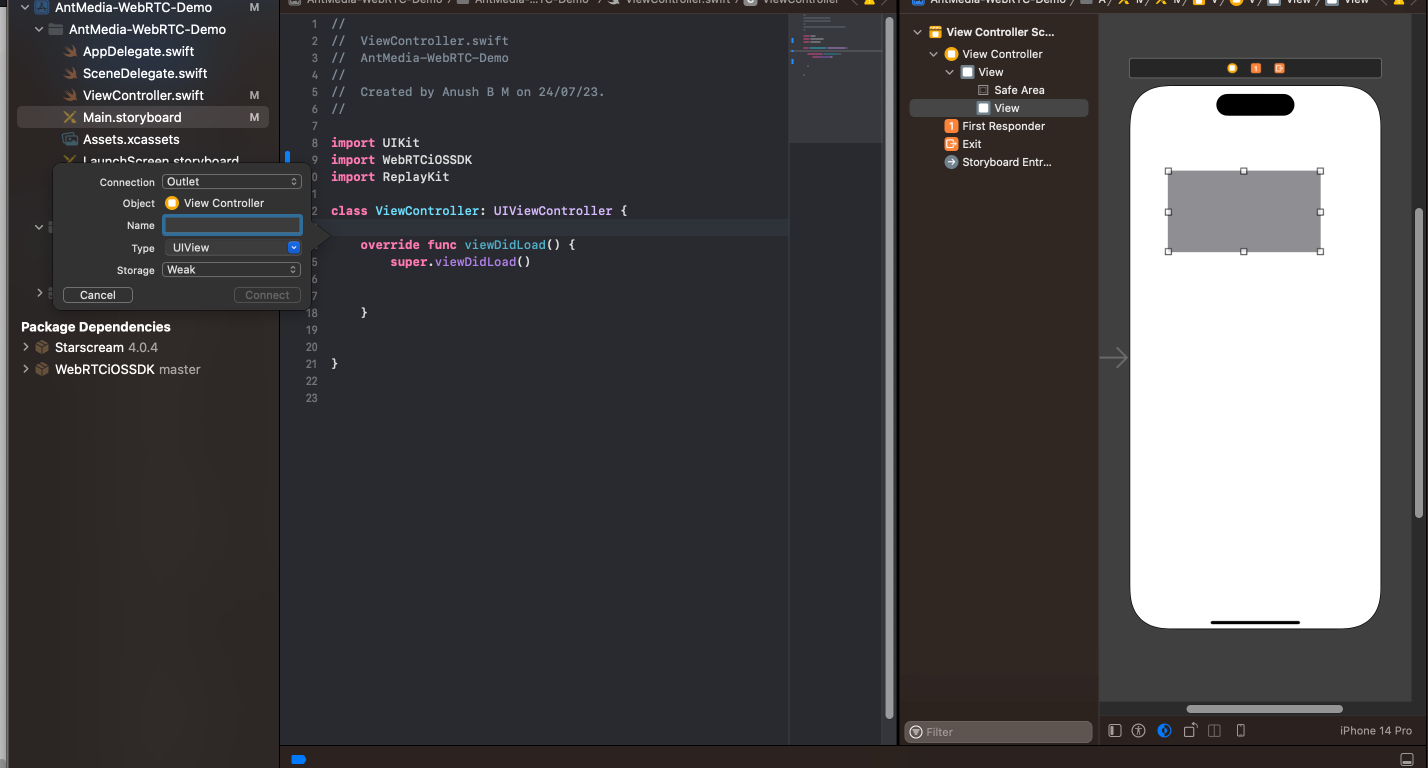
Right-click on the UIView element in the
Main.storyboard, then drag it over to theViewController.swiftfile and release the right-click.
This will trigger a popup as shown, allowing you to name your Outlet.
- You should already have the
ViewControllerfile open in your Xcode project, so now follow these steps to add theRPSystemBroadcastPickerViewto the view.
Copy and paste the following code in the ViewController:
import UIKit
import WebRTCiOSSDK
import ReplayKit

class ViewController: UIViewController {

    @IBOutlet weak var videoView: UIView!
    var client: AntMediaClient = AntMediaClient.init()

    override func viewDidLoad() {
 	super.viewDidLoad()

	let broadcastPicker = RPSystemBroadcastPickerView(frame: CGRect(x: 0, y: 0, width: 50, height: 50))
	broadcastPicker.preferredExtension = "<YOUR_BUNDLE_IDENTIFIER>";
	videoView.addSubview(broadcastPicker)
     }
}
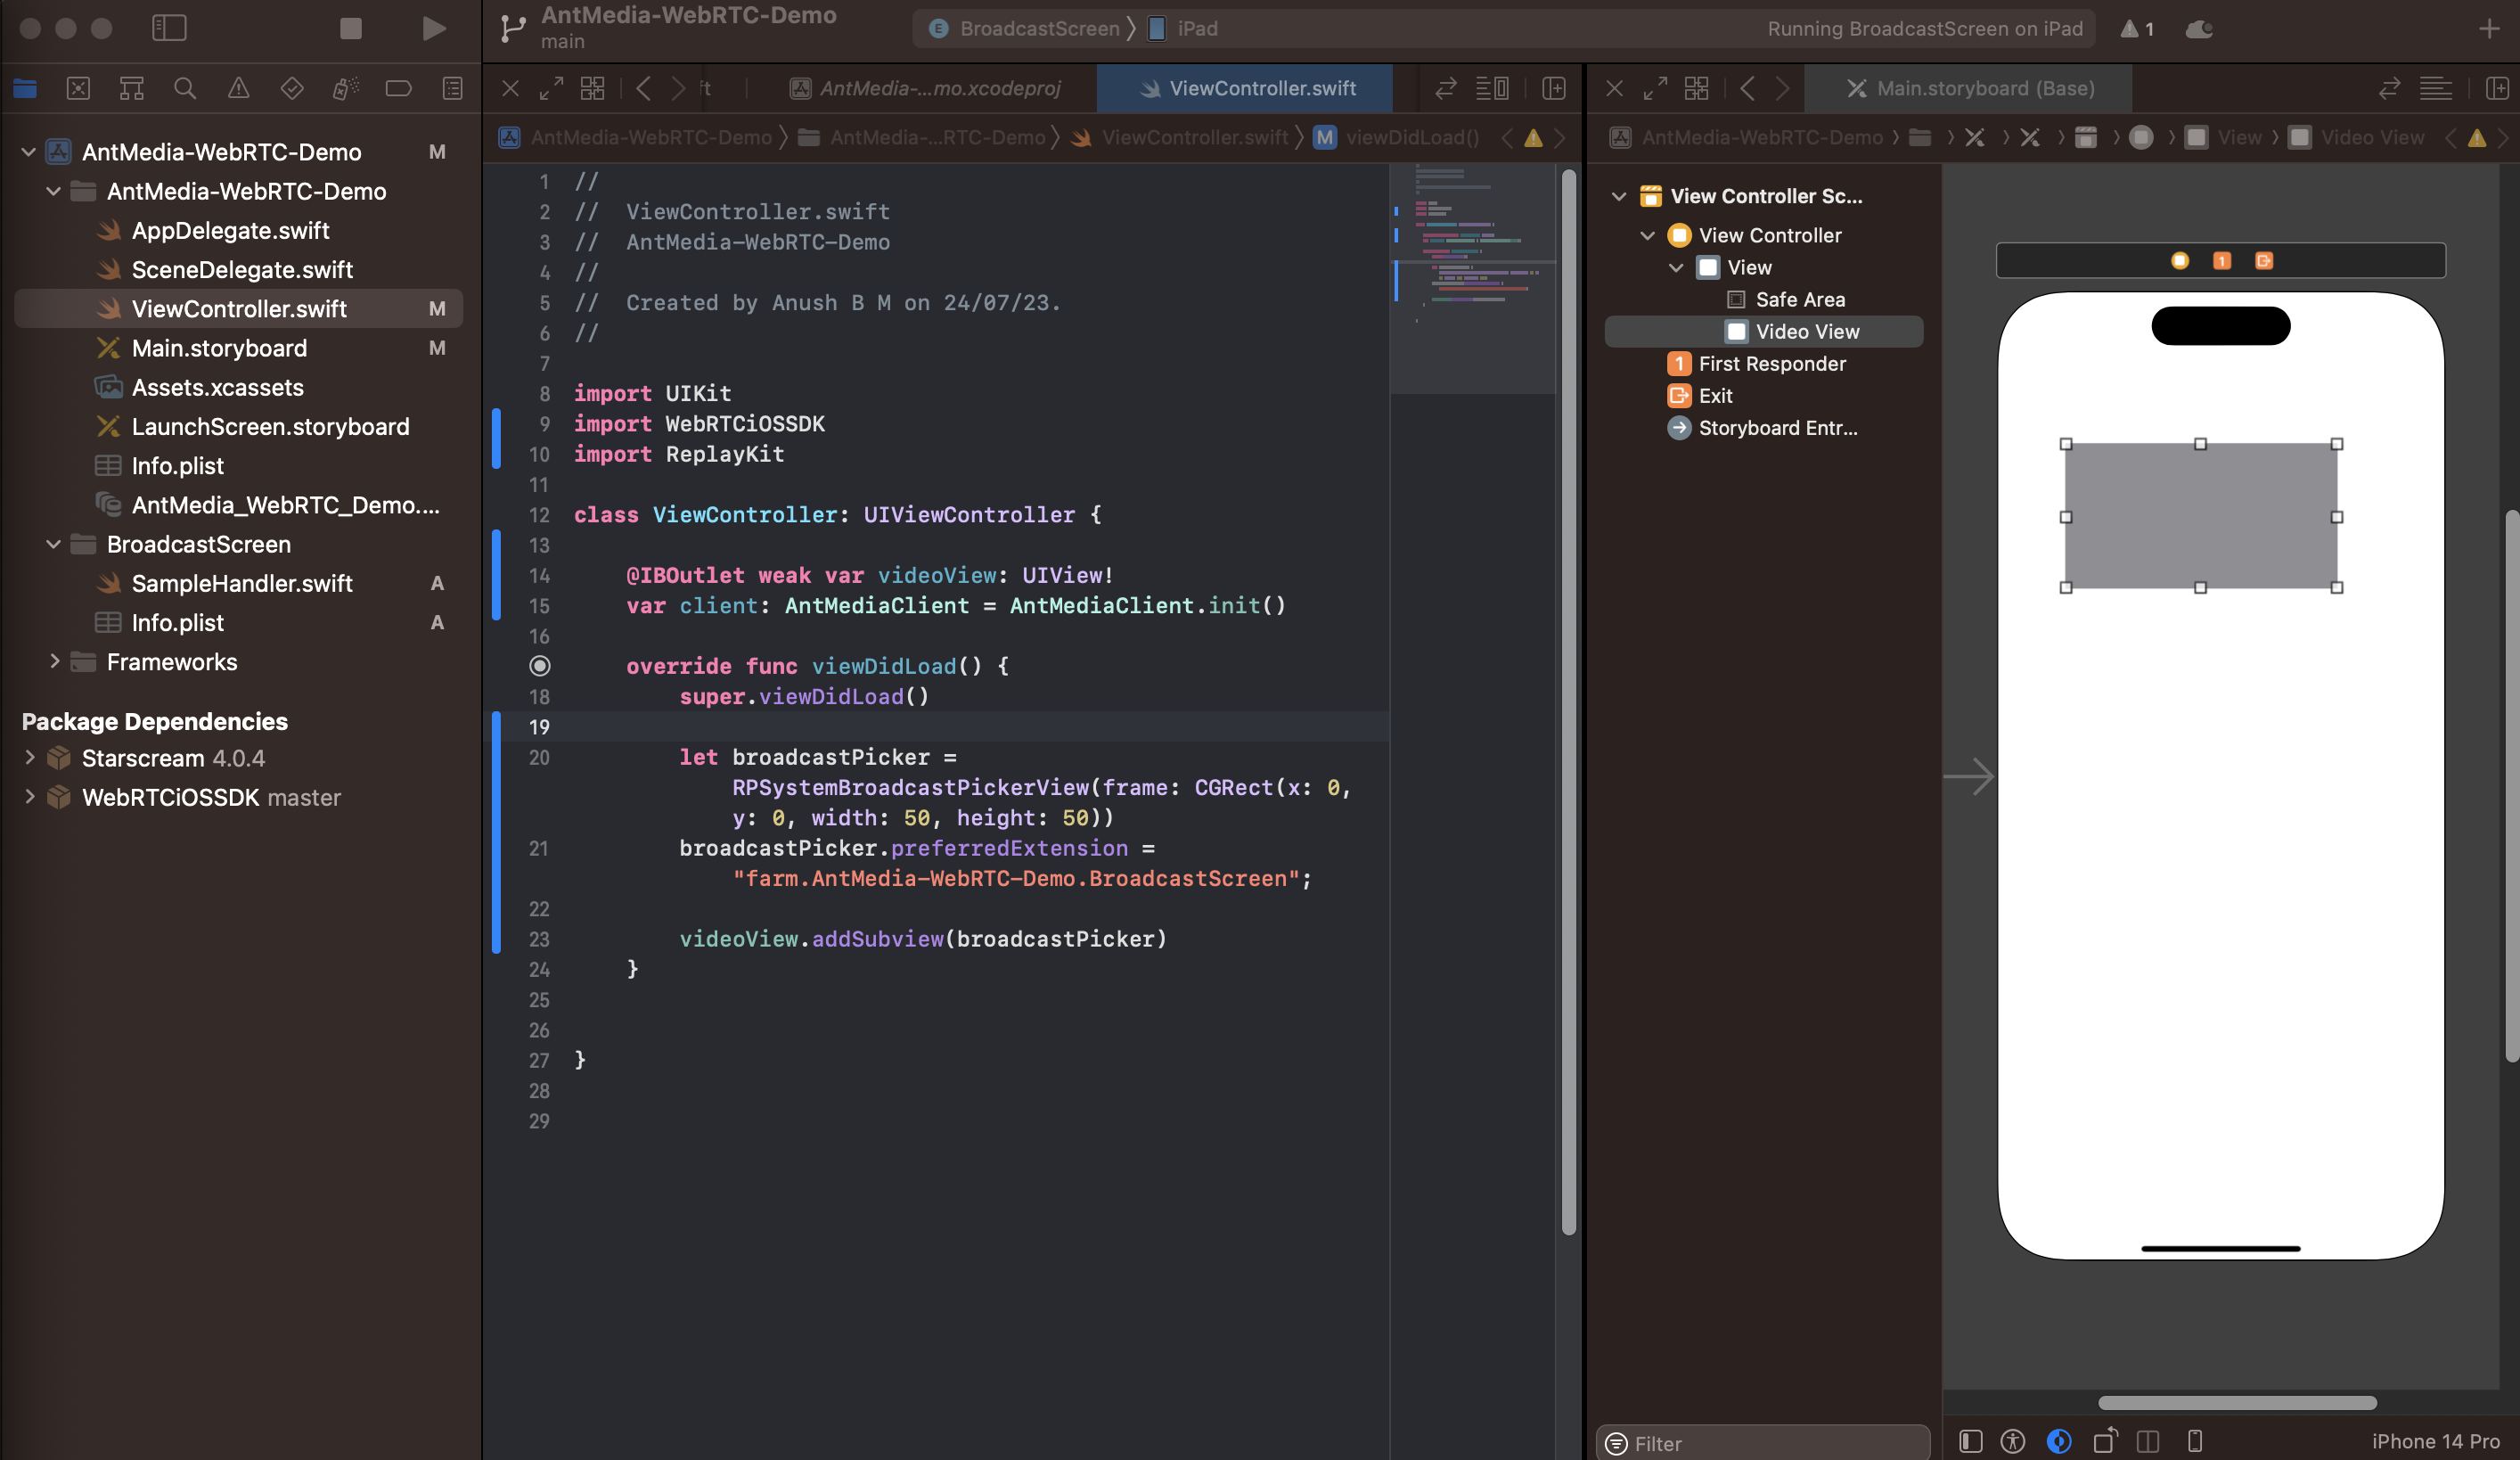 Once you’ve added the provided code, the
 RPSystemBroadcastPickerView will be successfully integrated into your ViewController’s view.
- Let’s add Privacy descriptions to
Info.plist. Right-clickInfo.plistand add Microphone Usage descriptions as below oninfo.plist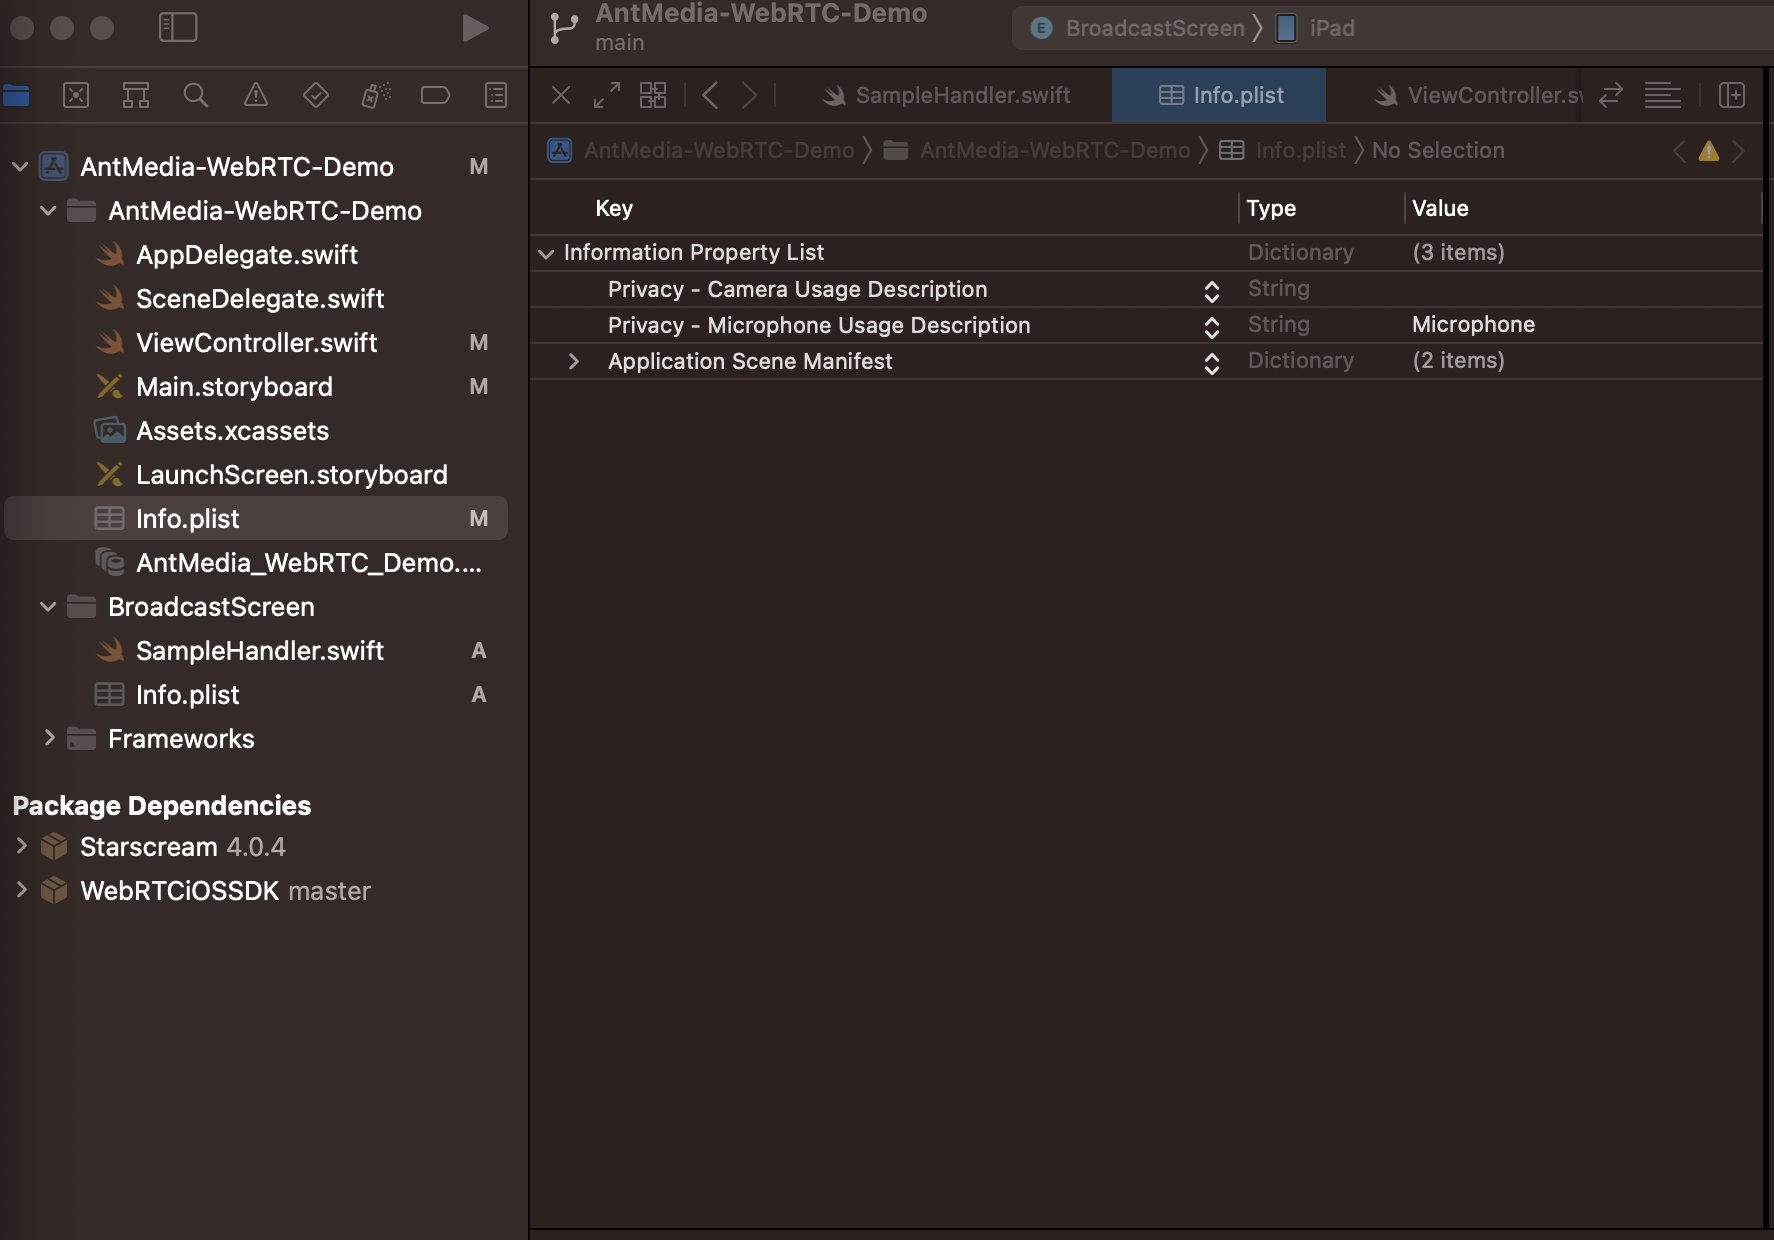
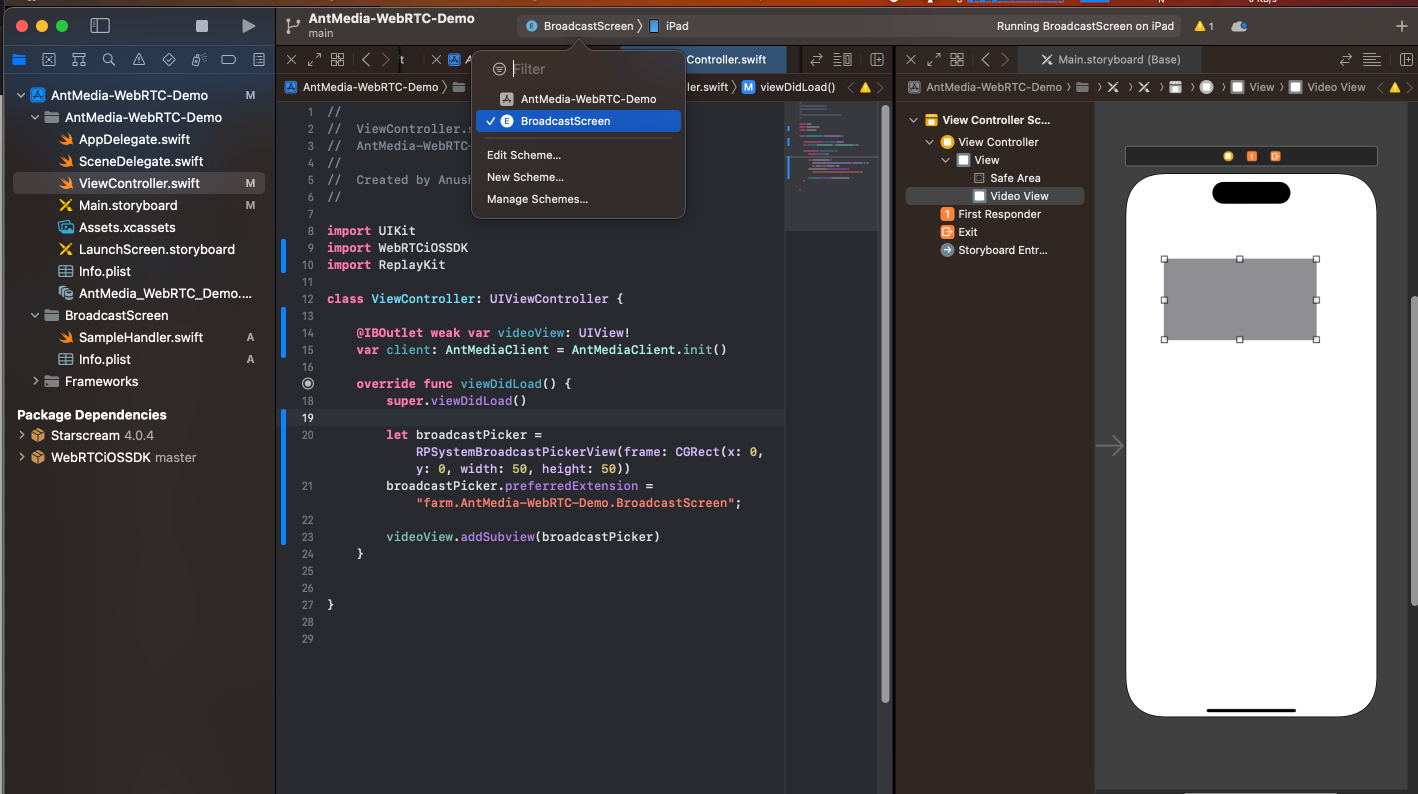
Step 4: Testing and Optimization
-
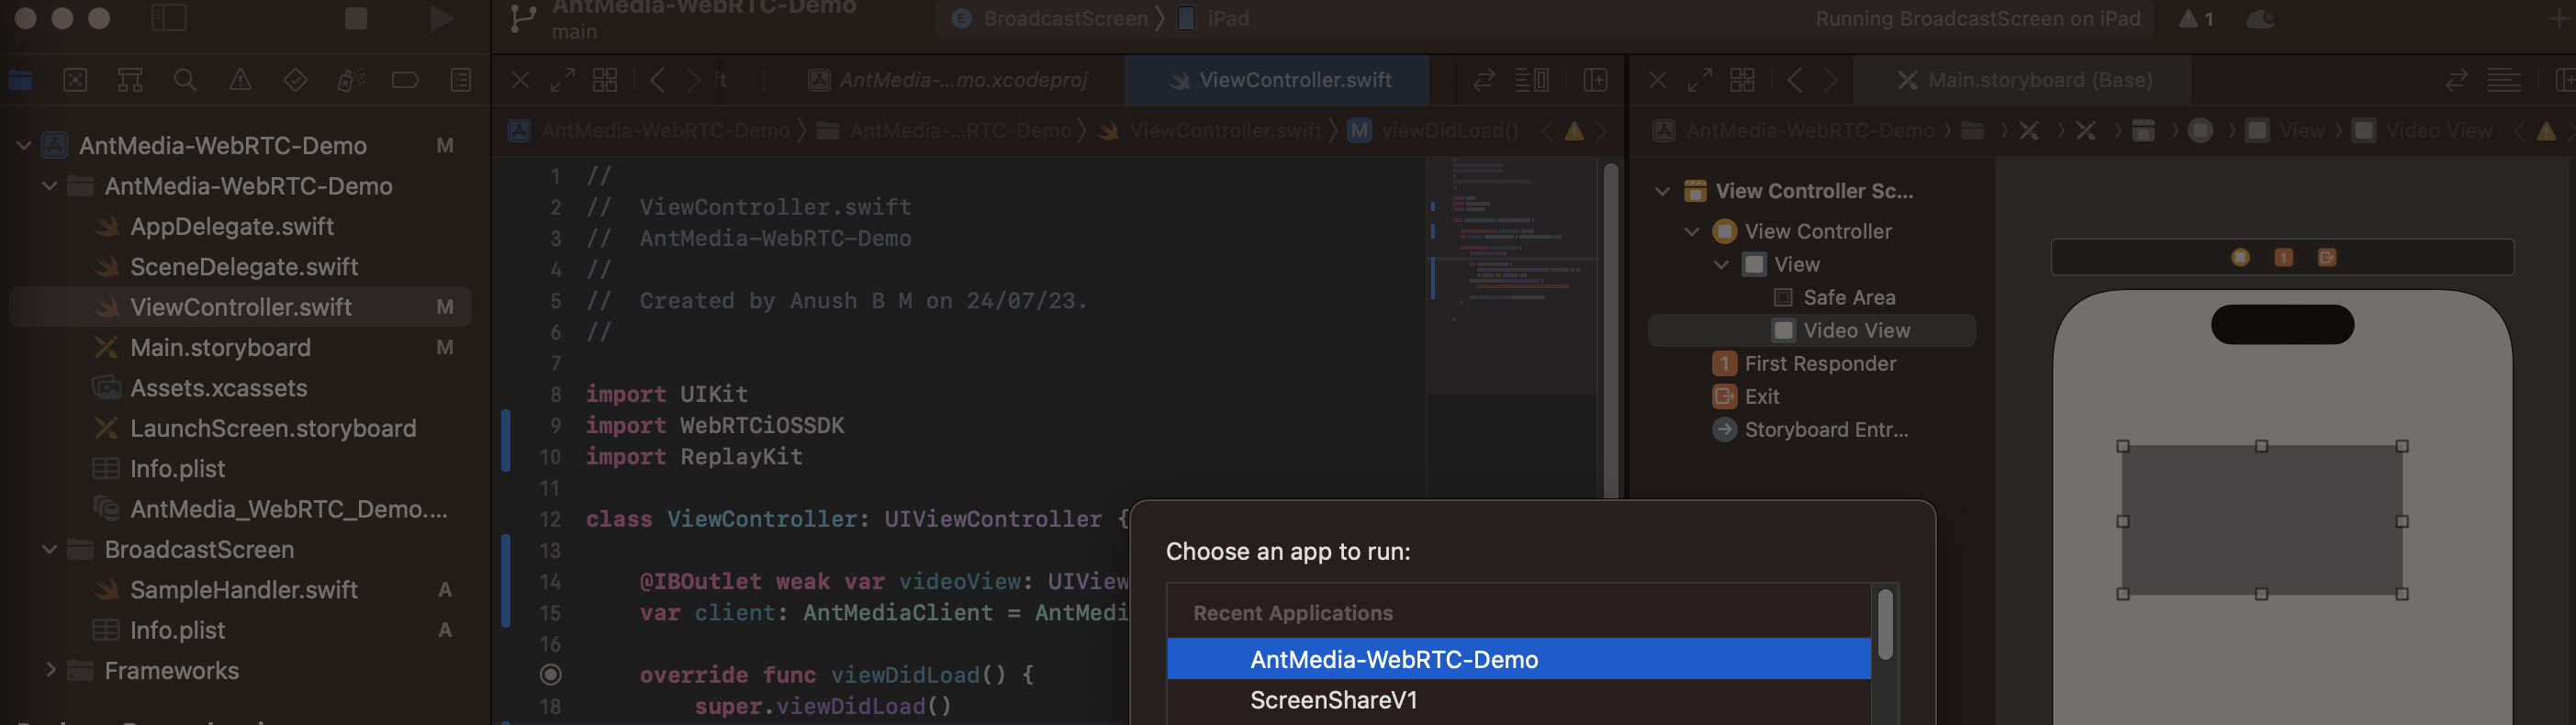
Choose Broadcast Screen in the Targets.
-
Run the BroadcastScreen. Choose the original application and click on Run
-
You are ready to start streaming your screen.
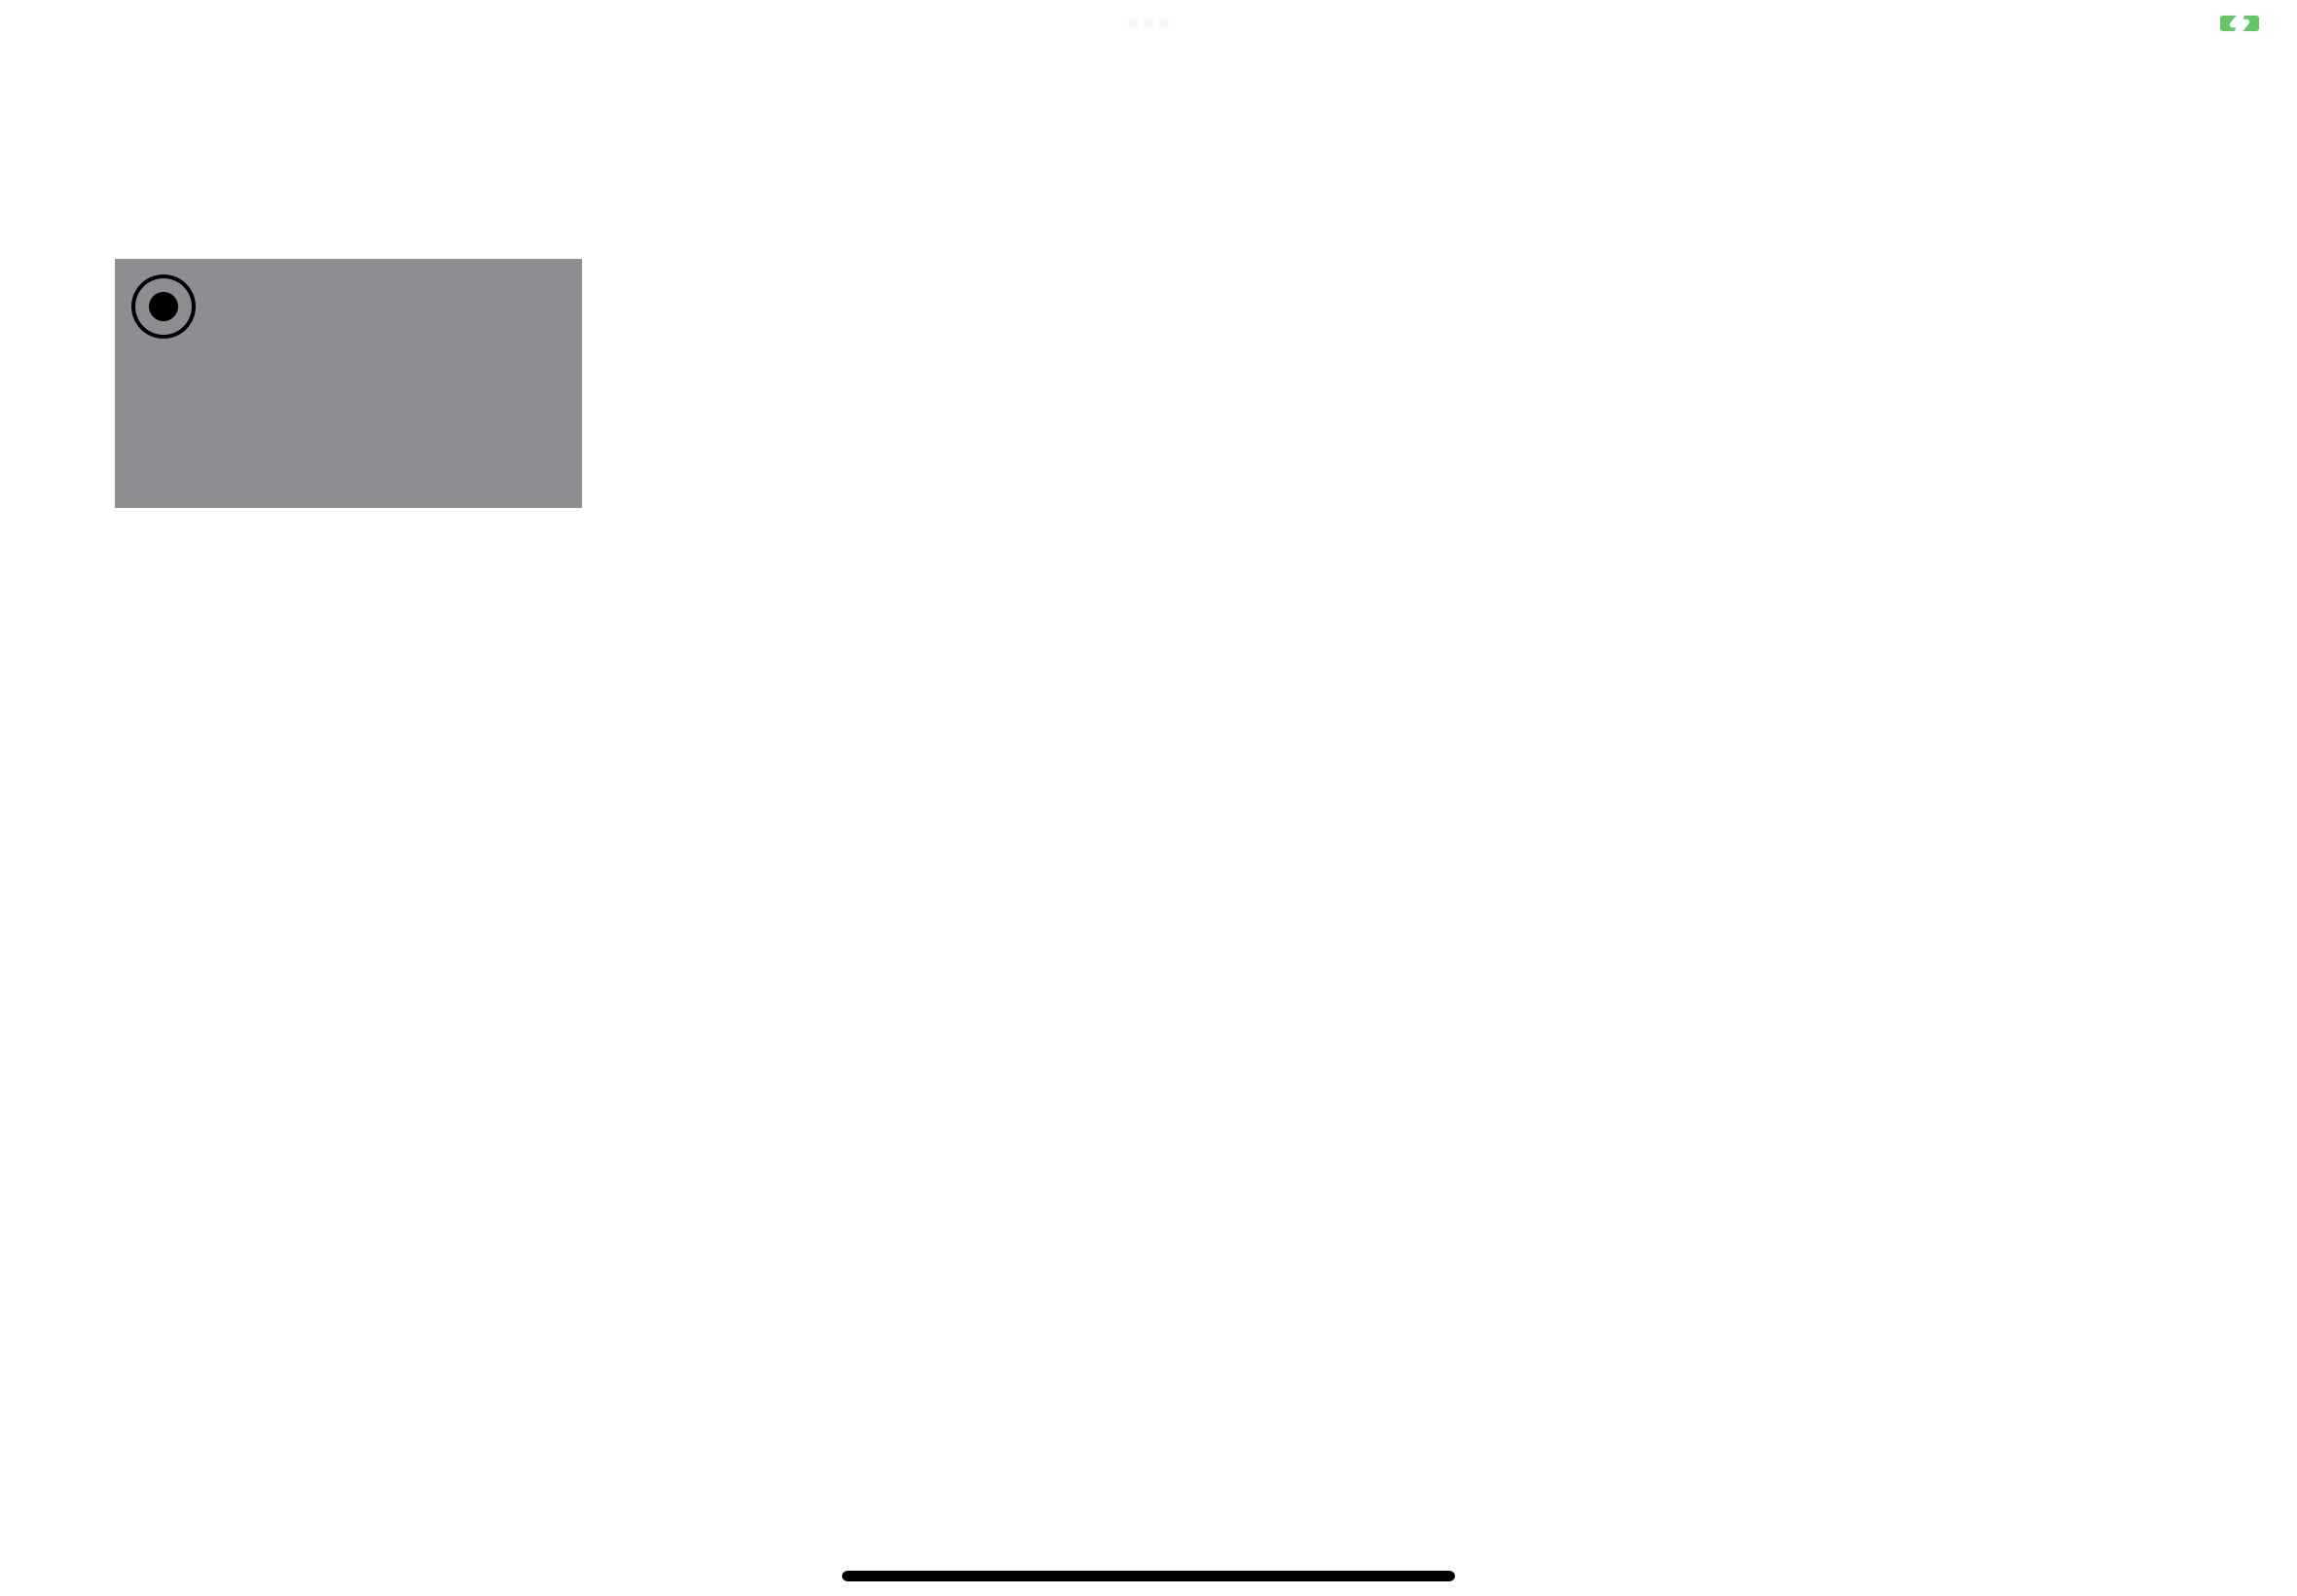
-
You should see a live stream on your Ant Media Server.
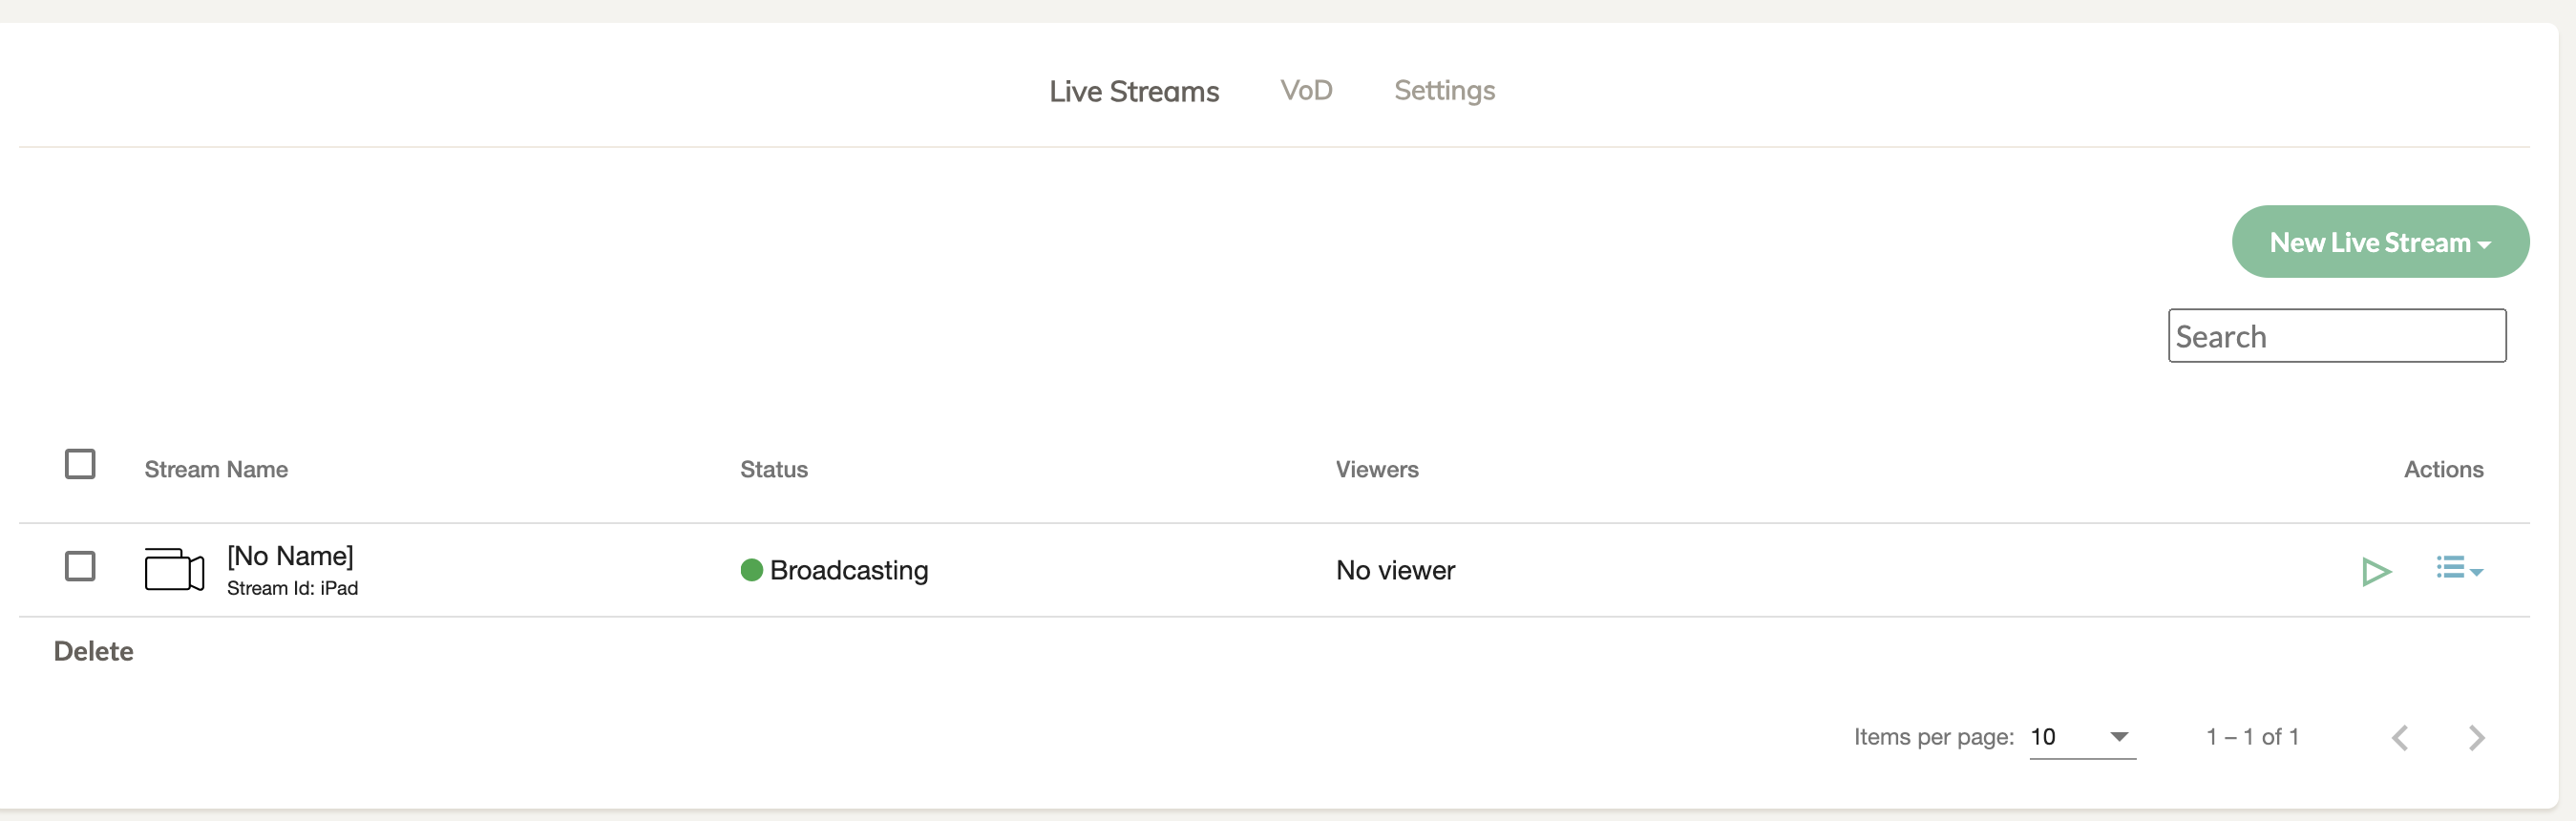
-
You can now stream your device screen with audio.
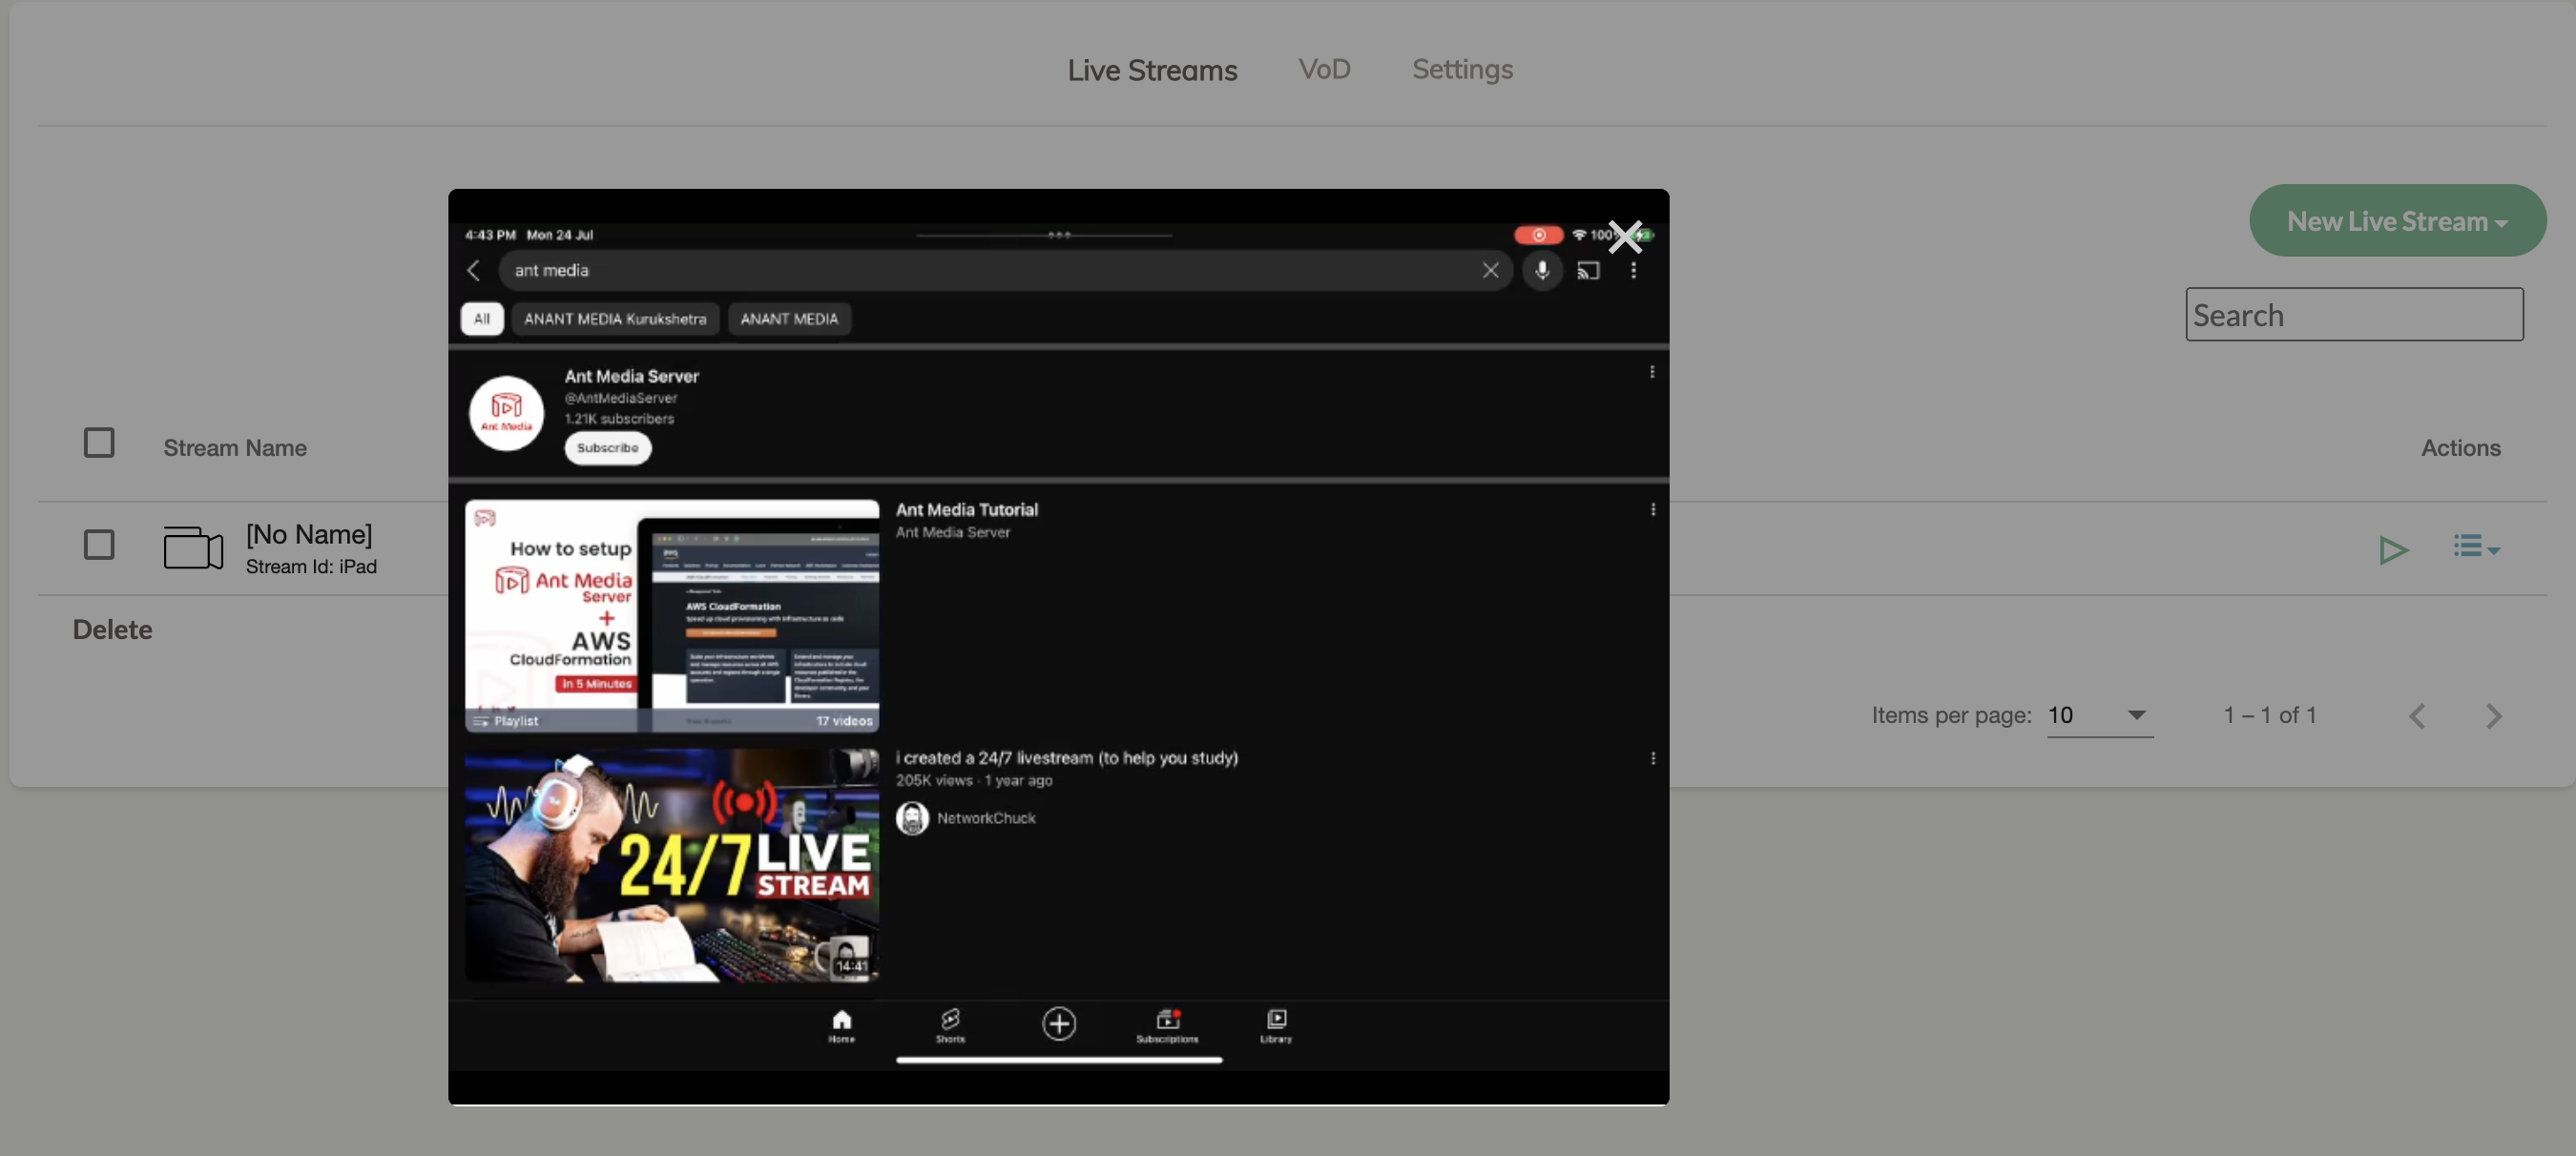
Congratulations! You have successfully implemented iOS screen sharing with the Ant Media iOS SDK and WebRTC using Broadcast extension.