Play WebRTC stream in iOS
Step 4: Play WebRTC Live Stream in iOS
- Playing a WebRTC live stream in your iOS application is easier once you've created the project and published the stream.
- Edit the
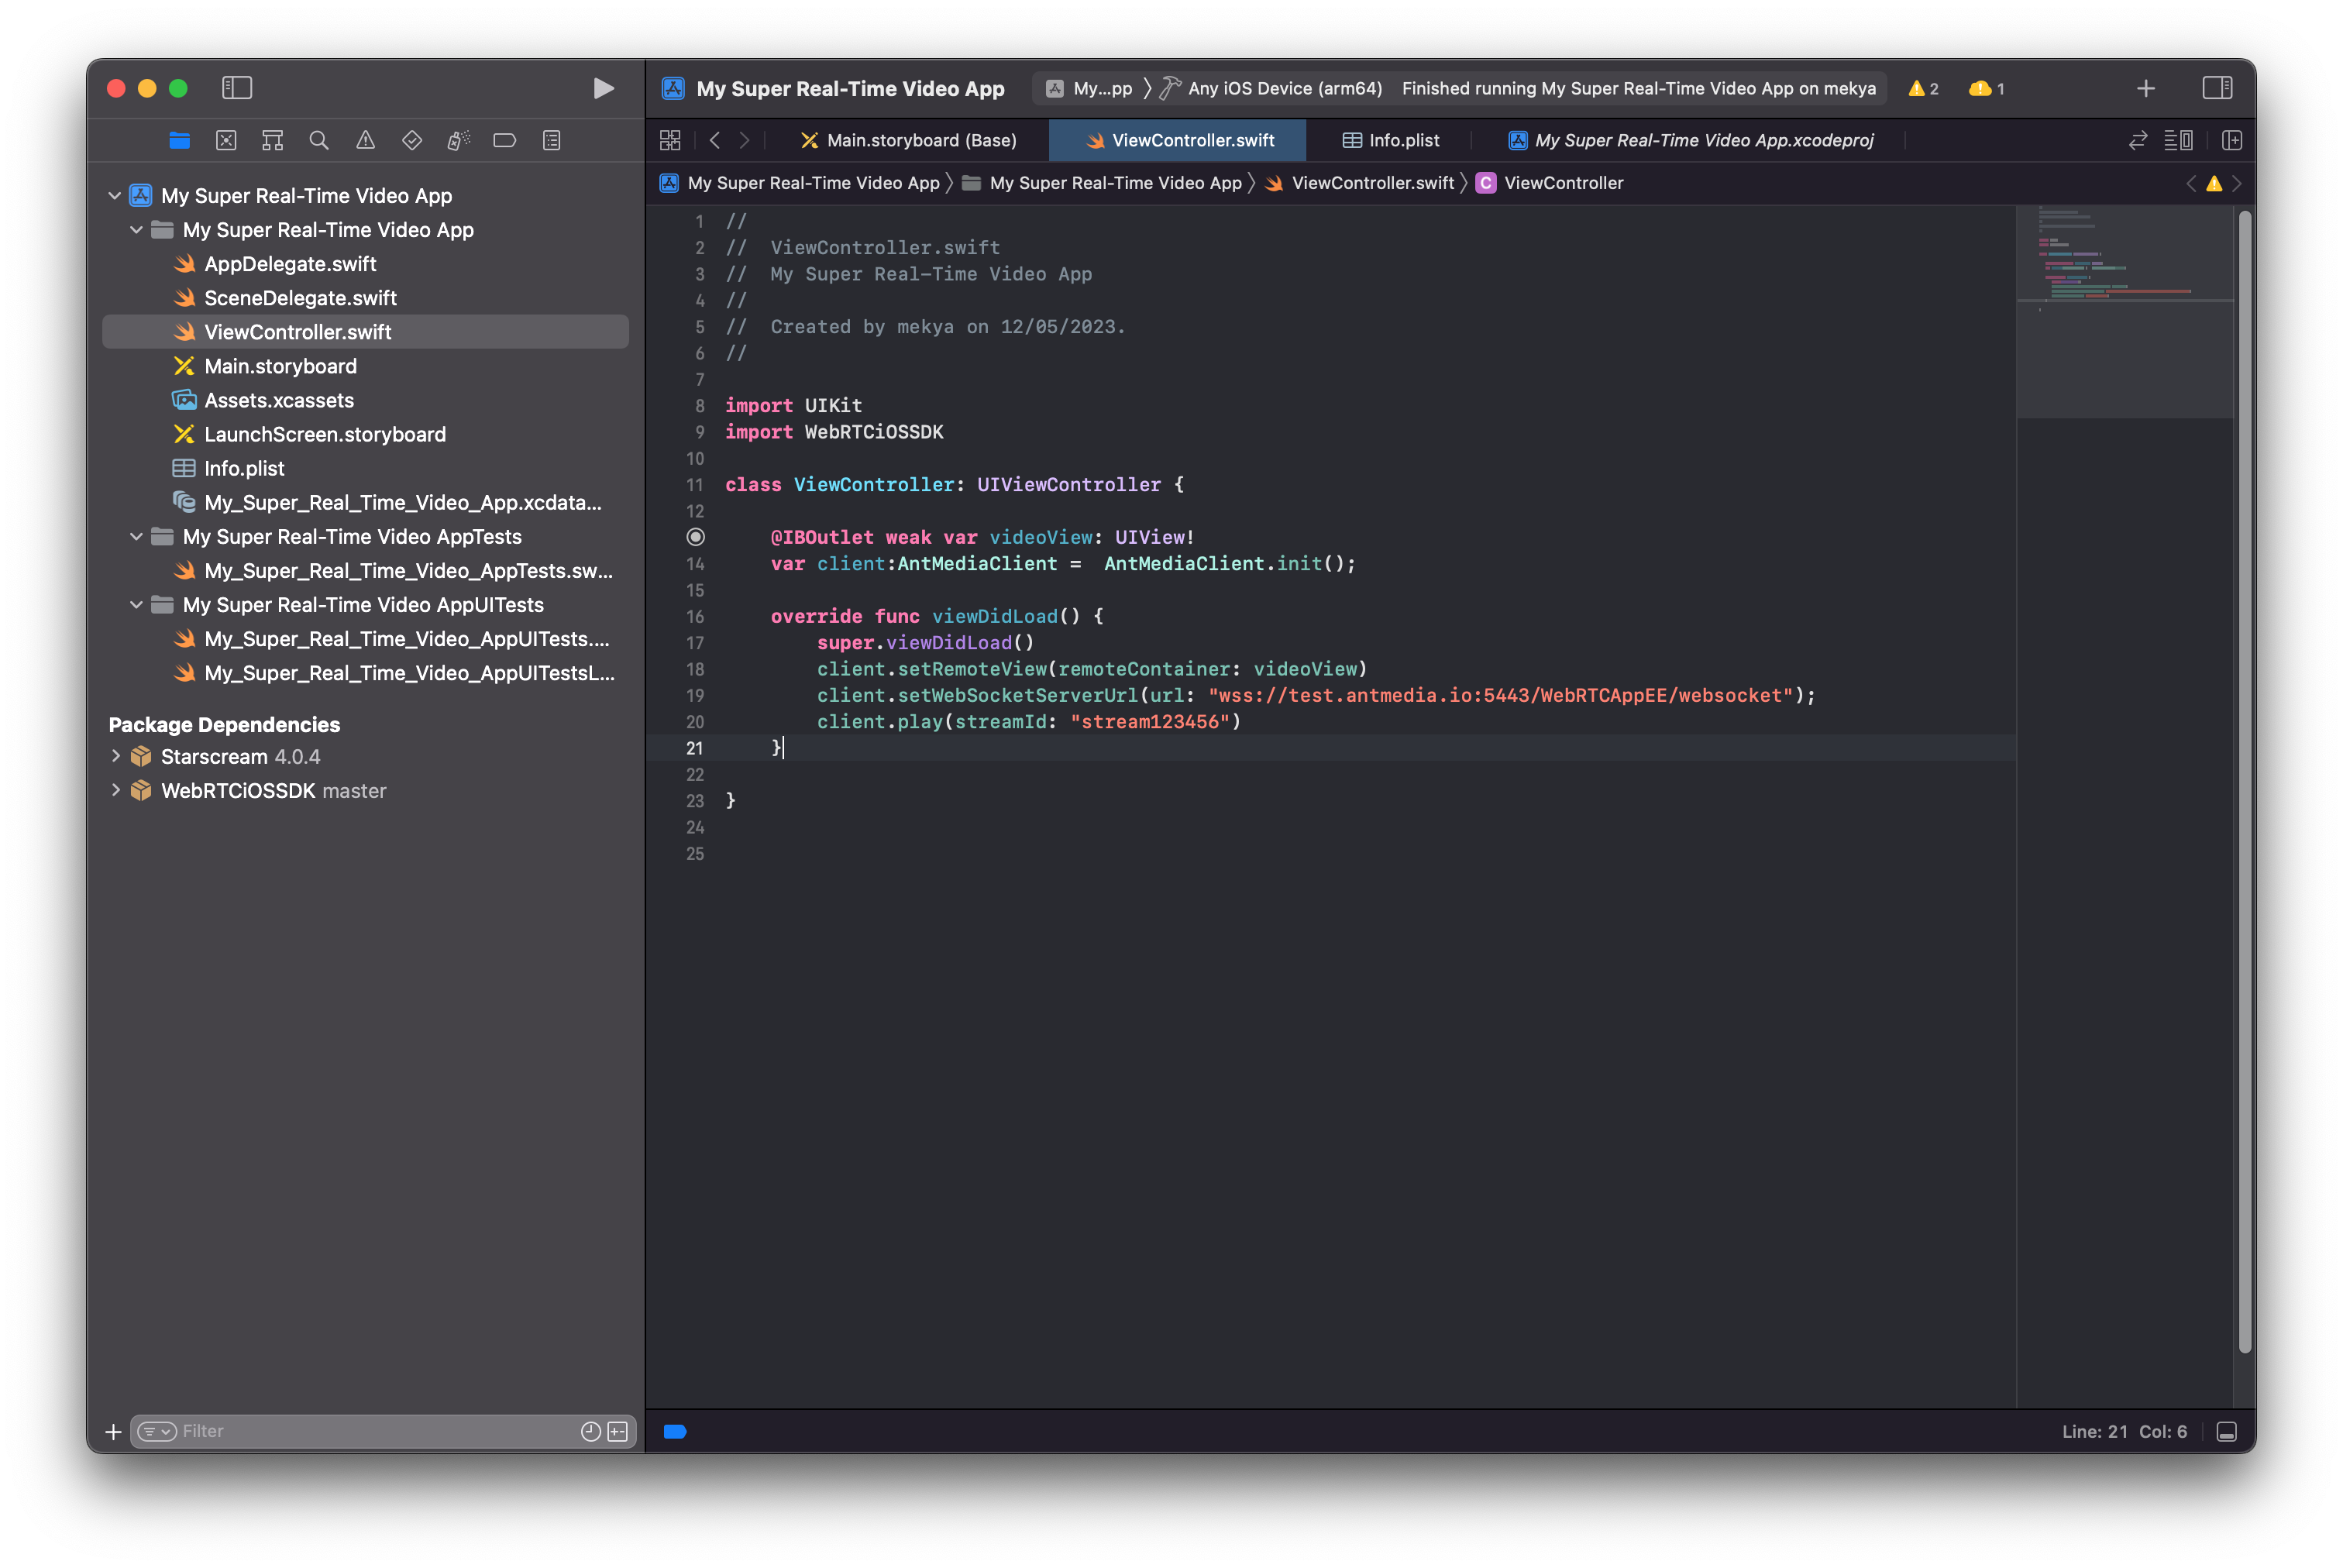
ViewController.swiftfile with the below code snippet
import UIKit
import WebRTCiOSSDK

class ViewController: UIViewController {

    @IBOutlet weak var videoView: UIView!
    var client:AntMediaClient =  AntMediaClient.init();

    override func viewDidLoad() {
        super.viewDidLoad()
        client.setRemoteView(remoteContainer: videoView)
        client.setWebSocketServerUrl(url: "wss://test.antmedia.io:5443/WebRTCAppEE/websocket");
        client.play(streamId: "stream123456")
    }
}
-
Visit the WebRTC Publish page, enter "stream123456" in the box, and click "Start Publishing" to make the stream available.
-
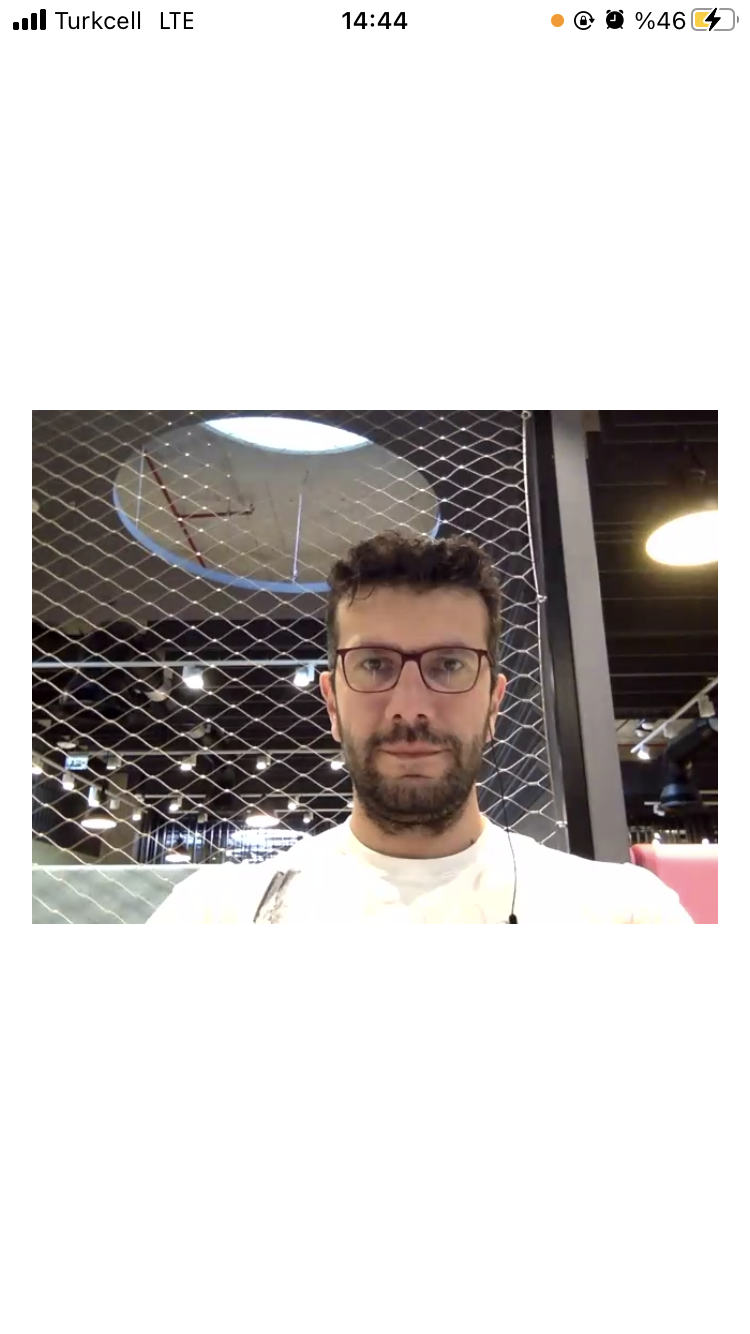
Run your WebRTC iOS application to play the stream.
-
Congratulations! You have successfully played a WebRTC live stream in iOS.
By following this guide, you have learned how to publish and play WebRTC live streams in your iOS application. If you're eager to explore more features and samples, visit the WebRTC-iOS-SDK repository and try the sample WebRTC iOS Application.
In the next consequent updates to this document, we’re going to show you how to share screens in iOS and how to make a conferencing application in iOS.