
Video conferencing is a type of virtual, online meeting where two or more people talk through a video and audio call in real time.
During the pandemic, the culture of remote work has become widespread. As a result, meeting online is very popular way to connect.
Did you know that you can easily develop your own conference application?
Here is a quick tutorial to show you how to create a conference solution easily on React Native.
Before we start building a video conferencing application with react native, l want share some information about Ant Media Server’s React Native SDK and Conference Solution.
With Ant Media’s React Native WebRTC SDK, you can build your very own React Native application capable of publishing and playing WebRTC broadcasts using just a few lines of code.
Besides, you can also benefit from React Native’s multi-platform features, and build not only mobile apps but Mac OS and Windows apps as well.
You can find the complete documentation of React Native SDK here
The Ant Media’s Conference solution supports both MCU and SFU topology. Besides that, it’s really easy to create or manage conference rooms through the Rest API.

Prerequisites to build video a conferencing app with React Native
Let’s make sure you have the following in your development environment:
For iOS
- Node.js
- npm
- react-native-cli
- cocoapods
- iOS device
- macOS
- Ant Media Server Enterprise Edition
For Android
- Node.js
- npm
- react-native-cli
- Android simulator or Android device
- macOS or Windows
- Ant Media Server Enterprise Edition
Let’s get started building a video conferencing app
The React Native WebRTC SDK is open source and free to download. You can access it on GitHub.
Let’s clone the conference sample application and start to explore.
In the terminal type:
Go to the conference sample application
conference.tsx file inside src folder with your favorite IDE and change webSocketUrl constant to your Ant Media Server instance url. 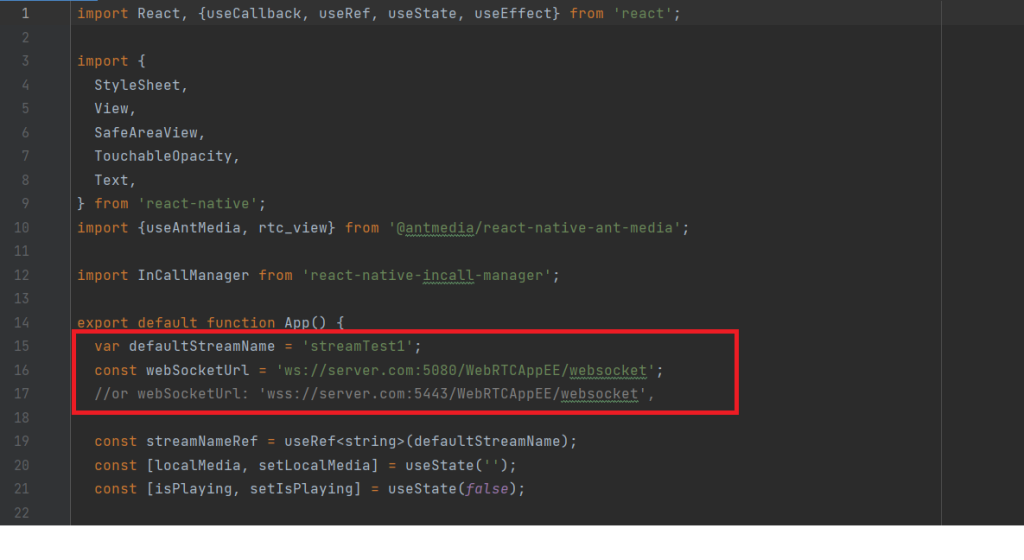
Your video conferencing app is ready to run
Run npm install to install the dependencies.
Now run the project with npm run android or npm run ios
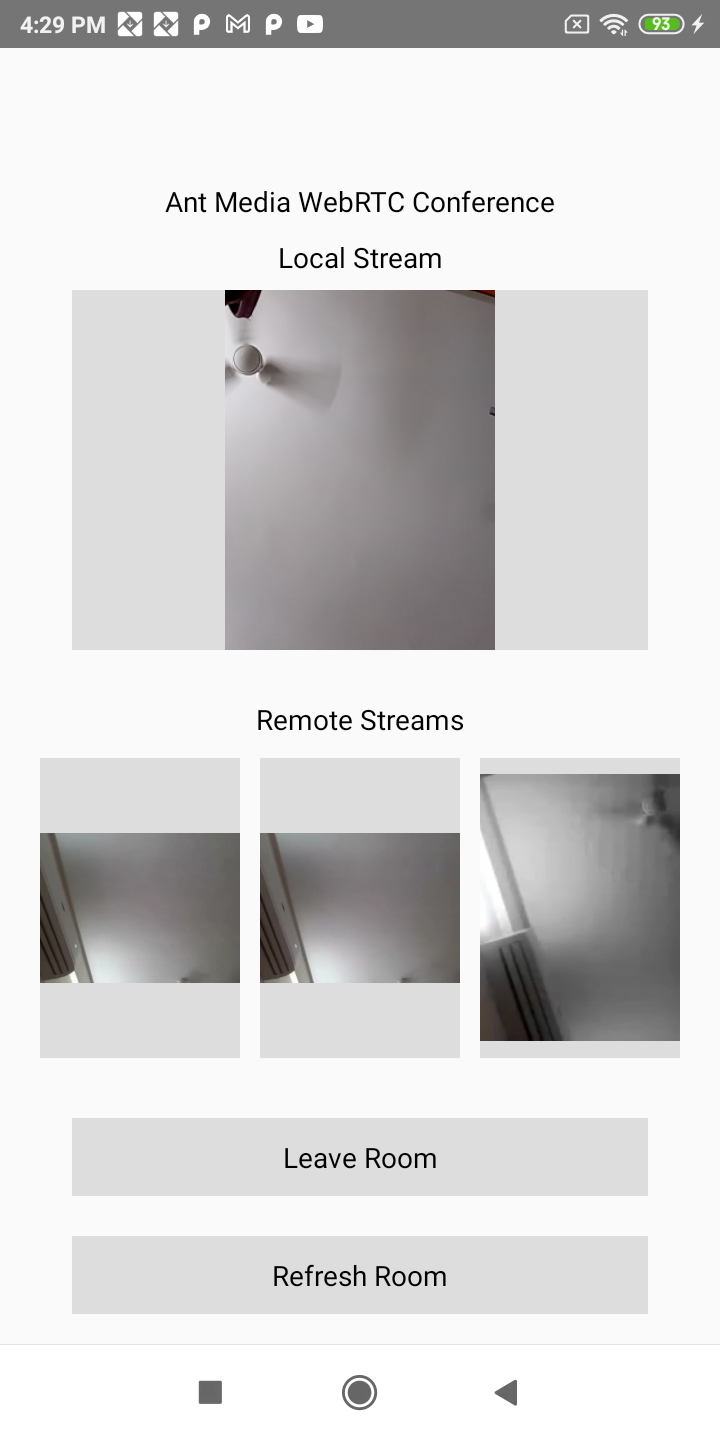
Let’s check how it works.
useAntMedia adaptor as below. After initializing the adaptor, it’s just one line of code to start publishing.
The method below is used to stop publishing.
If you wanted to play a stream, you can use method in the below.
As you see, it’s so easy to use.
Try Ant Media Server for Free
Explore Ant Media Server now to provide viewers with a unique experience.
Try Ant Media Server for free with its full features including all WebRTC SDKs.


