AWS(Amazon Web Services) Certificate Manager provides a free public SSL Certificate that can be used in AWS Load Balancer for HTTPS access. Unfortunately, it’s something a little weird at first to set it up first. So that we prepare this blog post in order to provide a step by step guide to making life easier. In our guide below, we use a subdomain of antmedia.io that is registered at another company.
How to get the SSL Certificate on AWS Certificate Manager?
Let’s start step by step!
Request Certificate
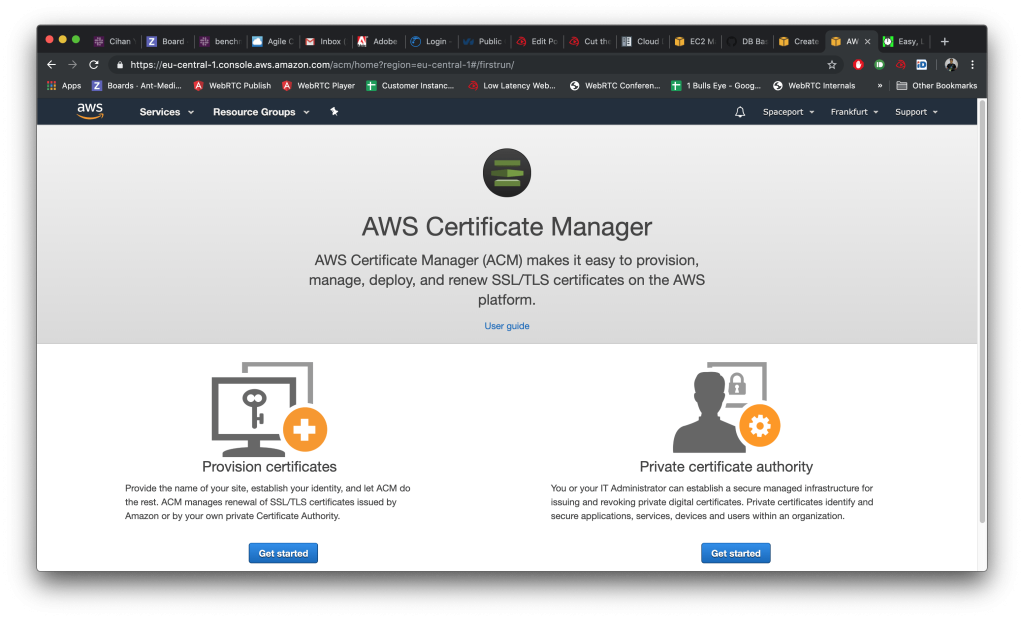
- Login to AWS Management Console and Go to AWS Certificate Manager from AWS Services. Click “Request a certificate”

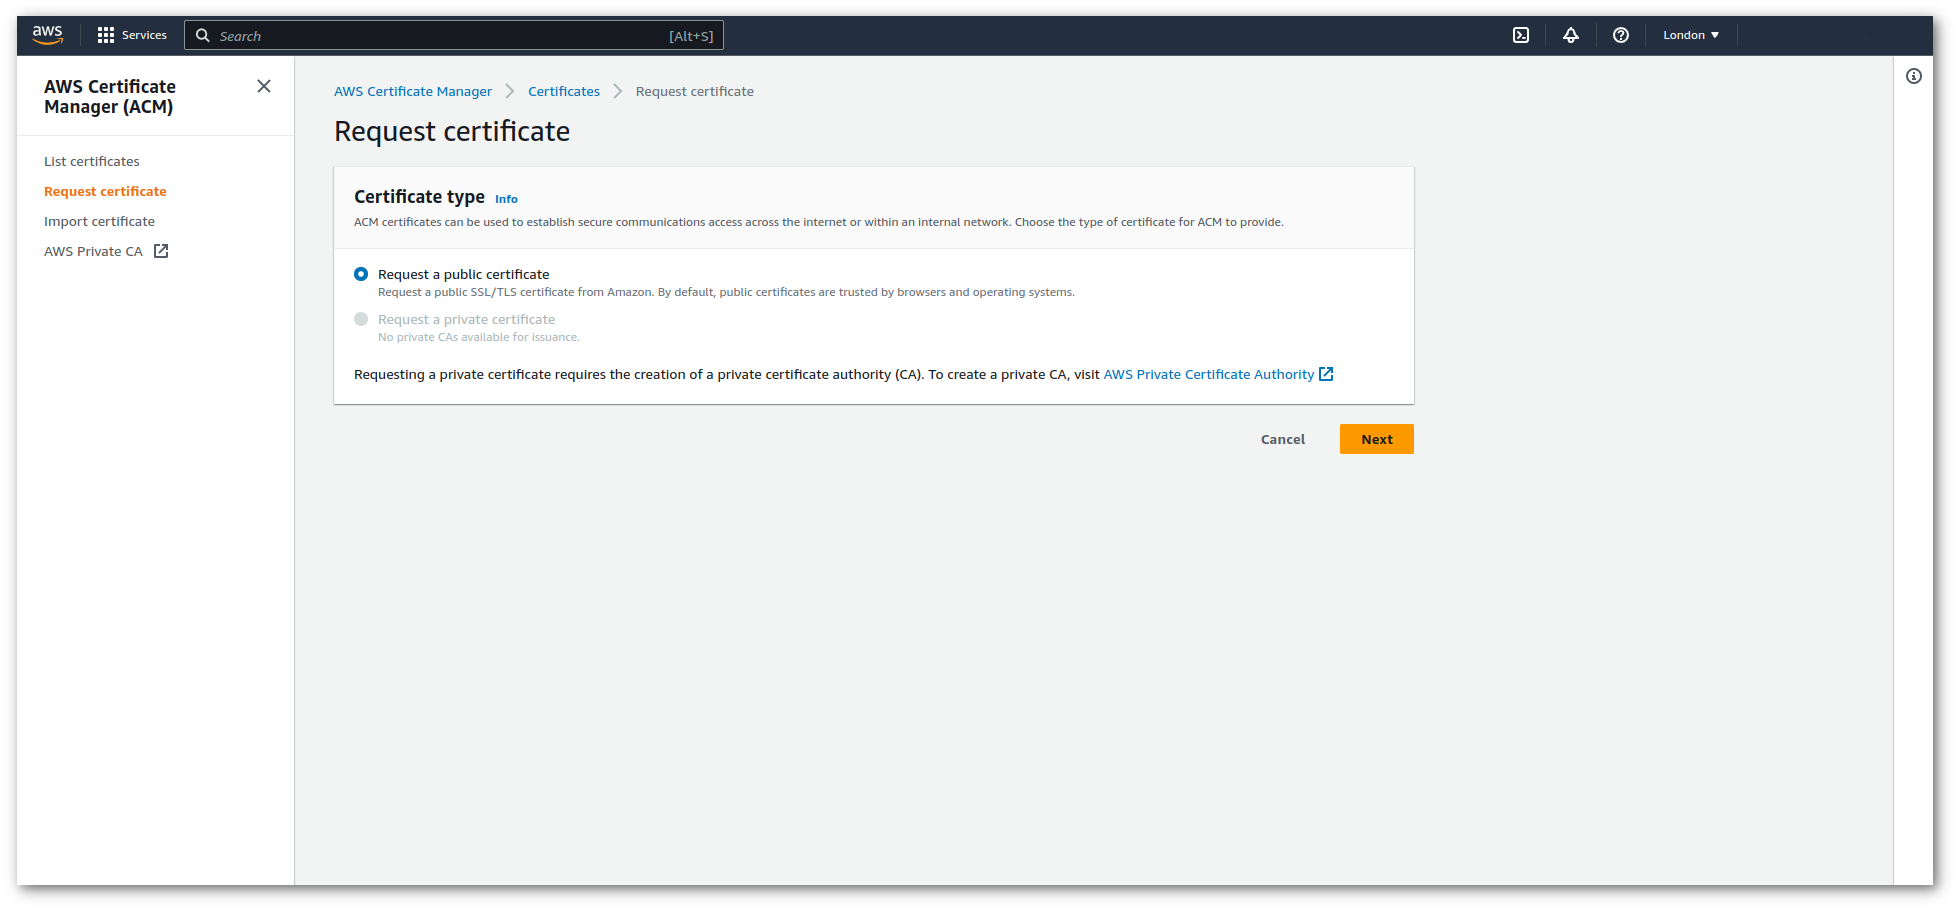
- Choose “Request a public certificate” and Click “Next”
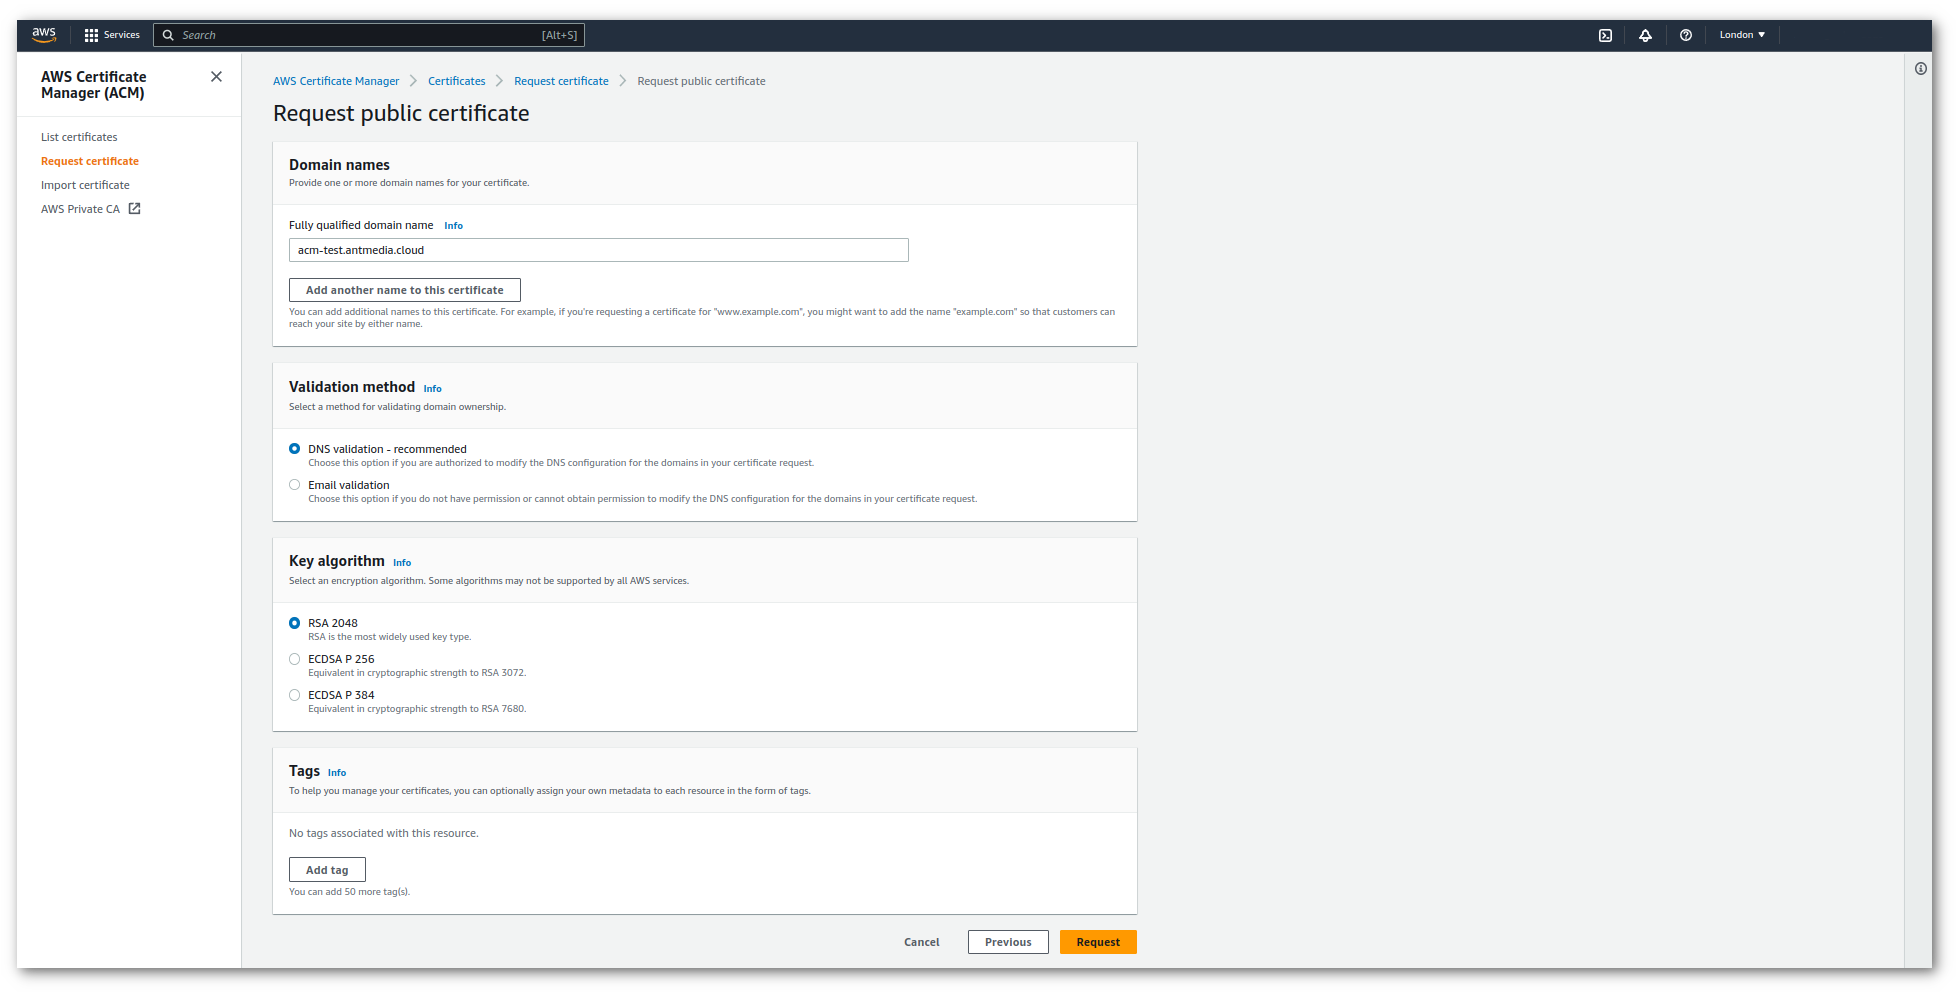
- Write your domain name into the box. We use “acm-test.antmedia.cloud” and select “DNS validation” for our case. Because it sounds simpler for us and click “Request” button.
DNS Validation
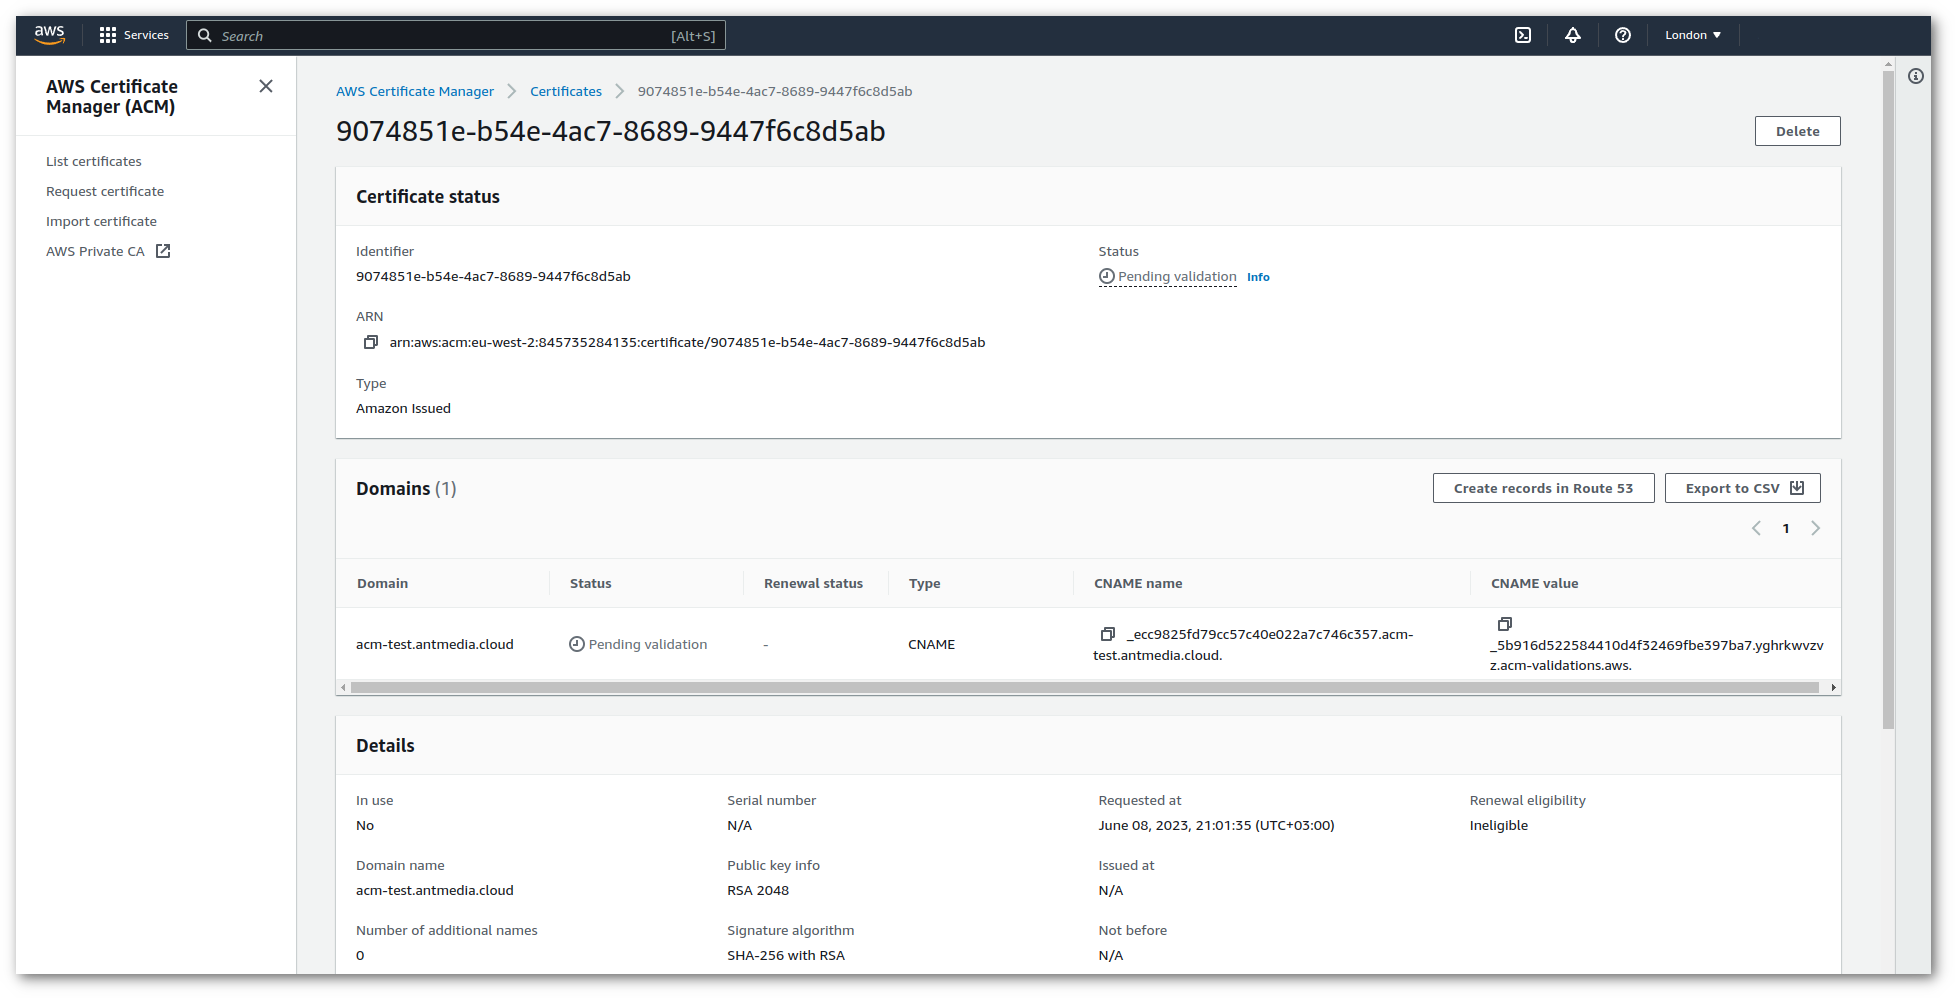
- In the coming window, it shows CNAME for DNS validation and its state is “Pending Validation”. To get the CNAME record, Click the arrow on the left side of your domain name and it shows the CNAME record as shown in the image below. Save the CNAME record and click “Continue”. It’s time to add CNAME in your DNS configuration. The company where you register your Domain name provides you a configuration panel so that you can go that panel and add CNAME record for that. You can ask for support to the company where you register your domain name. Let’s proceed,
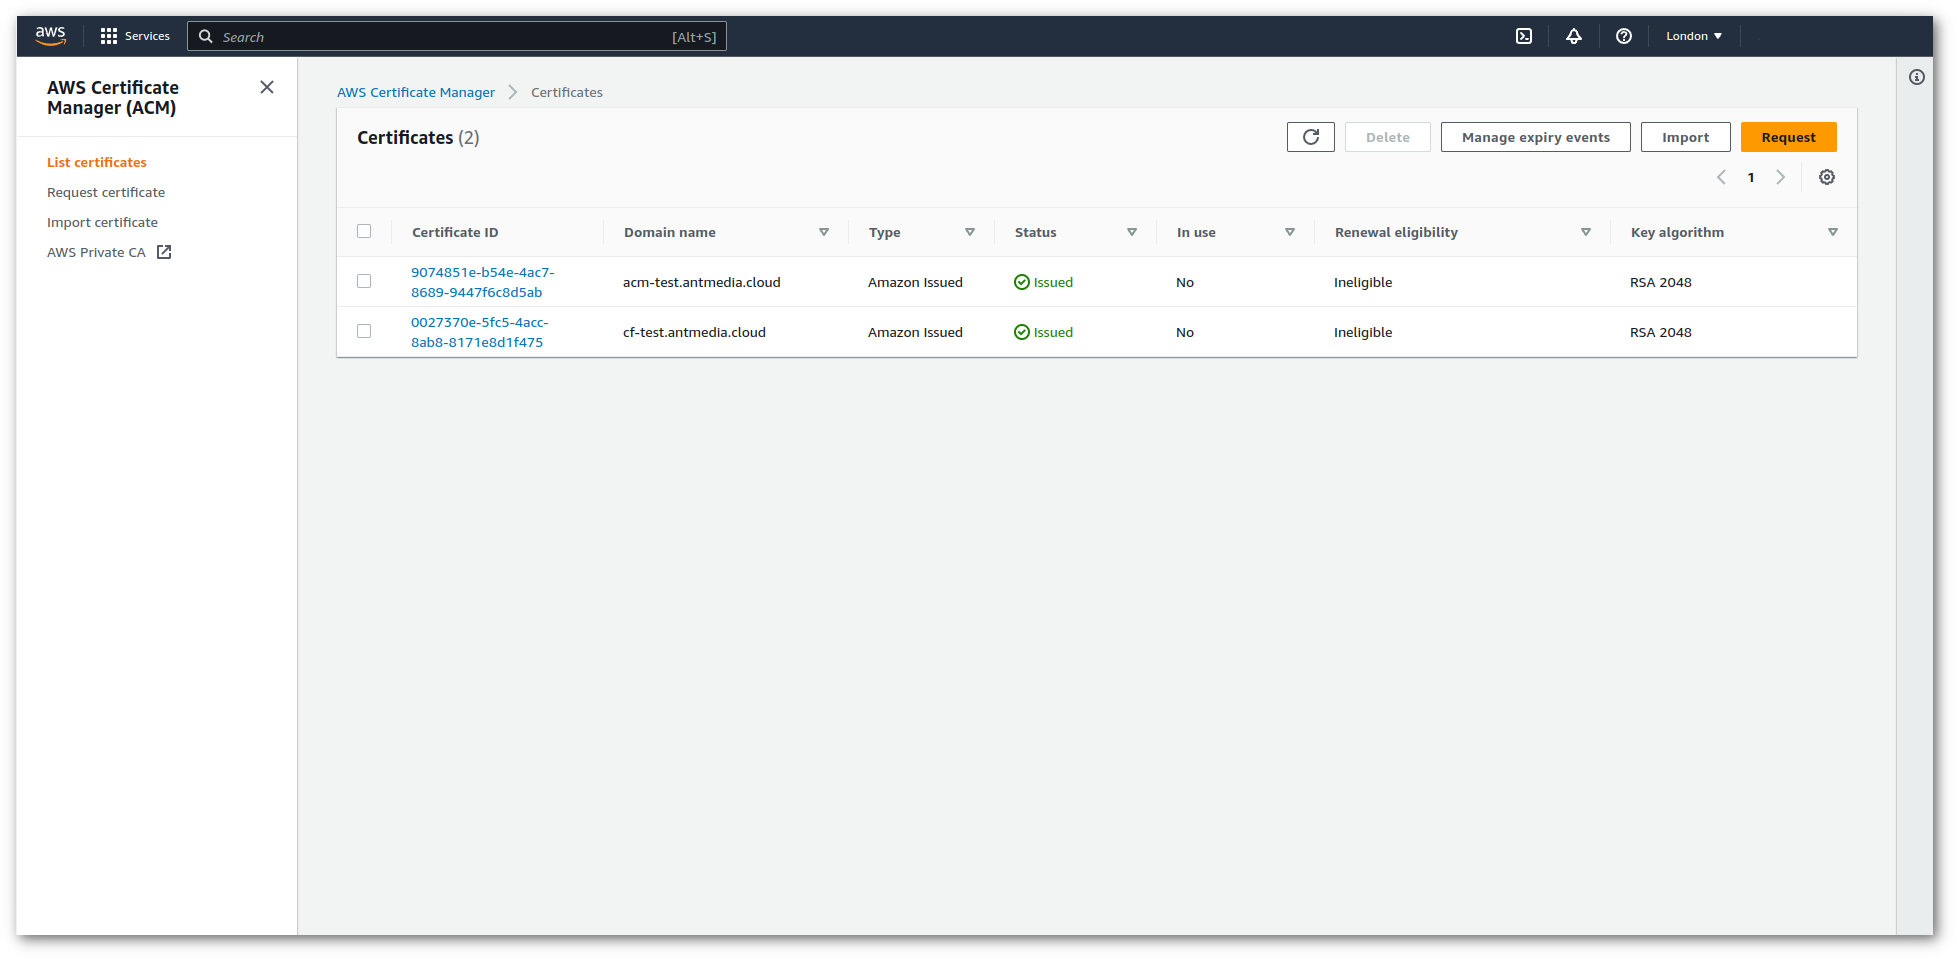
- In the next page, it again shows that it’s in “Pending Validation” state. After you add CNAME records to your DNS configuration. Come back to same page and click “Refresh” button on the right top of the page. It may take some time(5-10 mins) to be issued. After that, its state will return to “Issued” as shown below.
Use SSL in your Load Balancer
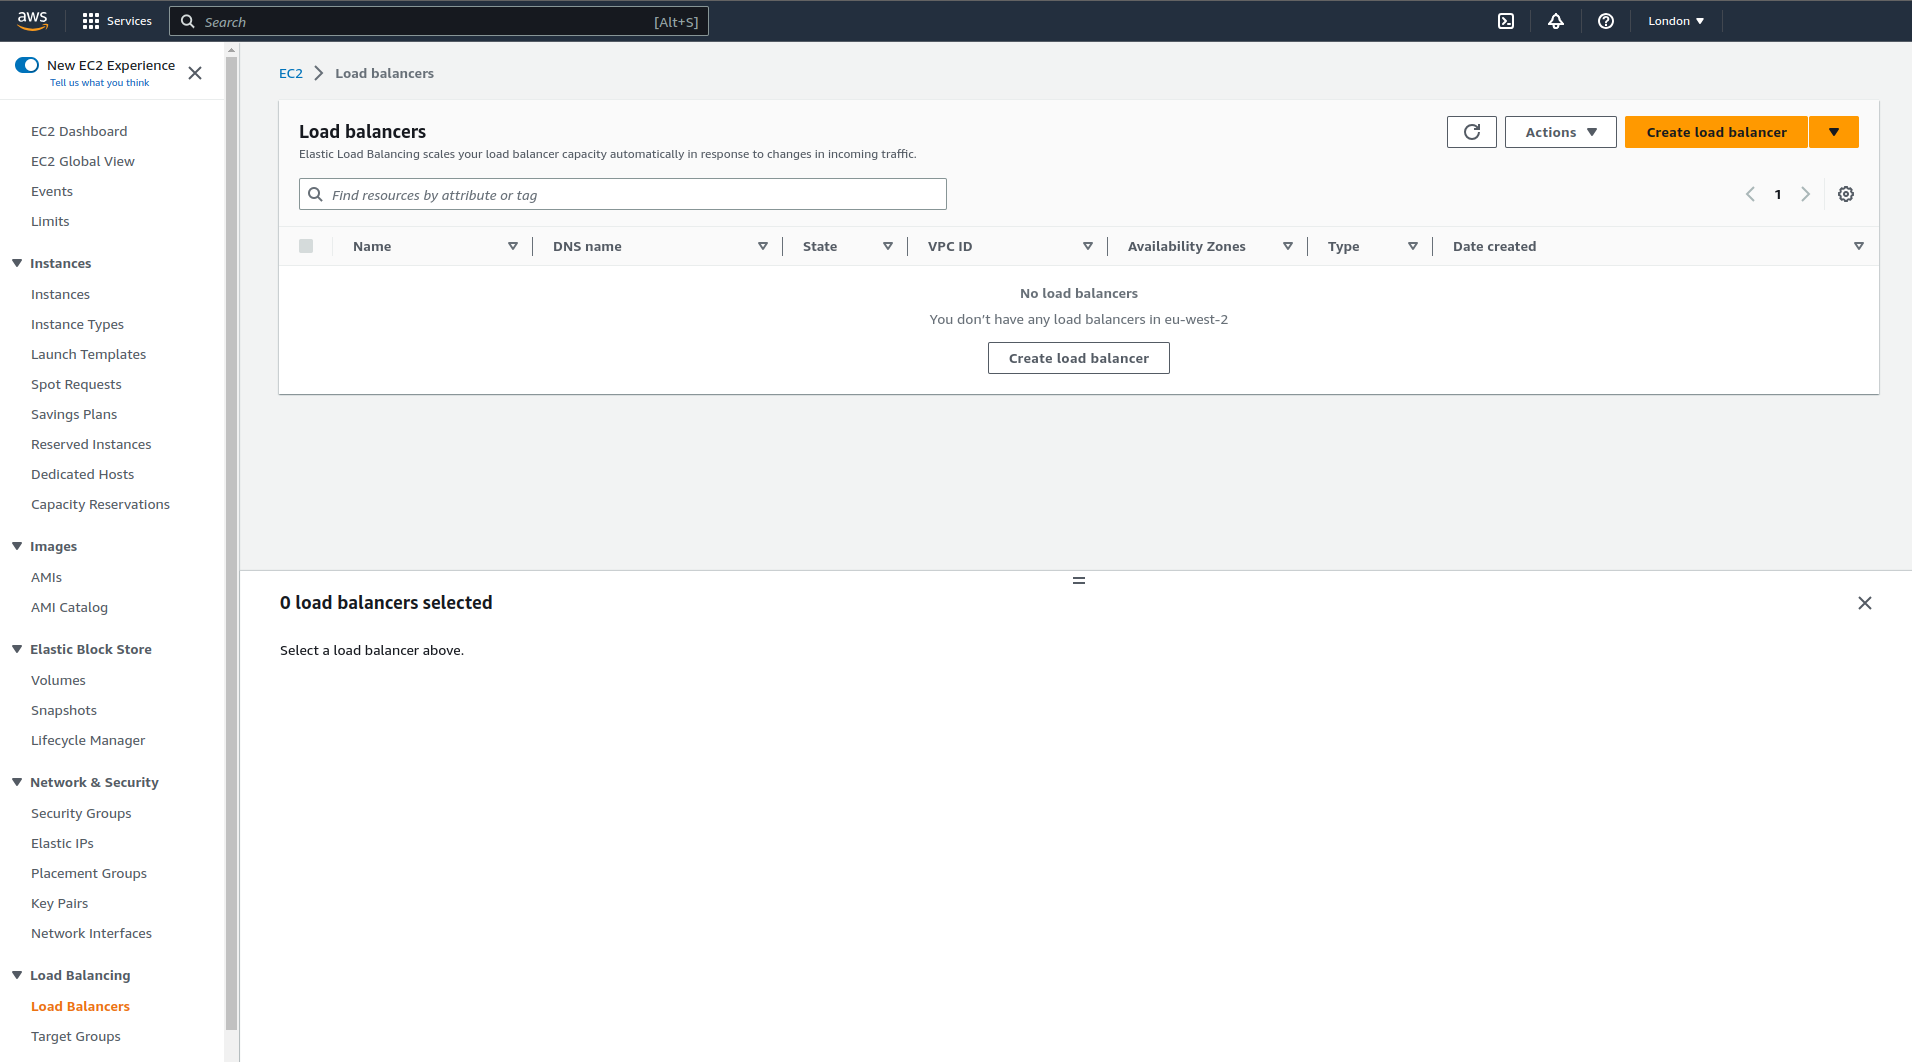
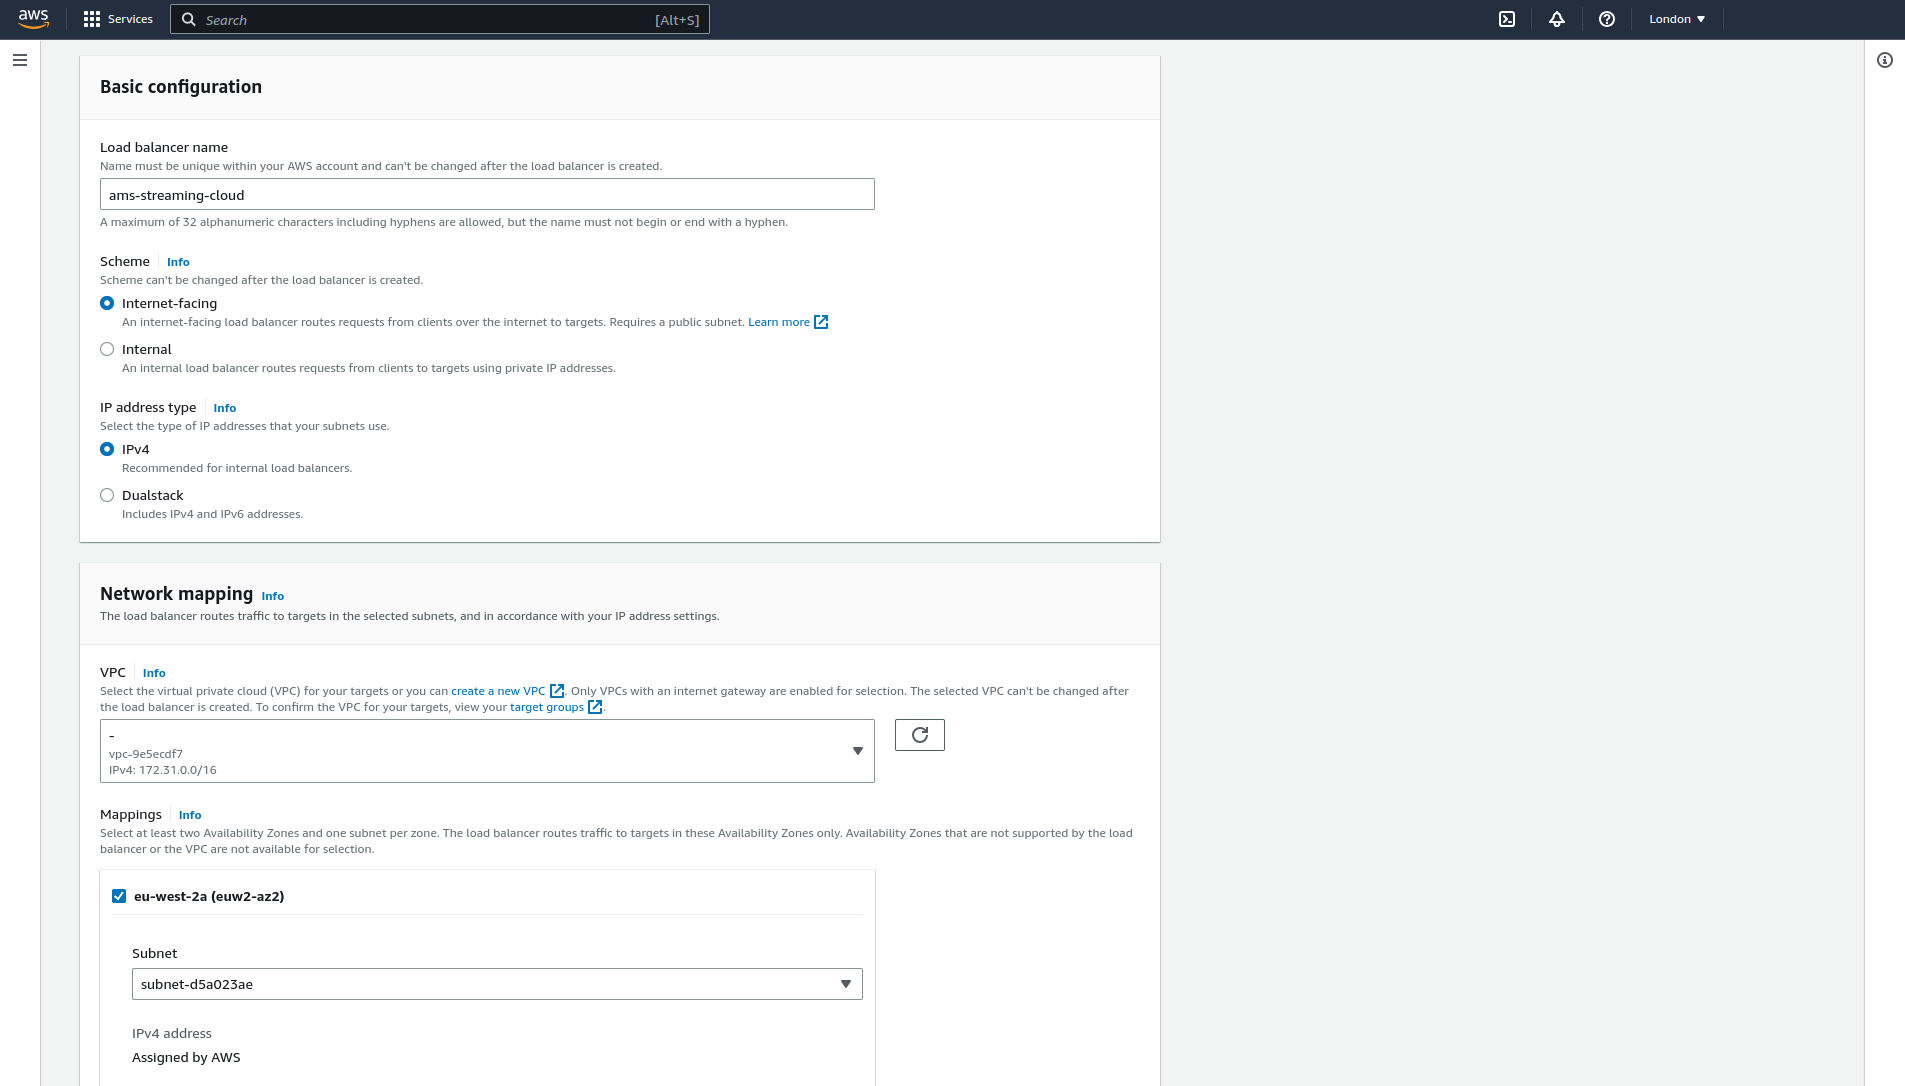
Right now, you can use your certificate in your AWS Load Balancer. It will show up automatically when you’re creating load balancer as shown in the image. Although, creating Load Balancer is a subject of another post, let me give some basic information. Go to “EC2 Service” from AWS Services. Click the “Load Balancing > Load Balancers” and Click “Create Load Balancer” as in the image
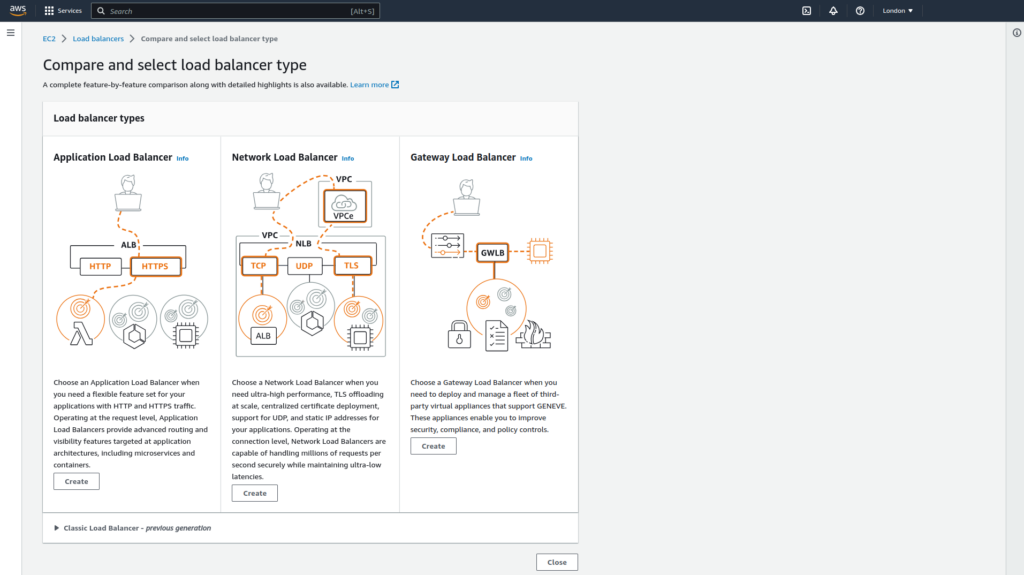
- Click the “Create” an “Application Load Balancer”

- Choose a name for your load balancer and choose “VPC” and “Mappings (availability zones)”,
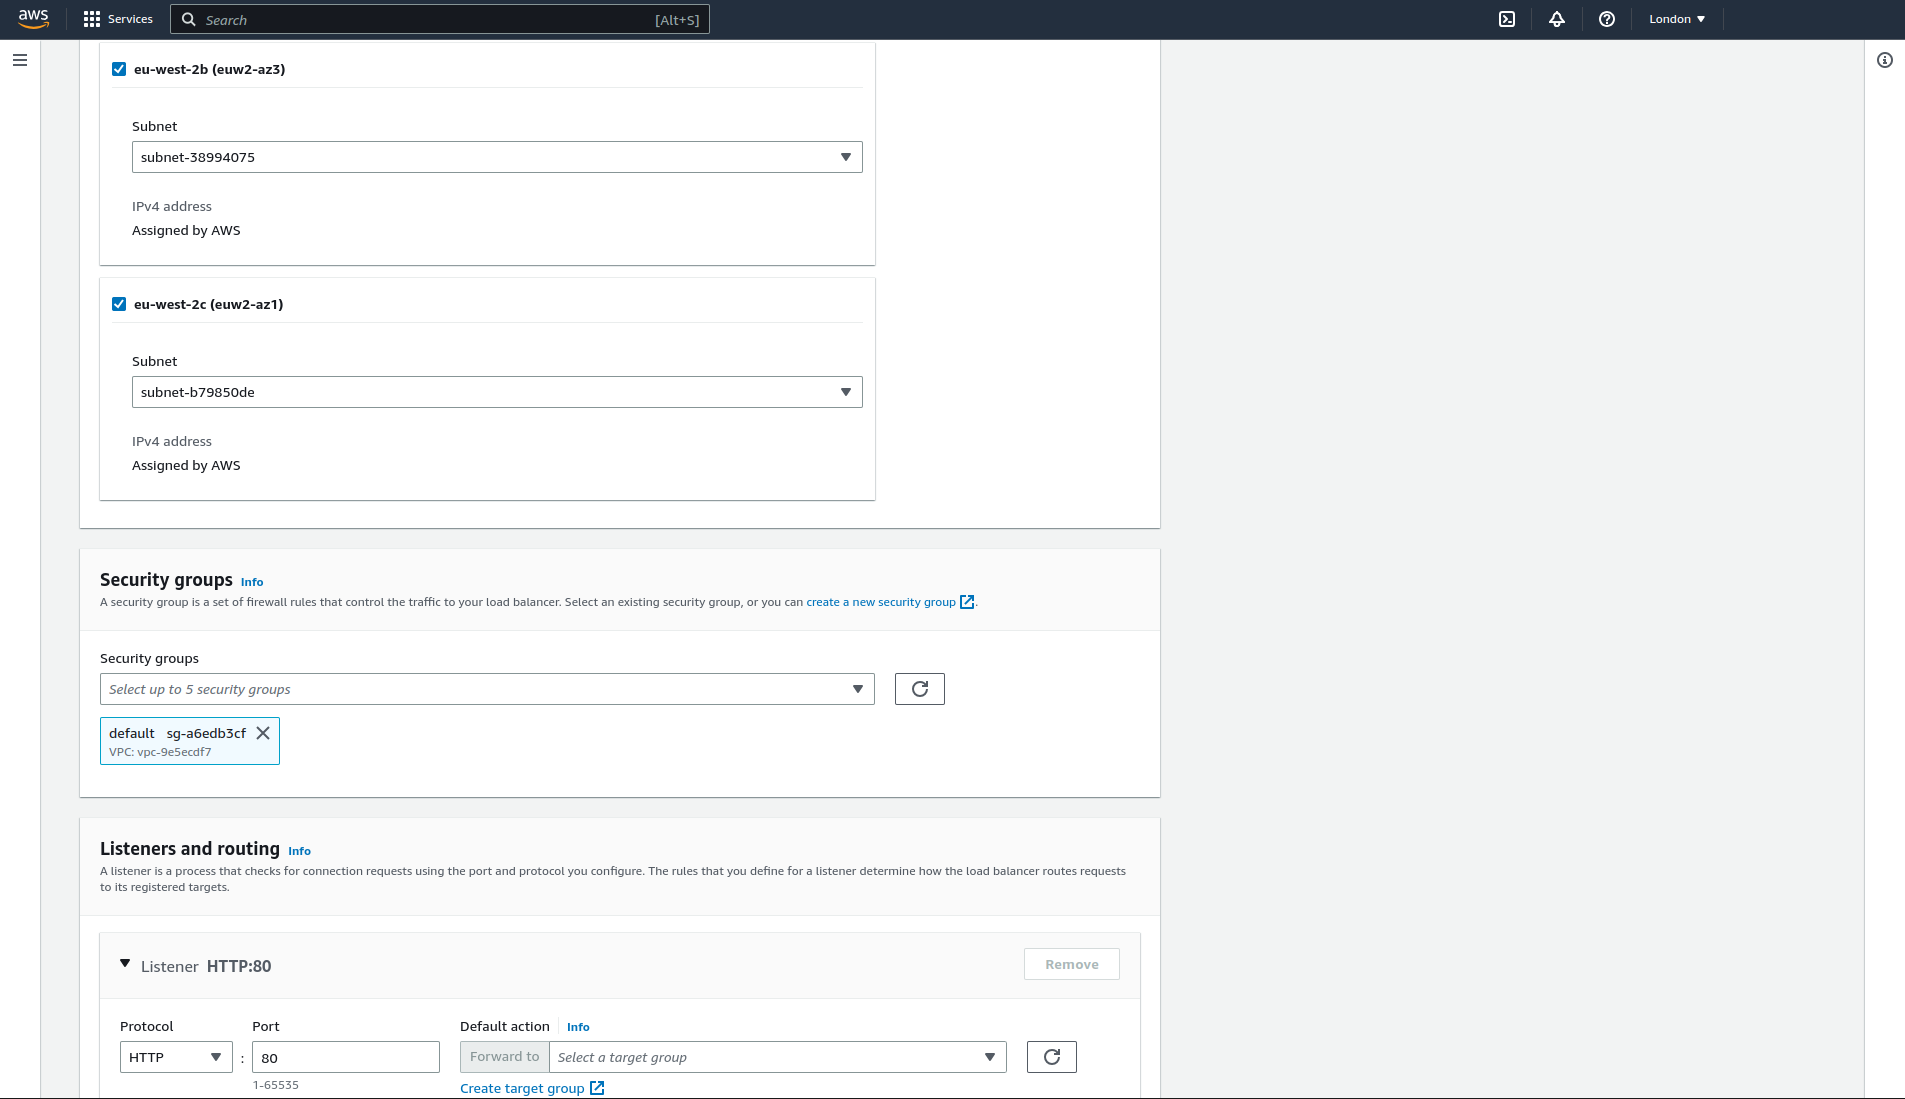
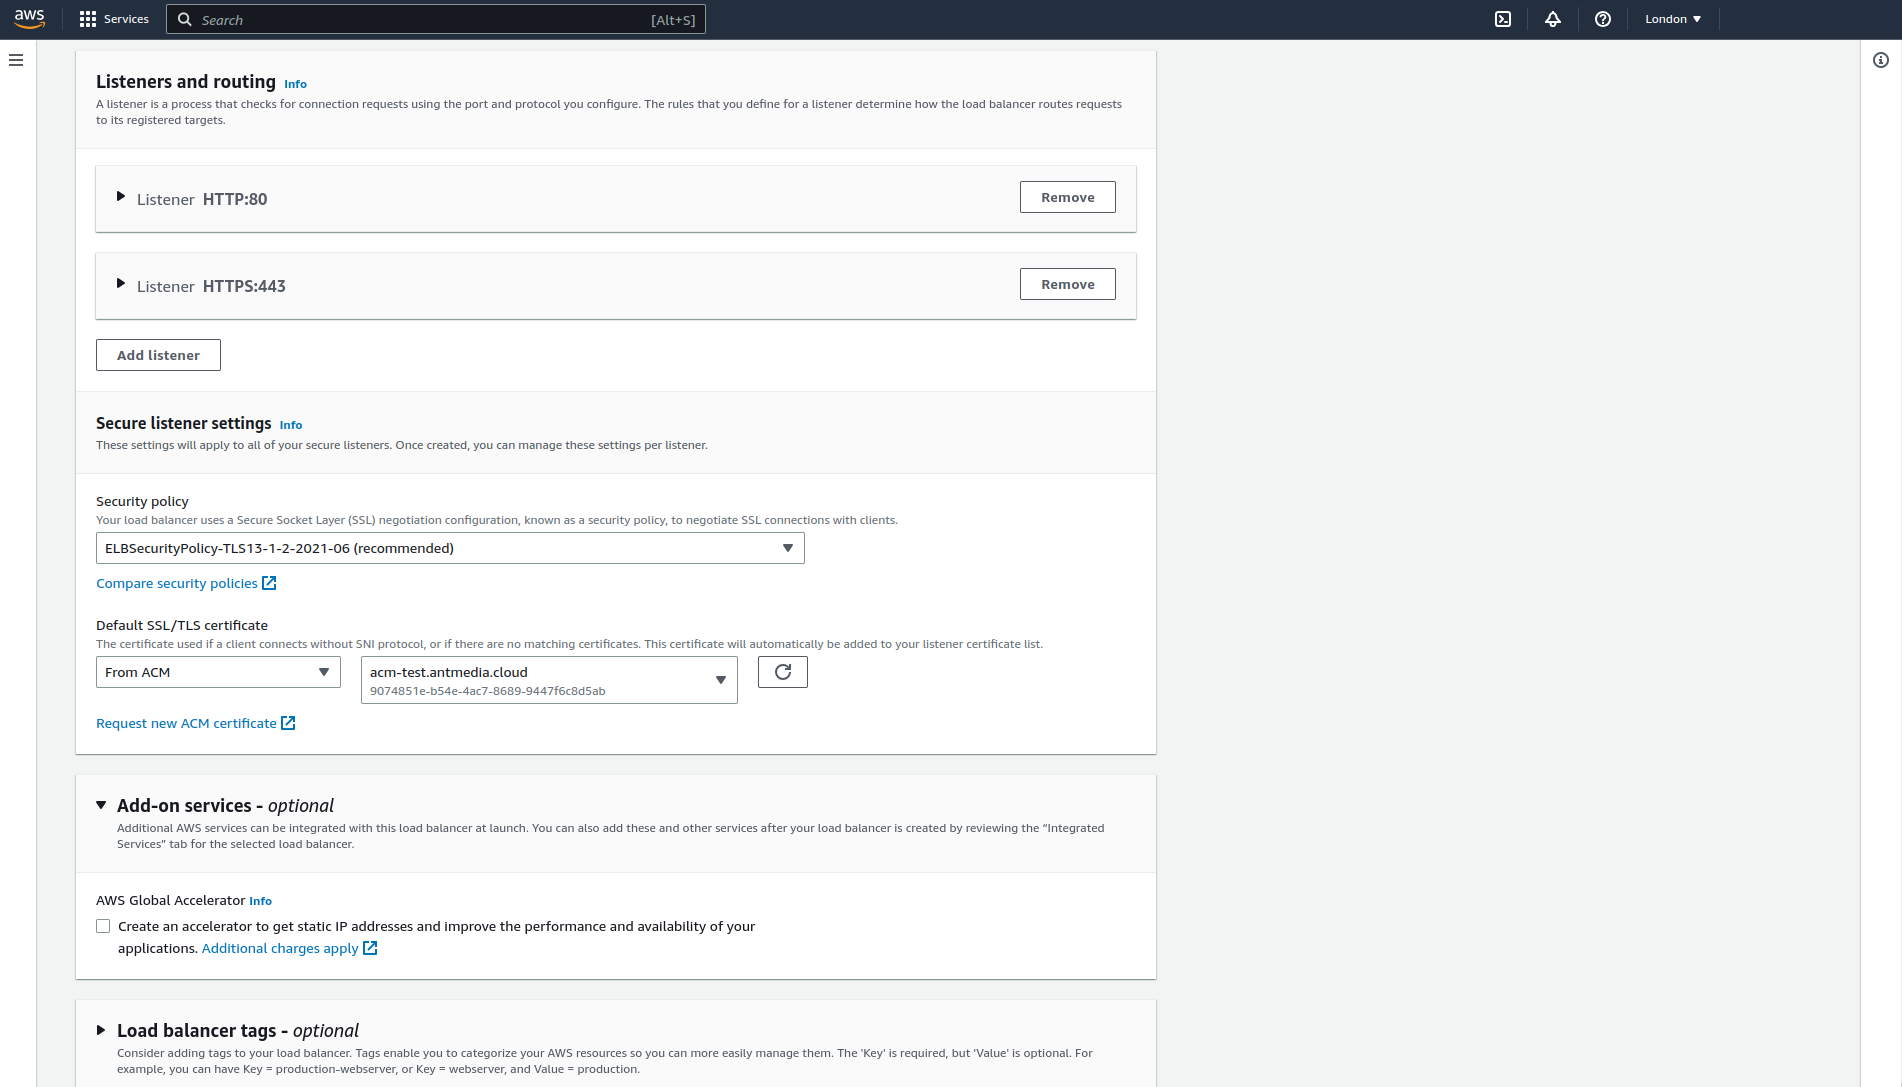
- “Add Listener” in the Listeners section and add HTTPS Listener as shown in the image. Lastly, In the “Default SSL/TLS certificate” section, choose your domain from the “Select a certificate” field (This is the certificate you created in the previous section).

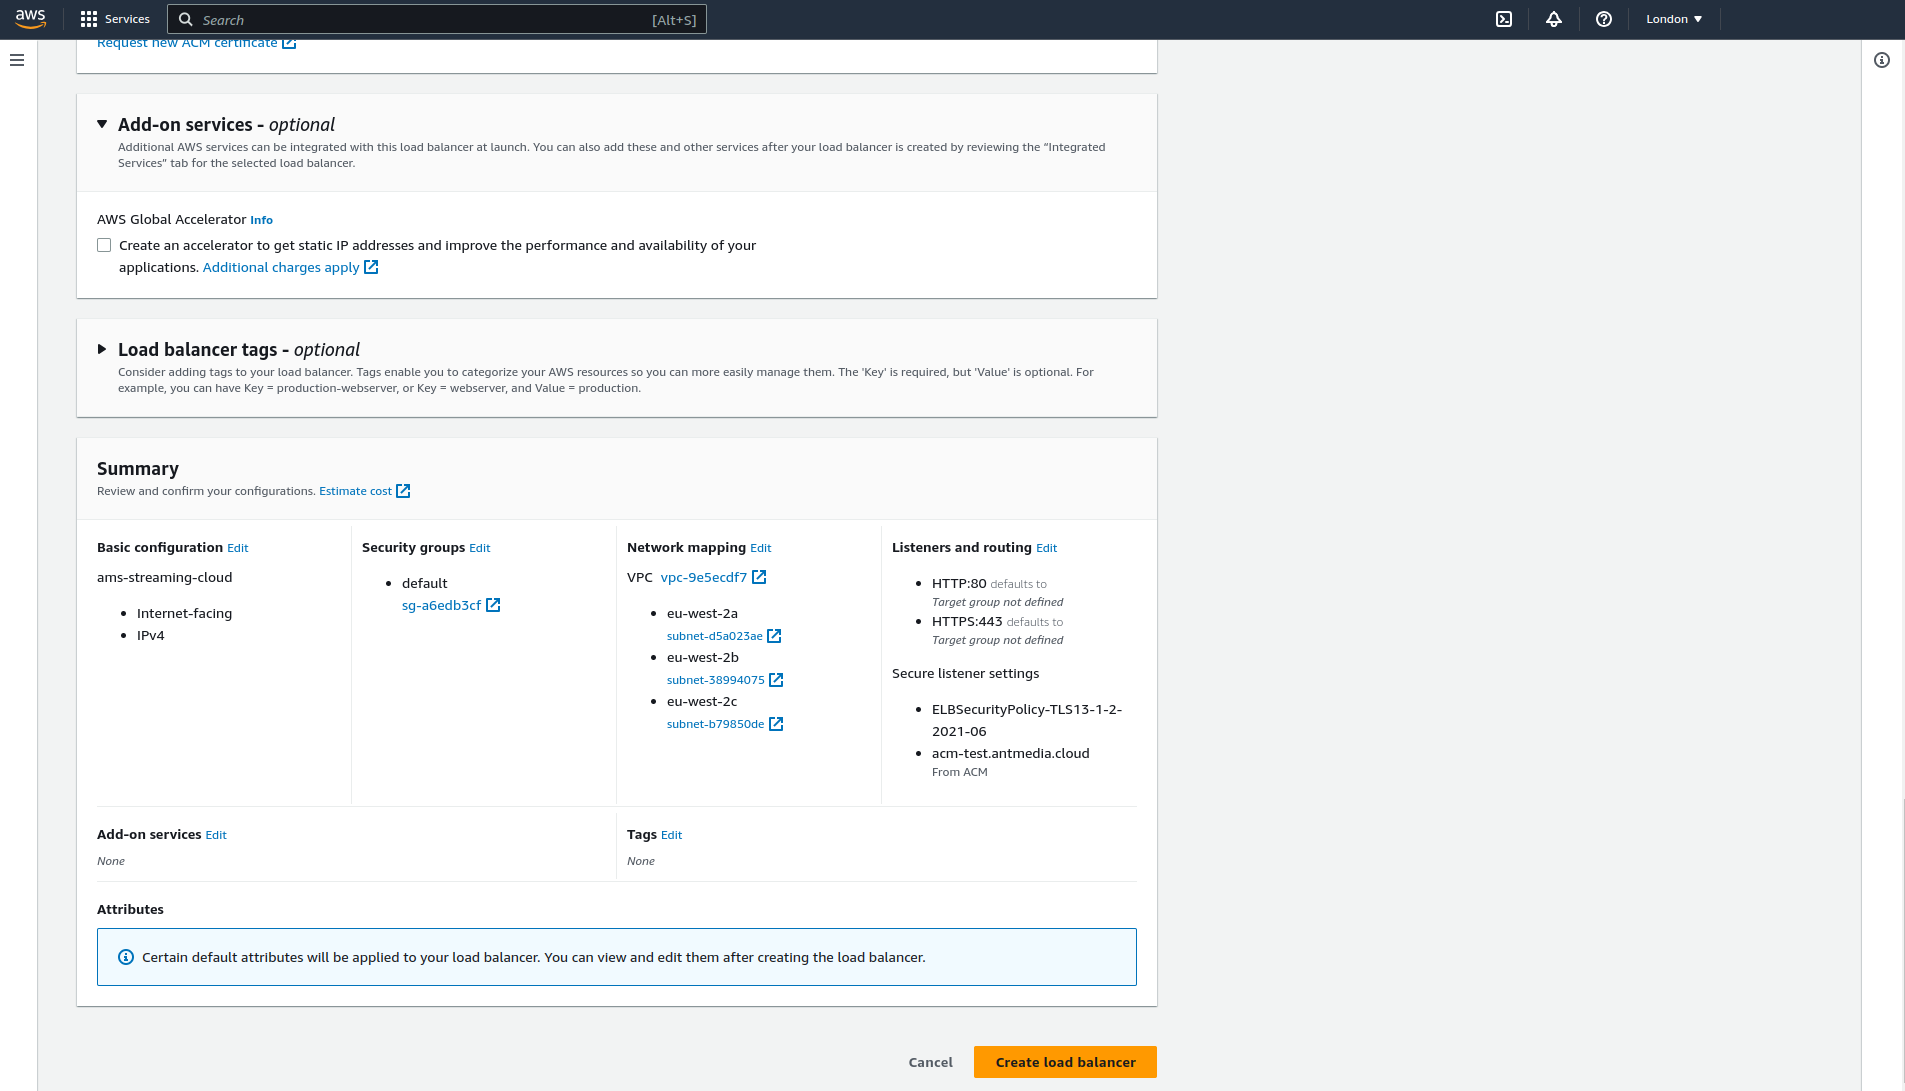
- Finally, click “Create Load Balancer” to create it.
Btw, if you already have experience with Load Balancer and you want to proceed for your project, let me make a remind, don’t forget to add CNAME for your load balancer. For instance, every load balancer has a DNS name like “xxxx.eu-central-1.elb.amazonaws.com” so that you need to add CNAME for your subdomain that points to your load balancer address.
I tried to show you how to get SSL Certificate on AWS Certificate Manager for your Domain Name. I hope this guide will help some guys both using Ant Media Server Cluster on AWS or any other guys that need this information for your own other project. Please let us know if we can help for your any questions. You may want to check Setting up an Ant Media Server Scaling Solution with CloudFormation guide.
Useful Links
You can try Ant Media Server for free with all features!
You can download native Android and iOS WebRTC SDKs and integrate them into your applications for free!
Ant Media Server Document Page
You would want to check How to Enable SSL for Azure Application Gateway For Scaling Azure Ant Media Solution, Ultra Low Latency Video Streaming and 7 Use Cases and Future of Ultra-Low Latency Streaming Market.