
DeepAR Integration
Augmented Reality (AR) technology has the potential to revolutionize the way we interact with the world around us. By overlaying digital content onto the physical environment, AR allows us to see and interact with information in a whole new way and can enhance our experiences using technology such as WebRTC video streaming.
The DeepAR JavaScript SDK is a powerful tool that allows developers to easily add AR capabilities to their projects. With just a few lines of code, developers can create immersive and engaging AR experiences for their users.
We have integrated DeepAR into Ant Media Server so that we can provide more realistic and engaging experiences for users. By leveraging DeepAR’s SDK, we have implemented advanced facial AR filters and enabled interactive experiences.
How it Works ?
The DeepAR libraries make use of web assembly technology, a low-level programming language that is designed to be fast and efficient, to perform various media processing tasks, such as applying different video filters and effects to video streams in real-time.
Additionally, the use of web assembly technology enables the libraries to perform these tasks quickly and efficiently, without consuming large amounts of system resources.
Getting an API key:
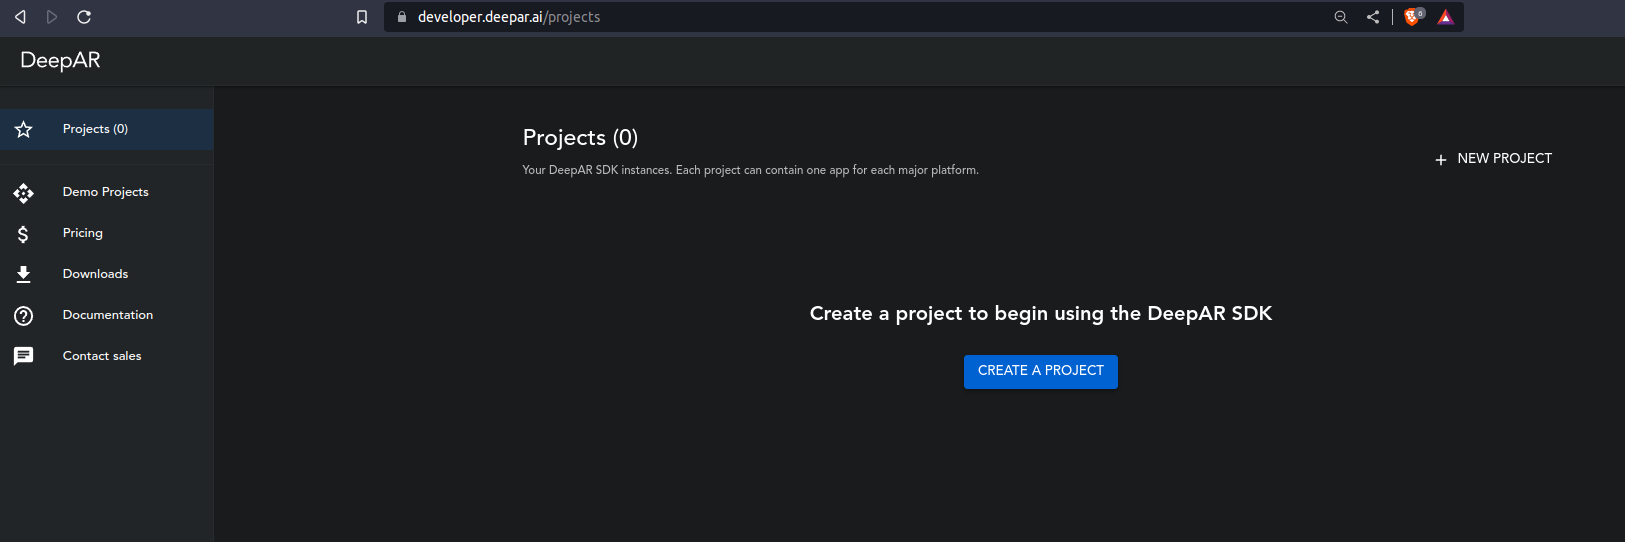
1. Signup to DeepAR by navigating to here.
2 Click on create a project
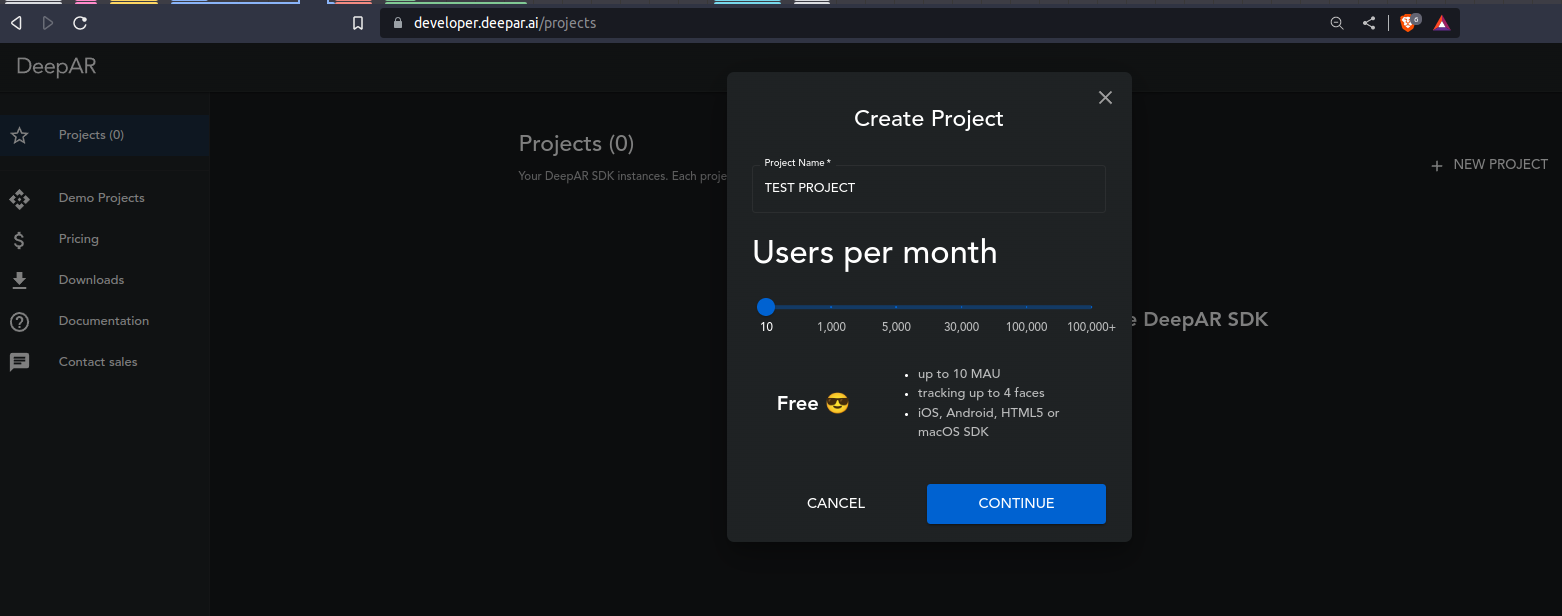
3. Enter a project name (anything)
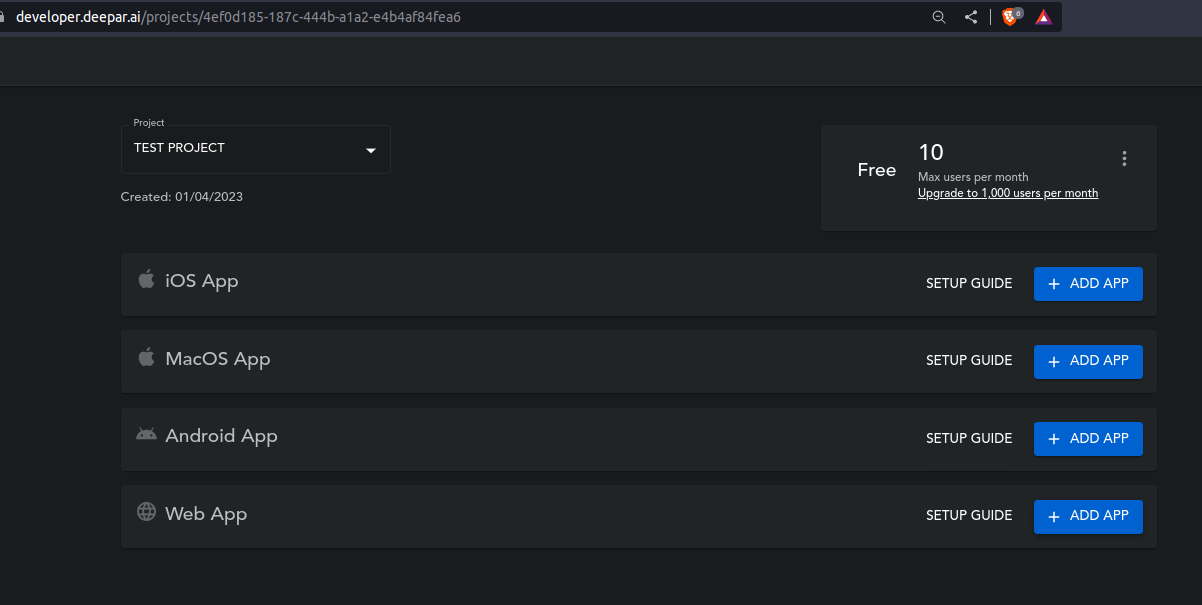
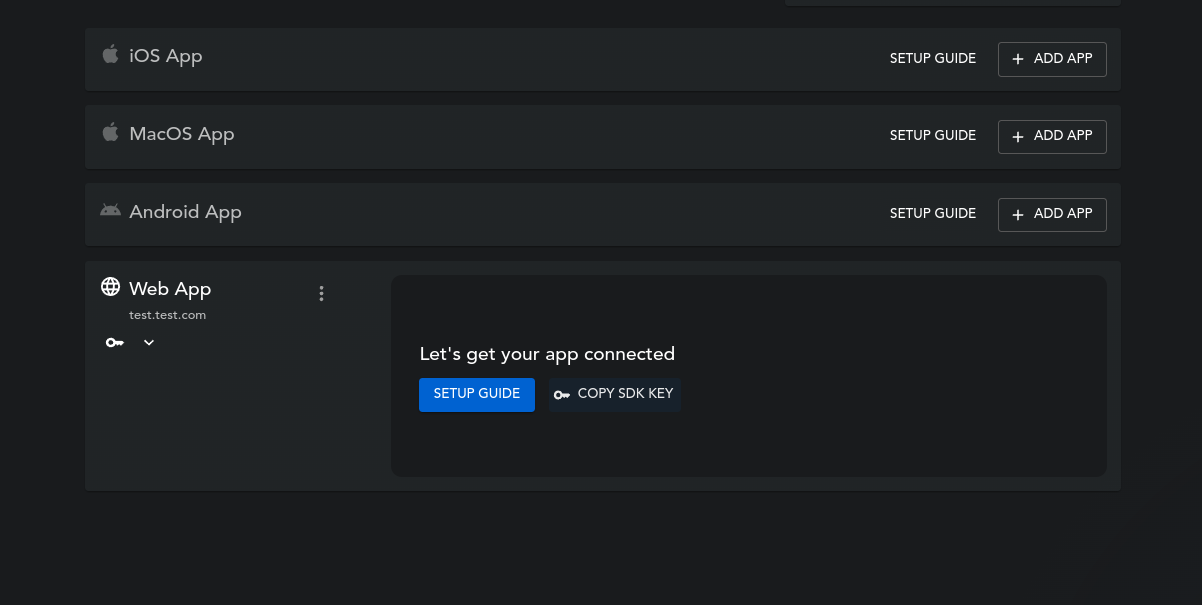
4. Select Web App
4. Enter the domain name where your Ant Media Server is hosted (Important)
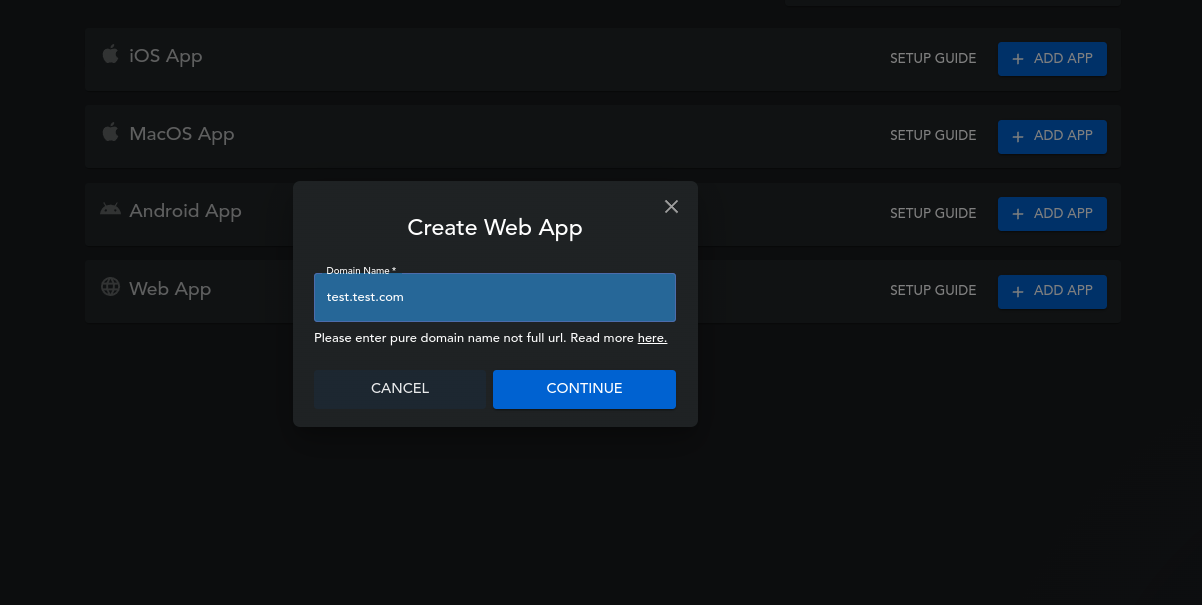
5.Click on copy SDK key
Now we have an API key for the DeepAR SDK, we can use this key in our Ant Media Server.
Using DeepAR API Key in Antmedia Server
Publish video to AMS with DeepAR Effect
Navigate to the following Ant Media Server URL and add the copied API key as the value for the APIkey parameter:
https://domain:5443/LiveApp/publish_webrtc_deep_ar_effects.html?Apikey=REPLACE_YOUR_API_KEY_HERE
With DeepAR now enabled, a drop down menu is available so you can select different kinds of effects. Select an effect and click on the publish button.
How to Use DeepAR with JS SDK
The full code example is available here
- Get the API key for DeepAR SDK as described in the above steps under the getting API key section
- If required, you can fetch all the available effects using
- VideoEffect.deepARModelList
- After receiving all the available effects, you can apply an effect by calling the enableEffect method on your webrtcAdapter and passing the API key that you generated from the previous section.
- The full method call should look like this:
webRTCAdaptor.enableEffect(VideoEffect.DEEPAR, "APIKey", VideoEffect.deepARModelList[0])
- It expects an API key and the name of the effect. In the example, the first effect from the effect list is being used
VideoEffect.deepARModelList[0]. Set the path of the directory which contains the .deepar files- VideoEffect.DEEP_AR_EFFECTS_URL=“/WebRTCAppEE/js/external/deepar-effects/”;
It is also possible to list all the available effects by using the JavaScript console.log method:
console.log(VideoEffect.deepARModelList[0])
Code Example
Using your own DeepAR files.
If you have your own files that you want to in Integrate, please follow these steps.you can get all the free effects from here.
1. Copy the files to your Ant Media Server at the following location:
/usr/local/antmedia/webapp/{APP_NAME}/js/external/deepar-effects2. Append the name of the effect file in the array or you can add the file name in video-effect.js file located at /usr/local/antmedia/webapps/WebRTCAppEE/js/video-effect.js
VideoEffect.deepARModelList.push("filename")3. Now you can use the new Effect
Result
By integrating DeepAR with Ant Media’s WebRTC JS SDK, you can easily add augmented reality effects to your WebRTC streaming application. With just a few lines of code, you can fetch all available effects and apply them to your video stream in real-time. This integration opens up new possibilities for interactive and engaging streaming.
Overall, integrating DeepAR with Ant Media’s WebRTC JS SDK provides a simple and powerful solution for adding augmented reality effects to your WebRTC streaming application


