In this guide, we’ll explore how to leverage Jinja Templates and GCP Deployment Manager to simplify the deployment of Ant Media Server clusters on GCP. We’ll delve into the fundamentals of Jinja Templates and GCP Deployment Manager, understand how they work together, and walk through the steps to deploy an Ant Media Server cluster with ease.
Let’s dive in and discover how Jinja Templates on GCP Deployment Manager can simplify Ant Media Server cluster deployment on the Google Cloud Platform.
What is Google Deployment Manager and Jinja Template?
Google Deployment Manager is an infrastructure management service provided by Google Cloud Platform (GCP). It allows you to define the desired state of your cloud resources using configuration files, enabling you to automate the creation, deployment, and updates of complex cloud infrastructure.
Jinja is a templating engine for Python that allows for the creation of dynamic configuration files. In the context of GCP Deployment Manager, Jinja Template enables you to generate resource configurations based on predefined templates, incorporating variables, loops, and logic to tailor deployments to specific requirements.
When used together, Google Deployment Manager and Jinja Templates provide a powerful mechanism for orchestrating cloud infrastructure deployments on GCP. You can define reusable templates for your infrastructure components and dynamically generate configuration files, streamlining the deployment process and promoting consistency and scalability.
Prerequisites
Before you begin the deployment process, ensure you have the following prerequisites in place:
Google Cloud Platform Account
Ensure that you have access to a Google Cloud Platform account with the necessary permissions to create and manage resources. If you don’t have an account yet, you can sign up for a free trial or a paid subscription on the Google Cloud Platform website.
Google Cloud SDK (gcloud CLI)
Install the Google Cloud SDK and ensure that the gcloud command-line tool is available in your environment. This tool will be used to interact with Google Cloud Platform (GCP) resources and services.
Enable Compute Engine API
Make sure to enable the Compute Engine API in your GCP project. This API is required to create and manage virtual machine instances, which are essential for hosting Ant Media Server clusters.
Infrastructure Manager API
Enable the Infrastructure Manager API in your GCP project. This API allows you to create and manage infrastructure resources using tools like Google Deployment Manager.
Ant Media Server Marketplace Image
Ant Media Server Marketplace Image will serve as the base for your Ant Media Server cluster. To create an image, you first need to launch an Ant Media Server instance from GCP Marketplace and then create an image from that. Please follow the instructions in Step 2 of this blog post to create an image.
Note: Please note the name of the image as it will be used in the configuration file to create the cluster. For this demo, I will name the image ams-latest
Ant Media Server Cluster GCP Jinja Template
Get the Ant Media Server Cluster GCP Jinja Template from the GitHub repository. This template contains the configuration settings for deploying an Ant Media Server cluster on GCP using Google Deployment Manager and Jinja Templates.
Accessing the Google Cloud Account
Now that we have all the prerequisites covered, let’s access the GCP account to get started.
- Login to your GCP account using the gcloud CLI tool in the terminal
gcloud auth login
- Go to the above displayed URL in your browser, follow the prompts, and enter the verification code and you will be logged in to your gcloud environment.
- You can create a new project for the deployment or if you already have a project created, you can switch to the existing project with
gcloud config set project YOUR_PROJECT_IDDeploying the Cluster
To deploy the Ant Media Cluster, we will quickly edit a couple of files and then launch it with a single command.
Step 1: Edit the antmedia.yaml file
- Open the antmedia.yaml file to edit from the gcp-jinja-template files you downloaded with your favorite editor.
- Adjust the region, zone, and instance type settings according to your structure and save it.
  properties:
    default_zone: us-central1-a
    default_region: us-central1
    mongodb_machine_type: e2-standard-2
    origin_machine_type: c2d-standard-4
    edge_machine_type: c2d-standard-4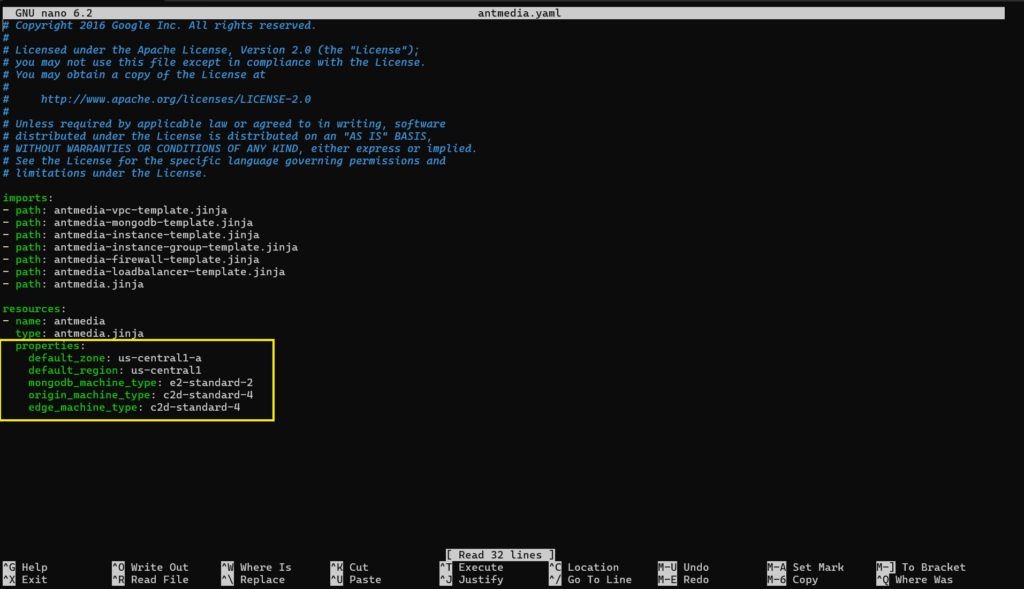
- If you have named your Ant Media Server Marketplace image something other than ams-latest, you can pass it to the properties as
image_id: "image-name"Step 2: Edit the antmedia-loadbalancer-template.jinja file
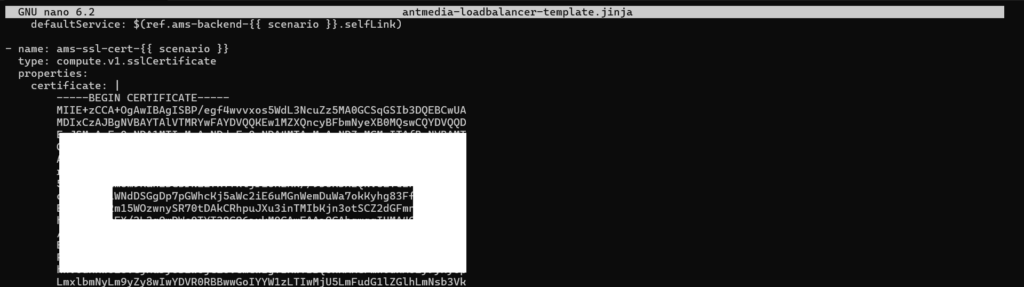
Edit the antmedia-loadbalancer-template.jinja file to add the certificate content created for your wildcard domain.
certificate: fullchain.pem or certificate
privateKey: private key
– name: ams-ssl-cert-{{ scenario }}
type: compute.v1.sslCertificate
properties:
certificate: |
—–BEGIN CERTIFICATE—–
Your Certificate
—–END CERTIFICATE—–
privateKey: |
—–BEGIN PRIVATE KEY—–
Your Private Key
—–END PRIVATE KEY—–- Make sure that your certificate and Private key are properly indented to avoid any errors.
- Save the file and exit from the editor.
Step 3: Launching the Cluster
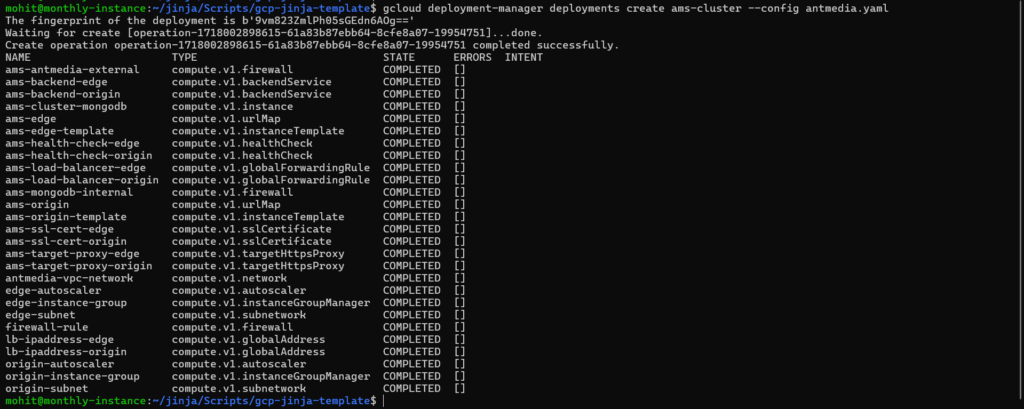
Once the above configurations are complete, deploy the Ant Media Server Cluster using gcloud cli as follows.
gcloud deployment-manager deployments create ams-cluster --config antmedia.yamlThis step will take advantage of the automatic scaling and management features provided by GCP and create the Ant Media Server Cluster using a Jinja template.
- In case the deployment is aborted or halted due to any issues, you can check the deployment status with
gcloud deployment-manager deployments describe ams-cluster- If the deployment failed and you need to redeploy from scratch, you can delete the failed deployment and create it again
gcloud deployment-manager deployments delete ams-cluster
gcloud deployment-manager deployments create ams-cluster --config antmedia.yaml
Congratulations! Your very own Ant Media Server Cluster is ready using Google Deployment Manager and Jinja template.
Accessing the Ant Media Server Cluster
Now that your Ant Media Server cluster is created and ready, let’s connect to it.
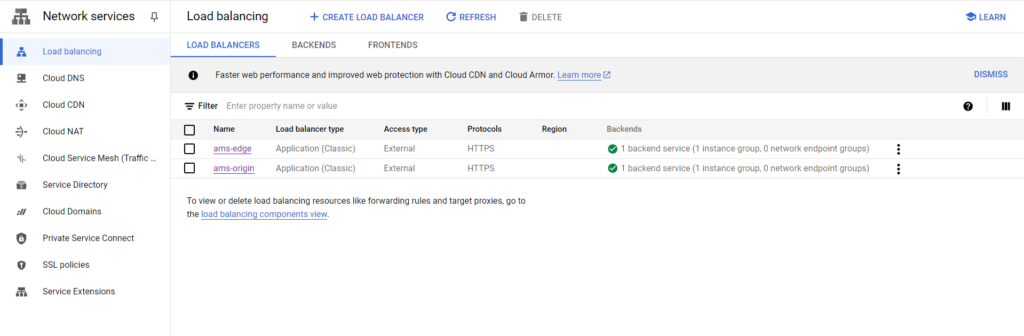
- Go to your GCP account console > Load Balancing and under Load Balancers.
- There will be two load balancers, one of them is Edge and another one Origin, named ams-edge and ams-origin.
- You can connect to your cluster via the Load Balancer Public IP or update your DNS records based on the certificate hostname.
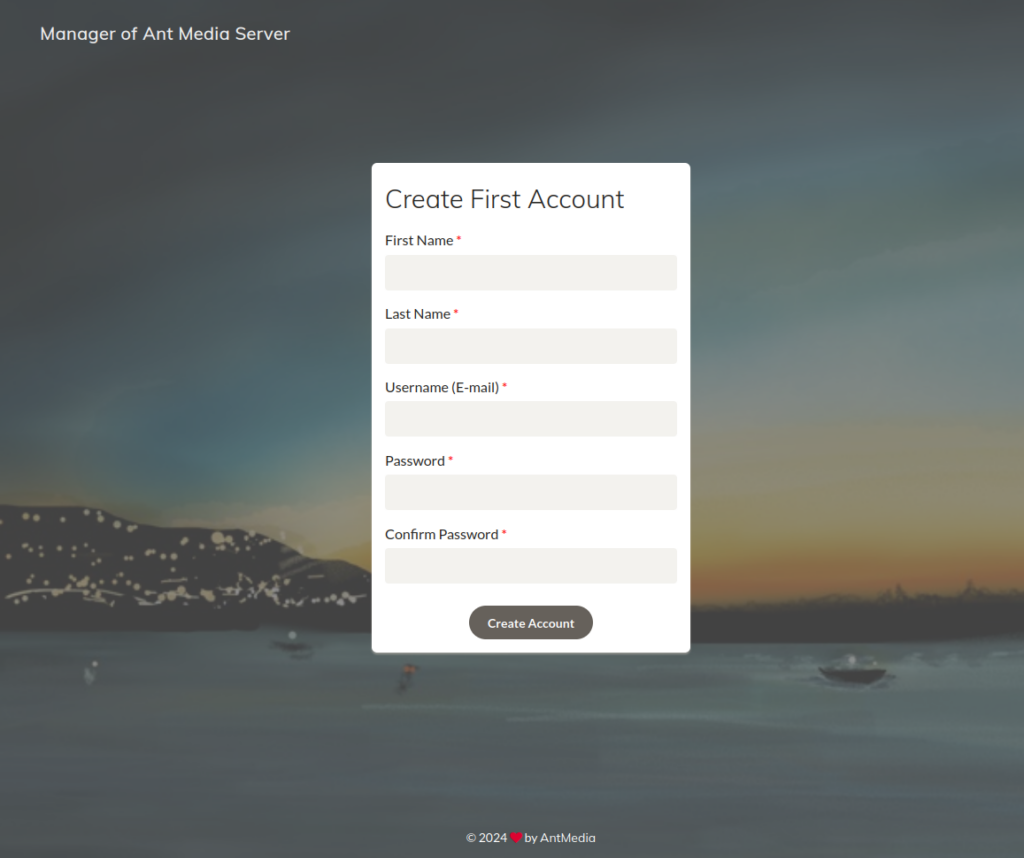
- Once you reach the Load Balancer IP address, you will see the Ant Media Server Web panel dashboard and can create your login credentials.
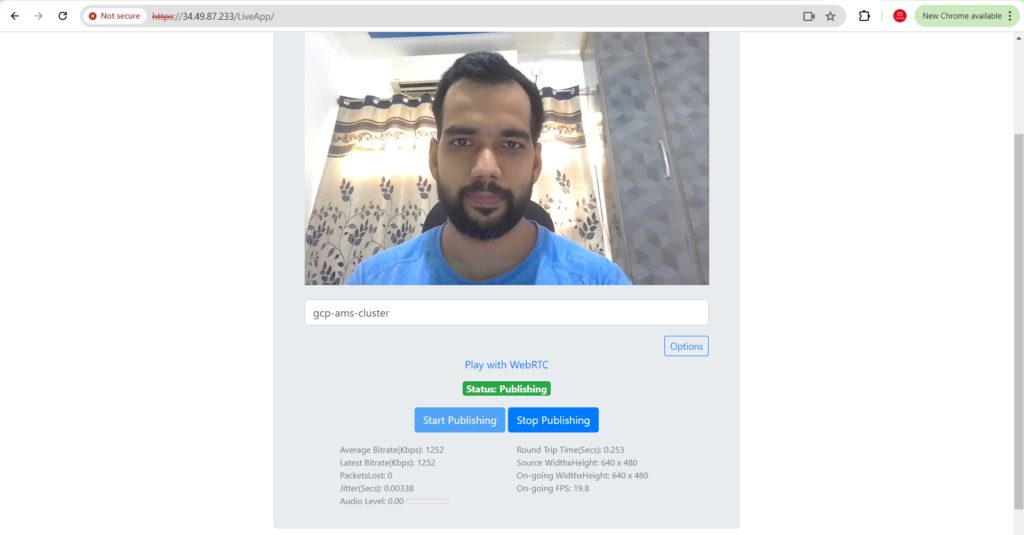
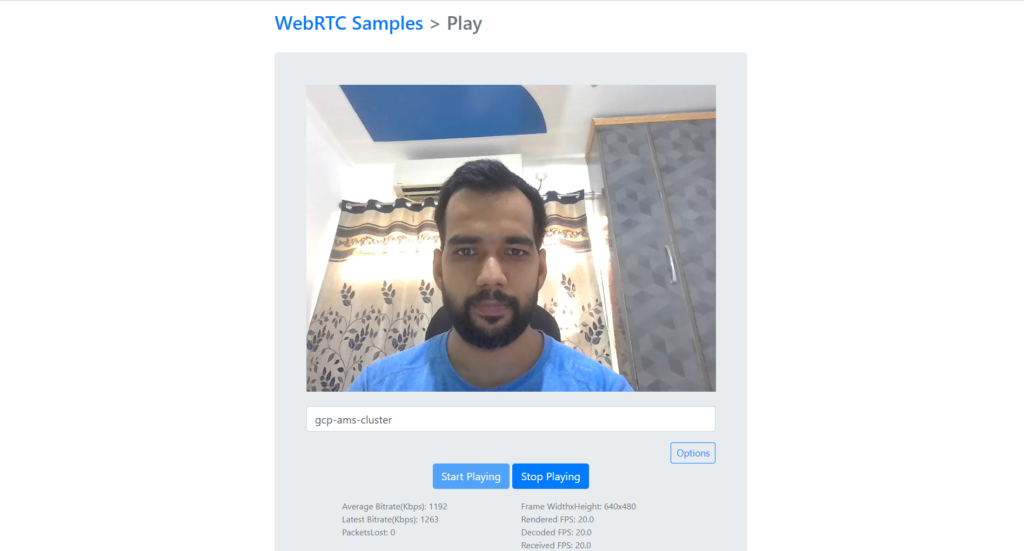
WebRTC Publish and Play
Now that everything is up and running, let’s explore our collection of WebRTC samples to publish and play with WebRTC and get started.
Conclusion
Thank you for following this guide. We hope it has provided you with the insights and tools needed to simplify your Ant Media Server cluster deployments on GCP using Deployment Manager and Jinja Template.
If you have questions or need any support, contact us via a form or schedule a meeting to have a coffee and chat, or write directly to contact@antmedia.io so that we can democratize live streaming together.
Happy streaming!