
In this post, I will describe how to use Wirecast with Ant Media Server to make professional live streams for your audience.
What is Wirecast?
Wirecast is a live video streaming production tool by Telestream. It allows users to create live or on-demand broadcasts for the web. Wirecast supports both Mac and Windows for broadcasting live video streams.
How to Use Wirecast With Ant Media Server
Wirecast supports various sources for capturing such as webcams, IP cameras, NDIs, capture cards, etc… We are going to use MacBook’s webcam for this blog post.
Let’s start!
Getting Wirecast
Firstly we need to download Wirecast. It is not free software, however, there is a 30-day trial version, which could be downloaded from here.
Creating a Live Stream in Ant Media Server
We need to create a live stream in Ant Media Server because we will use this live stream id for publishing the stream in Wirecast. In Ant Media Server create a live stream with the name: WireCast1 on the screen:
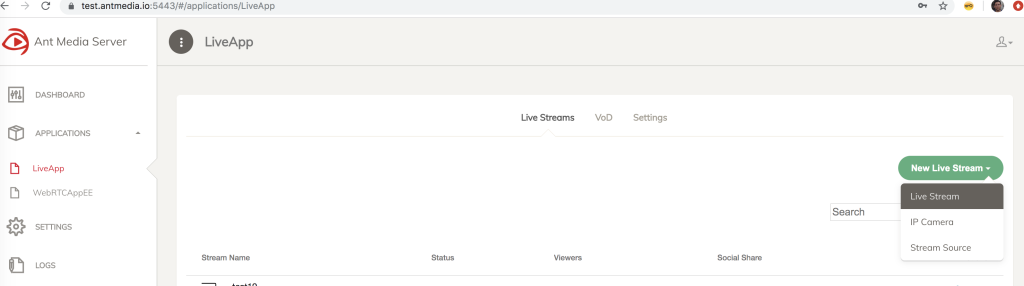
Live stream will be added to the table, and note the stream id of WireCast1 stream:
![]()
Configuring Wirecast
Now we are going to create a live stream in Wirecast and publish it to an output destination which is Ant Media Server in our case.
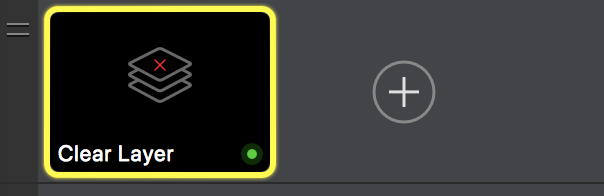
Step 1: Click +
In Wirecast click the + button in Wirecast as in the screenshot:
Step 2: Choose Capture Source
Chose FaceTime as video capture source which is webcam of macbook as in the screenshot:

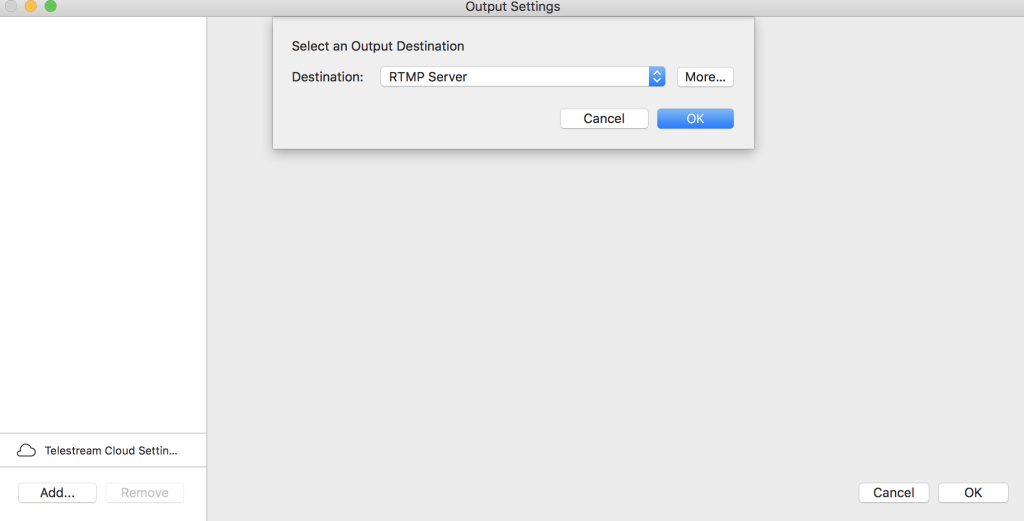
Step 3: Setting up Output Destination
We are going to publish the stream to an RTMP URL in Ant Media Server. Click Output Settings in the upper menu and choose RTMP Server and click OK as in the screenshot:
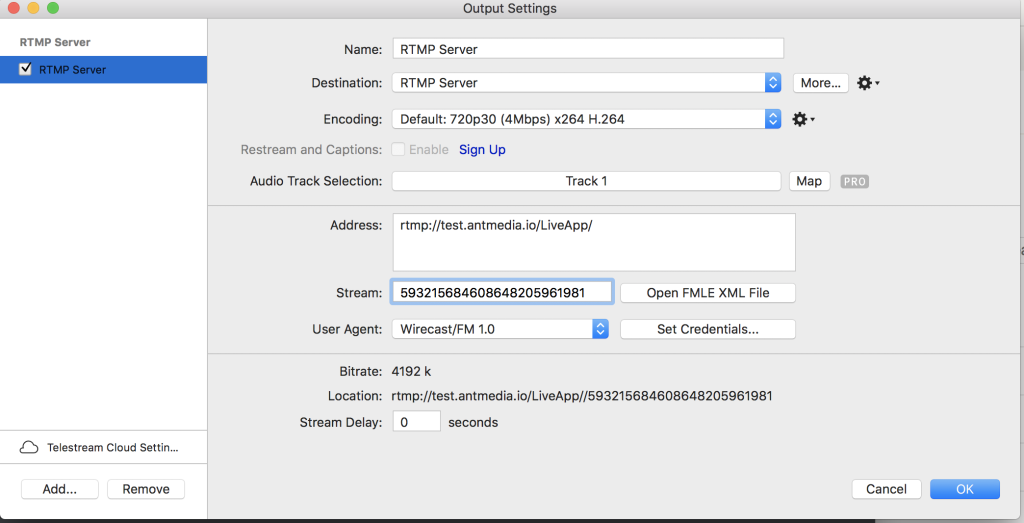
Fill the settings using the Stream Id that you noted in previous steps as in the screenshot:
Step 4: Start Publishing
Click the right arrow to select the source of the video stream as in the screenshot:

Start broadcasting live stream by clicking the Start/Stop Broadcasting in the upper menu as in the screenshot:

Step 4: Watch the Live Stream Published by Wirecast using Ant Media Server
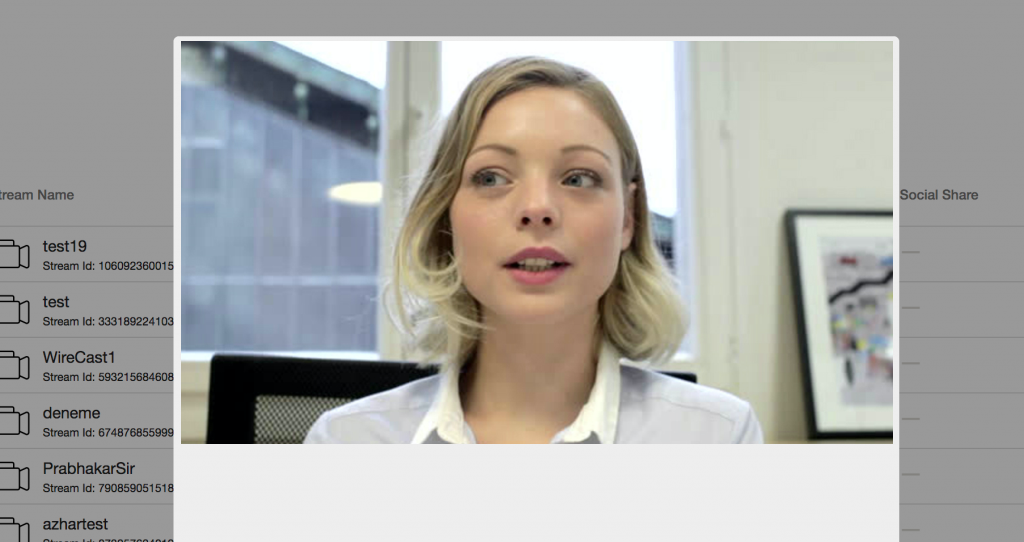
Now the live stream is published to Ant Media Server. You will see the status of a live stream in Ant Media Server is changed to Broadcasting status:
![]()
Click the play button and watch the live stream:
This completes the tutorial. There is another tool called OBS which free streaming software. You could also publish a live stream with it. Here is the post that explains how to publish a live stream using OBS.
We hope this tutorial will be helpful for you. 🙂 Please feel free in case you have any questions, just send an email (contact at antmedia.io) or contact us from the contact page.


