FFmpeg (FFMPEG) is the go-to open-source multimedia framework for professionals and developers working with video, audio, and live streaming. FFmpeg enables you to decode, encode, transcode, mux, demux, stream, filter, and play virtually any media format, making FFMPEG the ultimate Swiss Army knife for high-performance media processing and streaming workflows.
It supports nearly every known codec—including modern ones like H.265/HEVC, VP9, AAC, and Opus. It also handles a wide range of file formats like MP4, MKV, FLV, WebM, and more, along with a robust suite of streaming protocols such as RTMP, HLS, RTSP, and MPEG-DASH.
What sets FFmpeg apart is its flexibility. You can use it as a simple command-line tool, or integrate its powerful libraries—like libavcodec and libavformat—into your own applications. This makes it ideal for developers, engineers, and creators building anything from video editing platforms to streaming automation tools.
Many well-known media projects such as VLC, YouTube, MPlayer, and OBS Studio rely on FFmpeg behind the scenes—proof of its speed, stability, and sheer capability.
What is FFmpeg?
FFmpeg is the de-facto open-source multimedia framework that lets you decode, encode, transcode, mux, demux, stream, filter and play virtually any audio or video format. It powers tools like VLC, OBS Studio and countless streaming backends—making it the Swiss Army knife of media processing.
History Of FFmpeg
The FFmpeg project was initiated by Fabrice Bellard in 2000 and later led by Michael Niedermayer from 2004 to 2015. Several FFmpeg developers were also contributors to the MPlayer project.
On January 10, 2014, two Google employees reported that more than 1,000 bugs had been fixed in FFmpeg over the preceding two years.
In January 2018, the long-standing ffserver command-line program was removed from FFmpeg. The tool had previously been deprecated due to the high maintenance burden caused by its reliance on internal application programming interfaces.
FFmpeg releases new versions approximately every three months. Although official release builds are available for download from the project’s website, the developers recommend compiling the software from source using the latest version from the Git repository.
History of Codecs
Two video coding formats with corresponding codecs and one container format have been created within the FFmpeg project so far.
The two video codecs are the lossless FFV1, and the lossless and lossy Snow codec. The development of Snow has stalled, while its bit-stream format has not been finalized yet, making it experimental since 2011. The multimedia container format called NUT is no longer being actively developed but is still maintained.
In the summer of 2010, Fiona Glaser, Ronald Bultje, and David Conrad of the FFmpeg Team announced the ffvp8 decoder. Through testing, they determined that ffvp8 was faster than Google’s own libvpx decoder. Starting with version 0.6, FFmpeg also supported WebM and VP8.
In October 2013, a native VP9 and the OpenHEVC decoder, an open-source High-Efficiency Video Coding (HEVC) decoder, were added to FFmpeg. In 2016 the native AAC encoder was considered stable, removing support for the two external AAC encoders from VisualOn and FAAC. FFmpeg 3.0 (nicknamed “Einstein”) retained build support for the Fraunhofer FDK AAC encoder. Since version 3.4 “Cantor” FFmpeg supported the FITS image format. Since November 2018 in version 4.1 “al-Khwarizmi” AV1 can be muxed in MP4 and Matroska incl. WebM.
Why Use FFmpeg?
Universal Codec Support
From H.264/H.265 to VP8/9, AAC to Opus, MP4 to WebM, FFmpeg has built-in support for 200+ codecs and containers.
Automation & Scripting
Fully scriptable via CLI—ideal for batch conversions, CI/CD pipelines, and headless servers.
Embeddable Libraries
Use libavcodec, libavformat, and related libraries in C/C++/Python/Go apps.
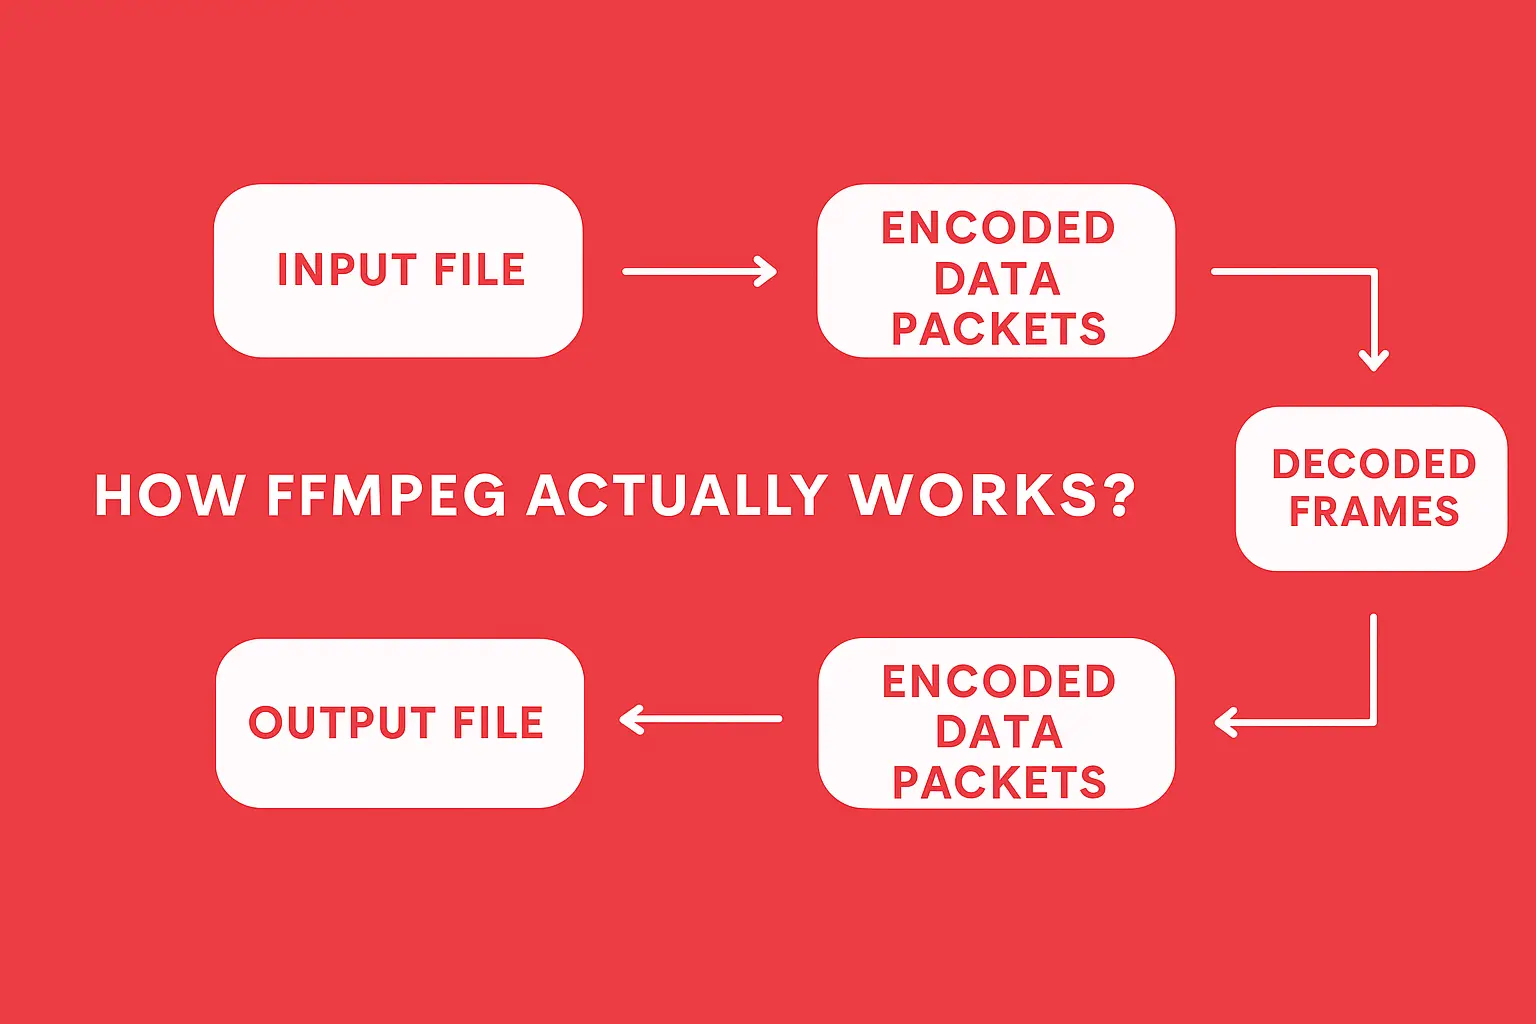
FFmpeg Architecture
The core FFmpeg pipeline has five stages:
- Demux: Split container into audio/video streams.
- Decode: Decompress packets into raw frames.
- Filter: Apply scaling, cropping, watermarking.
- Encode: Compress frames back into target codec.
- Mux: Package encoded streams into a new container.
Installing & Verifying FFmpeg
FFmpeg is open-source and available for free at ffmpeg.org. You can either download precompiled binaries or compile it from source on any major OS including Windows, Linux, macOS, Android, or iOS.
Installation (Quick Options)
- Ubuntu/Debian:
sudo apt install ffmpeg - macOS (Homebrew):
brew install ffmpeg - Windows (via Chocolatey):
choco install ffmpeg
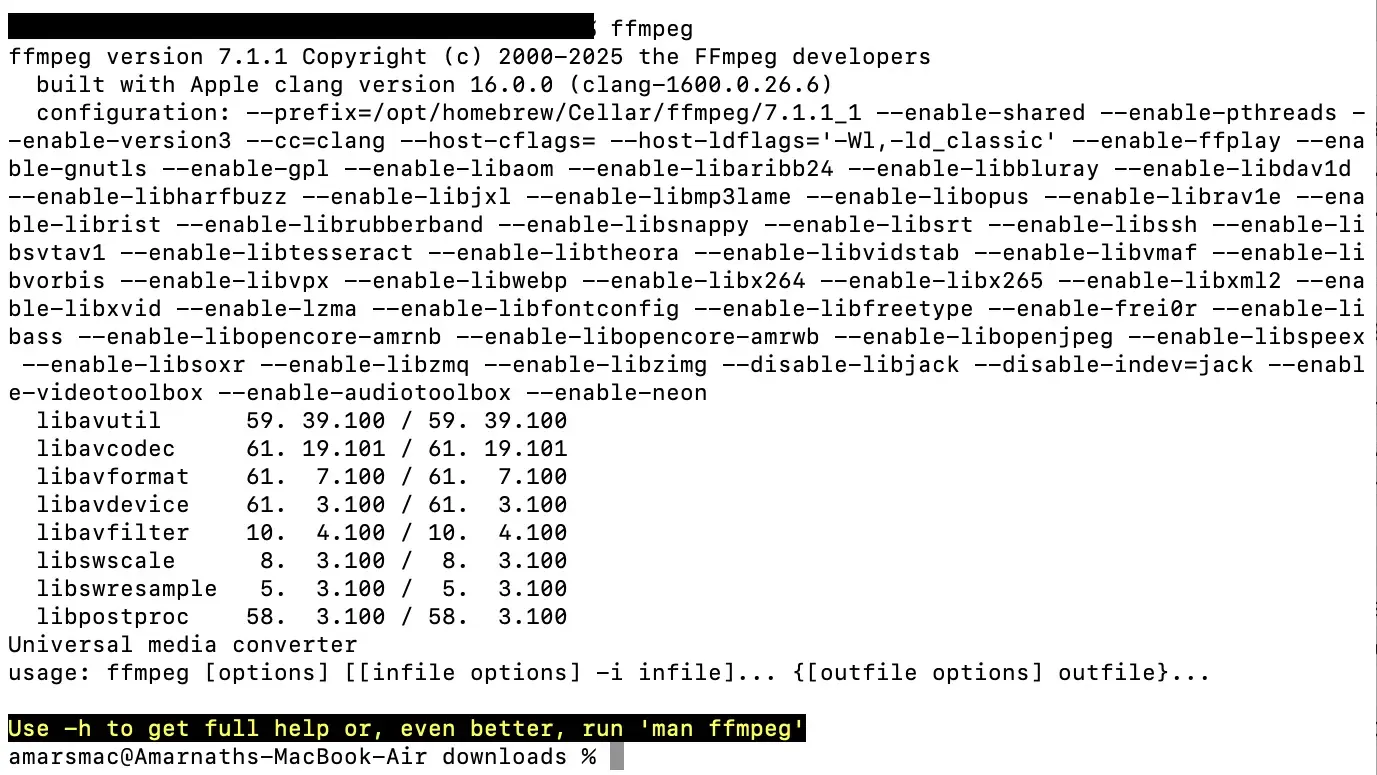
Verify Installation
To make sure FFmpeg is installed correctly, run:
ffmpegYou should see output showing FFmpeg version and available codecs.
Example: Convert FLV to MP4
Let’s convert a video file from FLV to MP4:
ffmpeg -i input.flv output.mp4This command takes an input file (-i) and transcodes it into MP4 using default audio and video codecs.
Example: Convert Without Re-Encoding
ffmpeg -i input.flv -acodec copy -vcodec copy output.mp4This is faster because it just repackages the audio and video streams into a new container without changing the codecs. The key flags are -acodec copy and -vcodec copy.
There are endless things you can do with FFmpeg, but we’ll keep it simple in this guide. For advanced use cases, check the official documentation.
Key Features
| Feature | Description |
|---|---|
| Streaming Protocols | RTMP, RTSP, HLS, MPEG-DASH, SRT, WebRTC |
| Filters | Scale, crop, overlay, subtitles, audio-mix |
| Device Input/Output | HDMI grab, V4L2, PulseAudio, JACK |
| Hardware Acceleration | NVENC, VAAPI, QSV, VideoToolbox |
Common Use Cases
- File Conversion: `.avi` → `.mp4`, `.mov` → `.webm`
- Audio Extraction: Rip audio track from video
- Live Streaming: Push to YouTube, Twitch, or custom RTMP
- Thumbnail Generation: Capture stills at specific timestamps
- Video Stitching: Concatenate clips without re-encoding
Commands Cheat Sheet
- Get File Info:
ffmpeg -i video.mp4
Displays codec, format, bitrate, duration, etc. - Convert MP4 → AVI:
ffmpeg -i video.mp4 video.avi - Convert FLV → MPEG:
ffmpeg -i video.flv video.mpeg - High-Quality Conversion:
ffmpeg -i input.webm -qscale 0 output.mp4
Preserves original quality using-qscale 0. - List Supported Formats:
ffmpeg -formats - Convert Video → Audio (MP3):
ffmpeg -i input.mp4 -vn output.mp3 - Advanced Audio Transcode:
ffmpeg -i input.mp4 -vn -ar 44100 -ac 2 -ab 320k -f mp3 output.mp3
Sets sample rate, channels, bitrate and format. - Decrease Audio Volume:
ffmpeg -i input.mp3 -af "volume=0.5" output.mp3 - Increase Audio Volume:
ffmpeg -i input.mp3 -af "volume=1.5" output.mp3 - Change Resolution:
ffmpeg -i input.mp4 -filter:v scale=1280:720 -c:a copy output.mp4
Or use-s 1280x720. - Compress Video:
ffmpeg -i input.mp4 -vf scale=1280:-1 -c:v libx264 -preset veryslow -crf 24 output.mp4
Add-ac 2 -c:a aac -b:a 128kto compress audio. - Compress Audio:
ffmpeg -i input.mp3 -ab 128 output.mp3
Typical bitrates: 96, 112, 128, 160, 192, 256, 320 kbps. - Remove Audio Stream:
ffmpeg -i input.mp4 -an output.mp4 - Remove Video Stream:
ffmpeg -i input.mp4 -vn output.mp3
Use-abto set audio bitrate if needed. - Extract Images:
ffmpeg -i input.mp4 -r 1 -f image2 image-%2d.png
1 frame/sec saved as image-01.png, image-02.png, … - Crop Video:
ffmpeg -i input.mp4 -filter:v "crop=640:480:200:150" output.mp4
Crops 640×480 at x=200, y=150. - Convert Specific Duration:
ffmpeg -i input.mp4 -t 20 output.avi
Converts first 20 seconds (also hh:mm:ss). - Set Aspect Ratio:
ffmpeg -i input.mp4 -aspect 16:9 output.mp4 - Add Poster Image (Audio):
ffmpeg -loop 1 -i cover.jpg -i audio.mp3 -c:v libx264 -c:a aac -shortest out.mp4 - Trim with Start & Stop:
ffmpeg -i input.mp4 -ss 00:00:50 -c copy -t 50 clip.mp4
Use-toinstead of-tfor end time. - Split into Parts:
ffmpeg -i input.mp4 -t 30 -c copy part1.mp4 -ss 30 -c copy part2.mp4 - Merge Files (concat):
ffmpeg -f concat -safe 0 -i join.txt -c copy out.mp4
join.txt lists each file path. - Concat with “|”:
ffmpeg -i "concat:audio1.mp3|audio2.mp3|audio3.mp3" -c copy out.mp3 - Stream to RTMP:
ffmpeg -re -i file.mp4 -c:v libx264 -f flv rtmp://your-ams/live/stream - Burn Subtitles:
ffmpeg -i video.mp4 -vf subtitles=subtitle.srt out.mp4 - Create GIF:
ffmpeg -i video.mp4 -vf "fps=10,scale=320:-1" out.gif - Images → Video:
ffmpeg -framerate 1 -i img%d.png -c:v libx264 -r 30 out.mp4 - Slow Motion:
ffmpeg -i input.mp4 -filter:v "setpts=2.0*PTS" slow.mp4
Use0.5*PTSfor double speed. - Play in Terminal:
ffplay video.mp4 - Speed Up Video:
ffmpeg -i input.mp4 -vf "setpts=0.5*PTS" fast.mp4 - Speed Up Audio:
ffmpeg -i input.mp4 -filter:a "atempo=2.0" -vn fast-audio.mp3
Integrating with Ant Media Server
Push your FFmpeg output directly into AMS’ RTMP endpoint:
ffmpeg -re -i your-video.mp4 \
-c:v libx264 -preset veryfast -b:v 1M \
-c:a aac -b:a 128k \
-f flv "rtmp://your-ams-host/live/streamId"
AMS will auto-transmux to HLS, DASH, WebRTC—no extra steps.
Performance Tips
- Use hardware encoders (e.g.,
-c:v h264_nvenc) when available. - Choose
-presetbased on quality vs. speed (ultrafast, veryfast, medium). - Limit threads:
-threads 2to avoid CPU contention on co-hosted servers. - Monitor bit-rate ladder and adapt live bitrates for fluctuating networks.
Pros & Cons
| Pros | Cons |
|---|---|
| Ultra-flexible CLI | Steep learning curve |
| Wide codec support | No native GUI |
| Free & open source | Docs can be terse |
| Quarterly releases | Experimental APIs shift |
Frequently Asked Questions
Is FFmpeg free for commercial use?
Can I stream with FFmpeg on low-end hardware?
Do I need to compile from source?
Can I use FFmpeg to record live streams?
-f flags. It’s commonly used to archive live events.Is FFmpeg safe to use in production environments?
Does FFmpeg work with Ant Media Server?
Estimate Your Streaming Costs
Use our free Cost Calculator to find out how much you can save with Ant Media Server based on your usage.
Open Cost Calculator

