If you have come so far, you possibly may have heard what RTMP is: The Real-Time Messaging Protocol (RTMP) was designed for high-performance transmission of audio, video, and data. And now it’s possible and so easy to use RTMP in native iOS applications.
Today we are happy to announce that AntMedia RTMP iOS SDK is ready for developers and end-user applications. This post covers how to run the Reference RTMP Application. If you just would like to look for an SDK document then please check from here.
How To Use RTMP iOS SDK?
Let’s Get Started with iOS Reference Application
Prerequisites to use RTMP iOS SDK
In order to use RTMP iOS SDK, you need LFLiveKit framework build, and some other libraries for sure, and Ant Media Server Enterprise Edition. Please visit here to get your trial license to explore Ant Media Server RTMP iOS SDK and other SDKs.
Start the Ant Media Server Enterprise Edition, Extract the Media Server Enterprise Edition and start the server with start.sh command in the terminal:
cd /path/to/ant-media-server

./start.sh
Introduction to Reference Application
After downloading the reference application project, you may see that project has two view controllers to show: WelcomeViewController to set server IP and room name. VideoViewController for the streaming.

And as you can see from the project navigator, the reference application uses a pod for dependency management. LFLiveKit library is used to handle RTMP connection between iOS client and Ant Media Enterprise Edition.
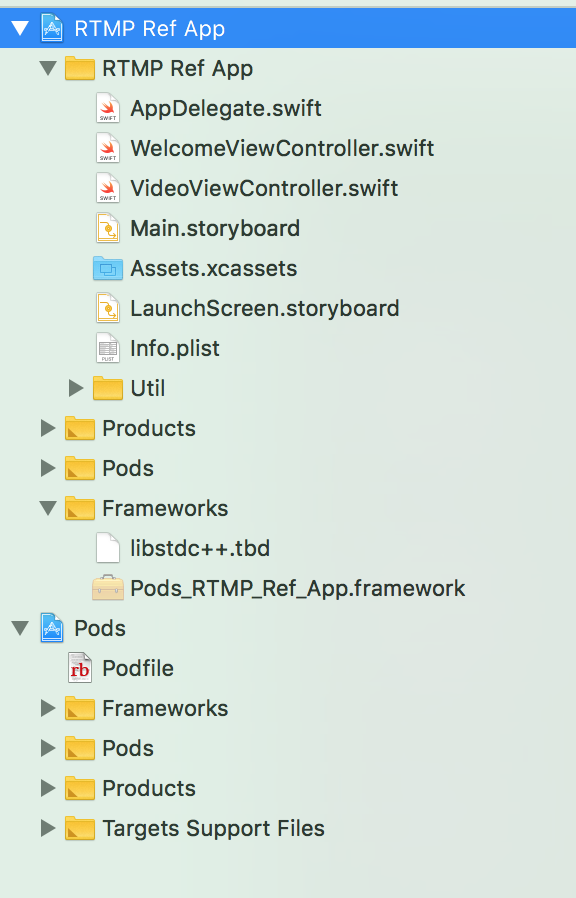
As it can be seen from the folder structure, there is only linked library along with LFLiveKit: libstdc++.tbd
So when we run the reference application, WelcomeViewController will be seen as the initial view controller. Before taping the connect button, the server-id and room name should be defined.
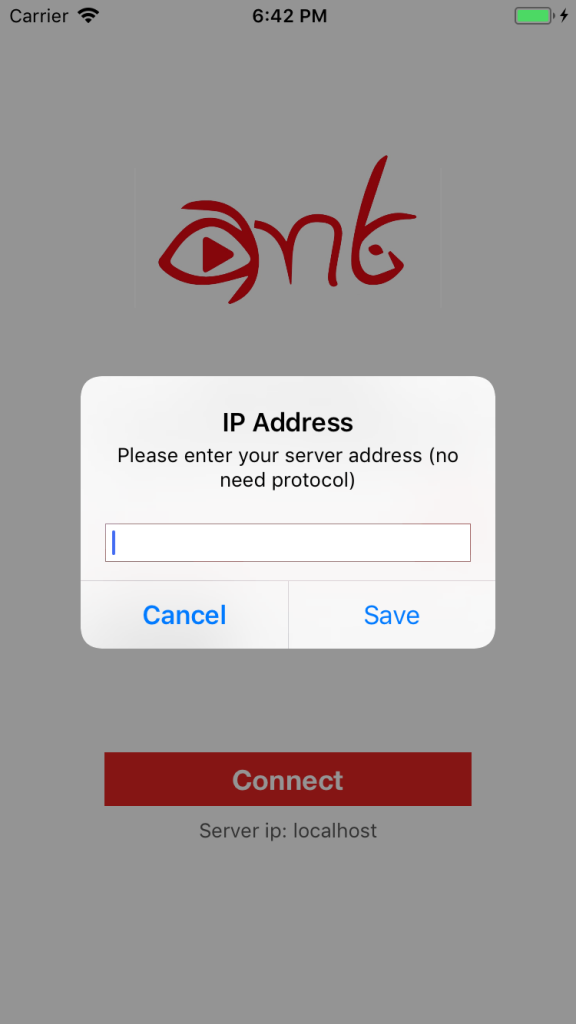
If the connection is okay, the reference application saves the server IP and room name for further sessions. You may have wanted to check utils for details.
If the connection is not okay, an error message will be seen as an alert. And if you check WelcomeViewController, you will see that how to deal with RTMP clients, means delegation.
If everything is fine, VideoViewController will be presented. For streaming, the application will need a camera and microphone. Permission requests will be prompted. If the user is not granted, the video view controller will not be presented.
As you can see from the storyboard, you can switch cameras. Enable or disable video filters like beauty filters. And you can see the status of the connection from the header view as well.
Setting Other Peer
The other peer should connect to the same room in order to create a peer-to-peer connection.
You may install the reference application to any other iOS device and connect to the same room id or you may go to the http://localhost:5080/LiveApp/play.html?name=
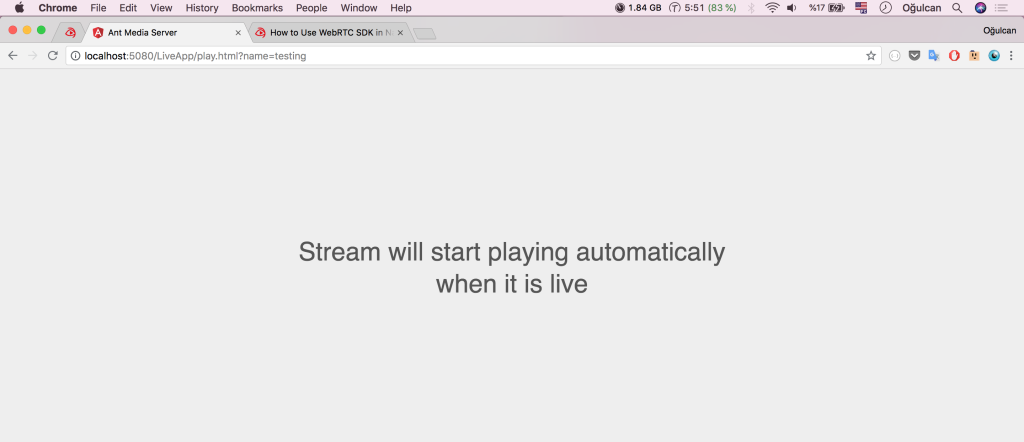
You will see this message. So when you start streaming from the Reference Application, this page will be refreshed automatically.
More Information about RTMP iOS SDK
Take a look at the WelcomeViewController to see the sample usage of the RTMP iOS SDK.
Connection Parameters
– streamId (Broadcast name)
– url (Url of AntMedia Server)
Ant Media server URLs may change according to the communication medium, for example insecure environment, the URL starts with “wss” instead of “ws” also port number changes to “5081” by default it is “5080”.
LFLiveKit Implementation
First, you need to import LFLiveKit SDK along with libstc++.tbd.
Then in your view controller class, create a LFLiveKit instance like:
var session: LFLiveSession = {

let audioConfiguration = LFLiveAudioConfiguration.defaultConfiguration(for: LFLiveAudioQuality.high)

let videoConfiguration = LFLiveVideoConfiguration.defaultConfiguration(for: LFLiveVideoQuality.low3)

let session = LFLiveSession(audioConfiguration: audioConfiguration, videoConfiguration: videoConfiguration)

return session!

}()
And do not forget to set delegate in viewDidLoad:
override func viewDidLoad() {

super.viewDidLoad()

self.session.delegate = self

}
Then to start streaming, you just need to create URL with using stream info like this:
let stream = LFLiveStreamInfo()

stream.url = “rtmp://\(url)/LiveApp/\(room)”

session.startLive(stream)
For the delegation, there 4 methods to implement:
extension WelcomeViewController: LFLiveSessionDelegate {

func liveSession(_ session: LFLiveSession?, liveStateDidChange state: LFLiveState) {

// To handle state changes

}
func liveSession(_ session: LFLiveSession?, errorCode: LFLiveSocketErrorCode) {
// To handle if any error occurs
}
func liveSession(_ session: LFLiveSession?, debugInfo: LFLiveDebug?) {
// Some informations about session
}
}
So that’s all for the documentation of RTMP iOS SDK. You still see the animations, some tricks to move a session from welcome to video view, etc.
We hope this tutorial will be helpful for you, if you have any questions, just send an email to [email protected]
Useful Links
You can try Ant Media Server for free with all features!
You can download native Android and iOS WebRTC SDKs and integrate them into your applications for free!
Ant Media Server Github Wiki
You would want to check the Future of Ultra-Low Latency Streaming Market, Video Codecs, and Encoding.


