This blog post is obsolete. Please visit the new blog post 4 Simple Steps to Build WebRTC iOS Apps and Stream Live Video Like a Pro
WebRTC is an open-source streaming protocol that provides mobile applications and web browsers with real-time communication functionalities. It is an exciting and powerful technology. WebRTC is supported by major modern browsers. Earlier external plugins were used to achieve real-time communication functionalities but now the same functionality is offered by WebRTC. You can add real-time interaction to your iOS app with WebRTC iOS SDK. You can find more information about WebRTC here.
Ant Media’s WebRTC iOS SDK lets you build your own iOS streaming application that can publish and play WebRTC broadcasts with just a few lines of code.
In this blog post, we’re going to cover the following topics.
- Run the Sample WebRTC iOS app
- Publish Stream from your iPhone
- Play Stream on your iPhone
- P2P Communication with your iPhone
- Develop a WebRTC iOS app
- How to Publish
- How to Play
- How to use DataChannel
Run the Sample WebRTC iOS App
-
Download the WebRTC iOS SDK
In addition to WebRTC iOS SDK, WebRTC Android, Flutter, and React Native SDKs are free to use. You can access them through this link on antmedia.io. If you’re an enterprise user, you can find them in your subscription section on your account on antmedia.io. Anyway, after you download the WebRTC iOS SDK, you can just unzip the file and open the project with Xcode.
-
Install Dependency
Open your terminal and go to the directory where the reference project resides and run
pod install. If you are not familiar with pods, visit cocoapods.org for documentation and installation.cd /go/to/the/directory/where/you/unzip/the/SDK pod installThis installs the Starscream packet for WebSocket connections.
-
Open and Run the Project in Xcode
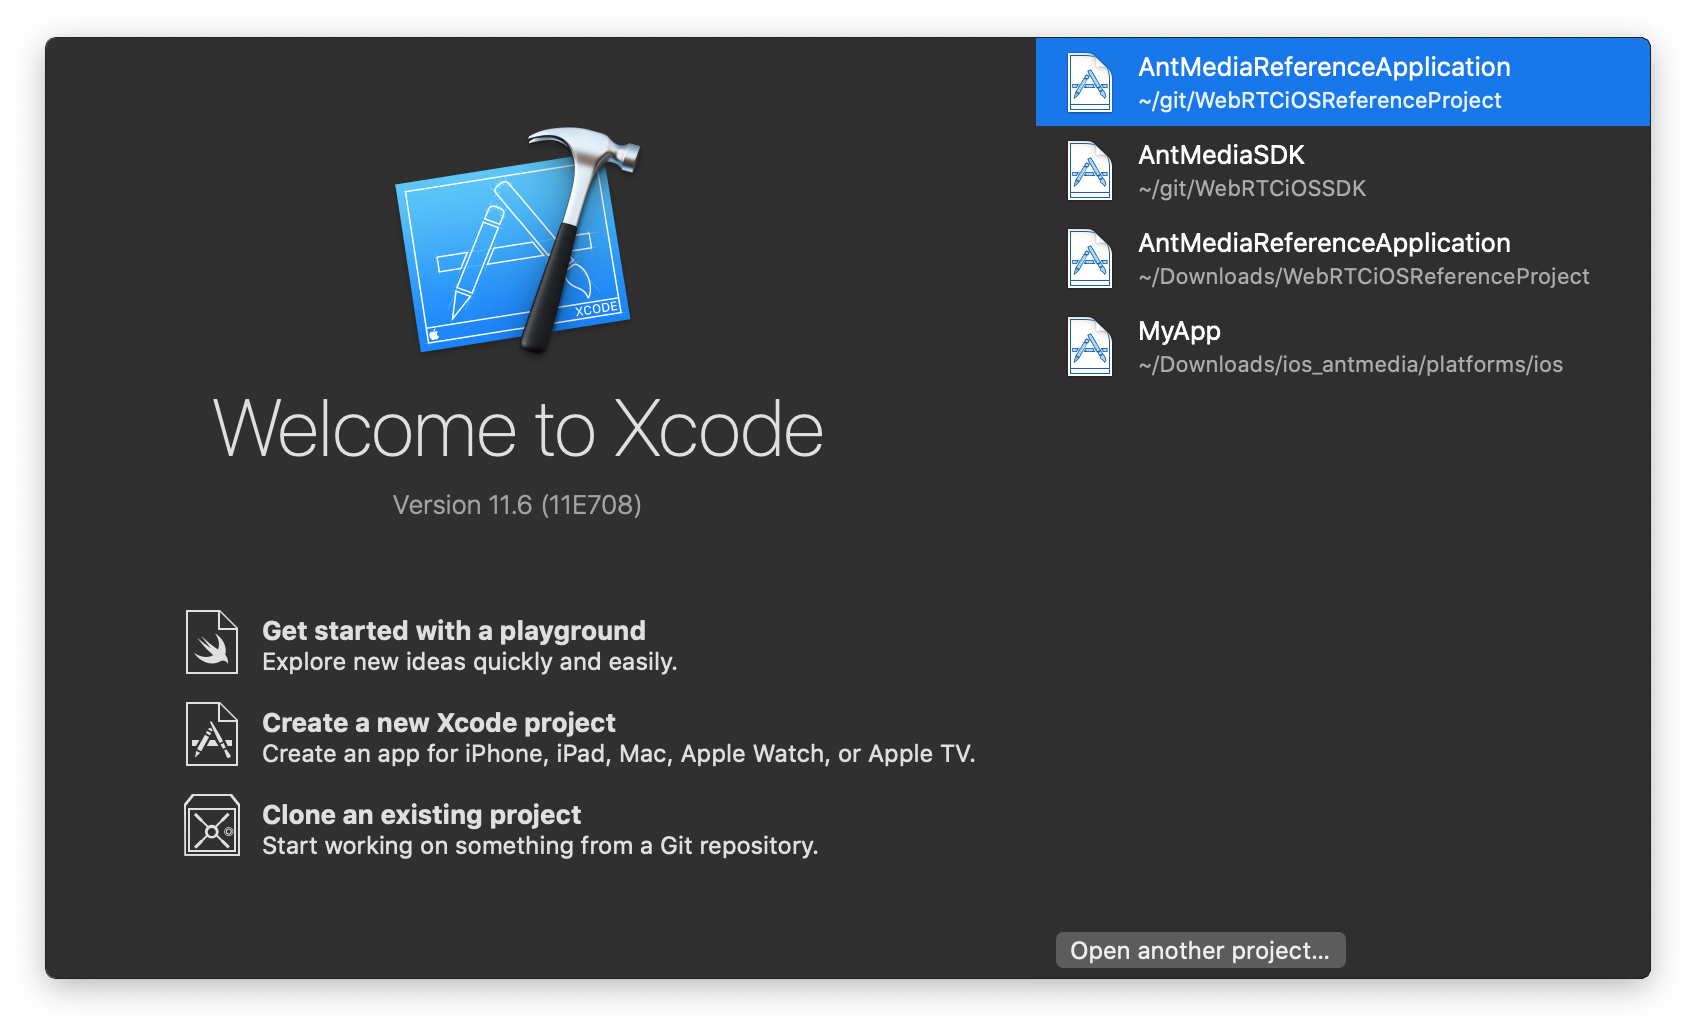
Open the Xcode in your MacOS and Click the Open Another Project if you don’t see the Sample Project in your list.
 Go to the directory where you download and unzip the iOS WebRTC SDK. Open the
 AntMediaReferenceApplication.xcworkspacefile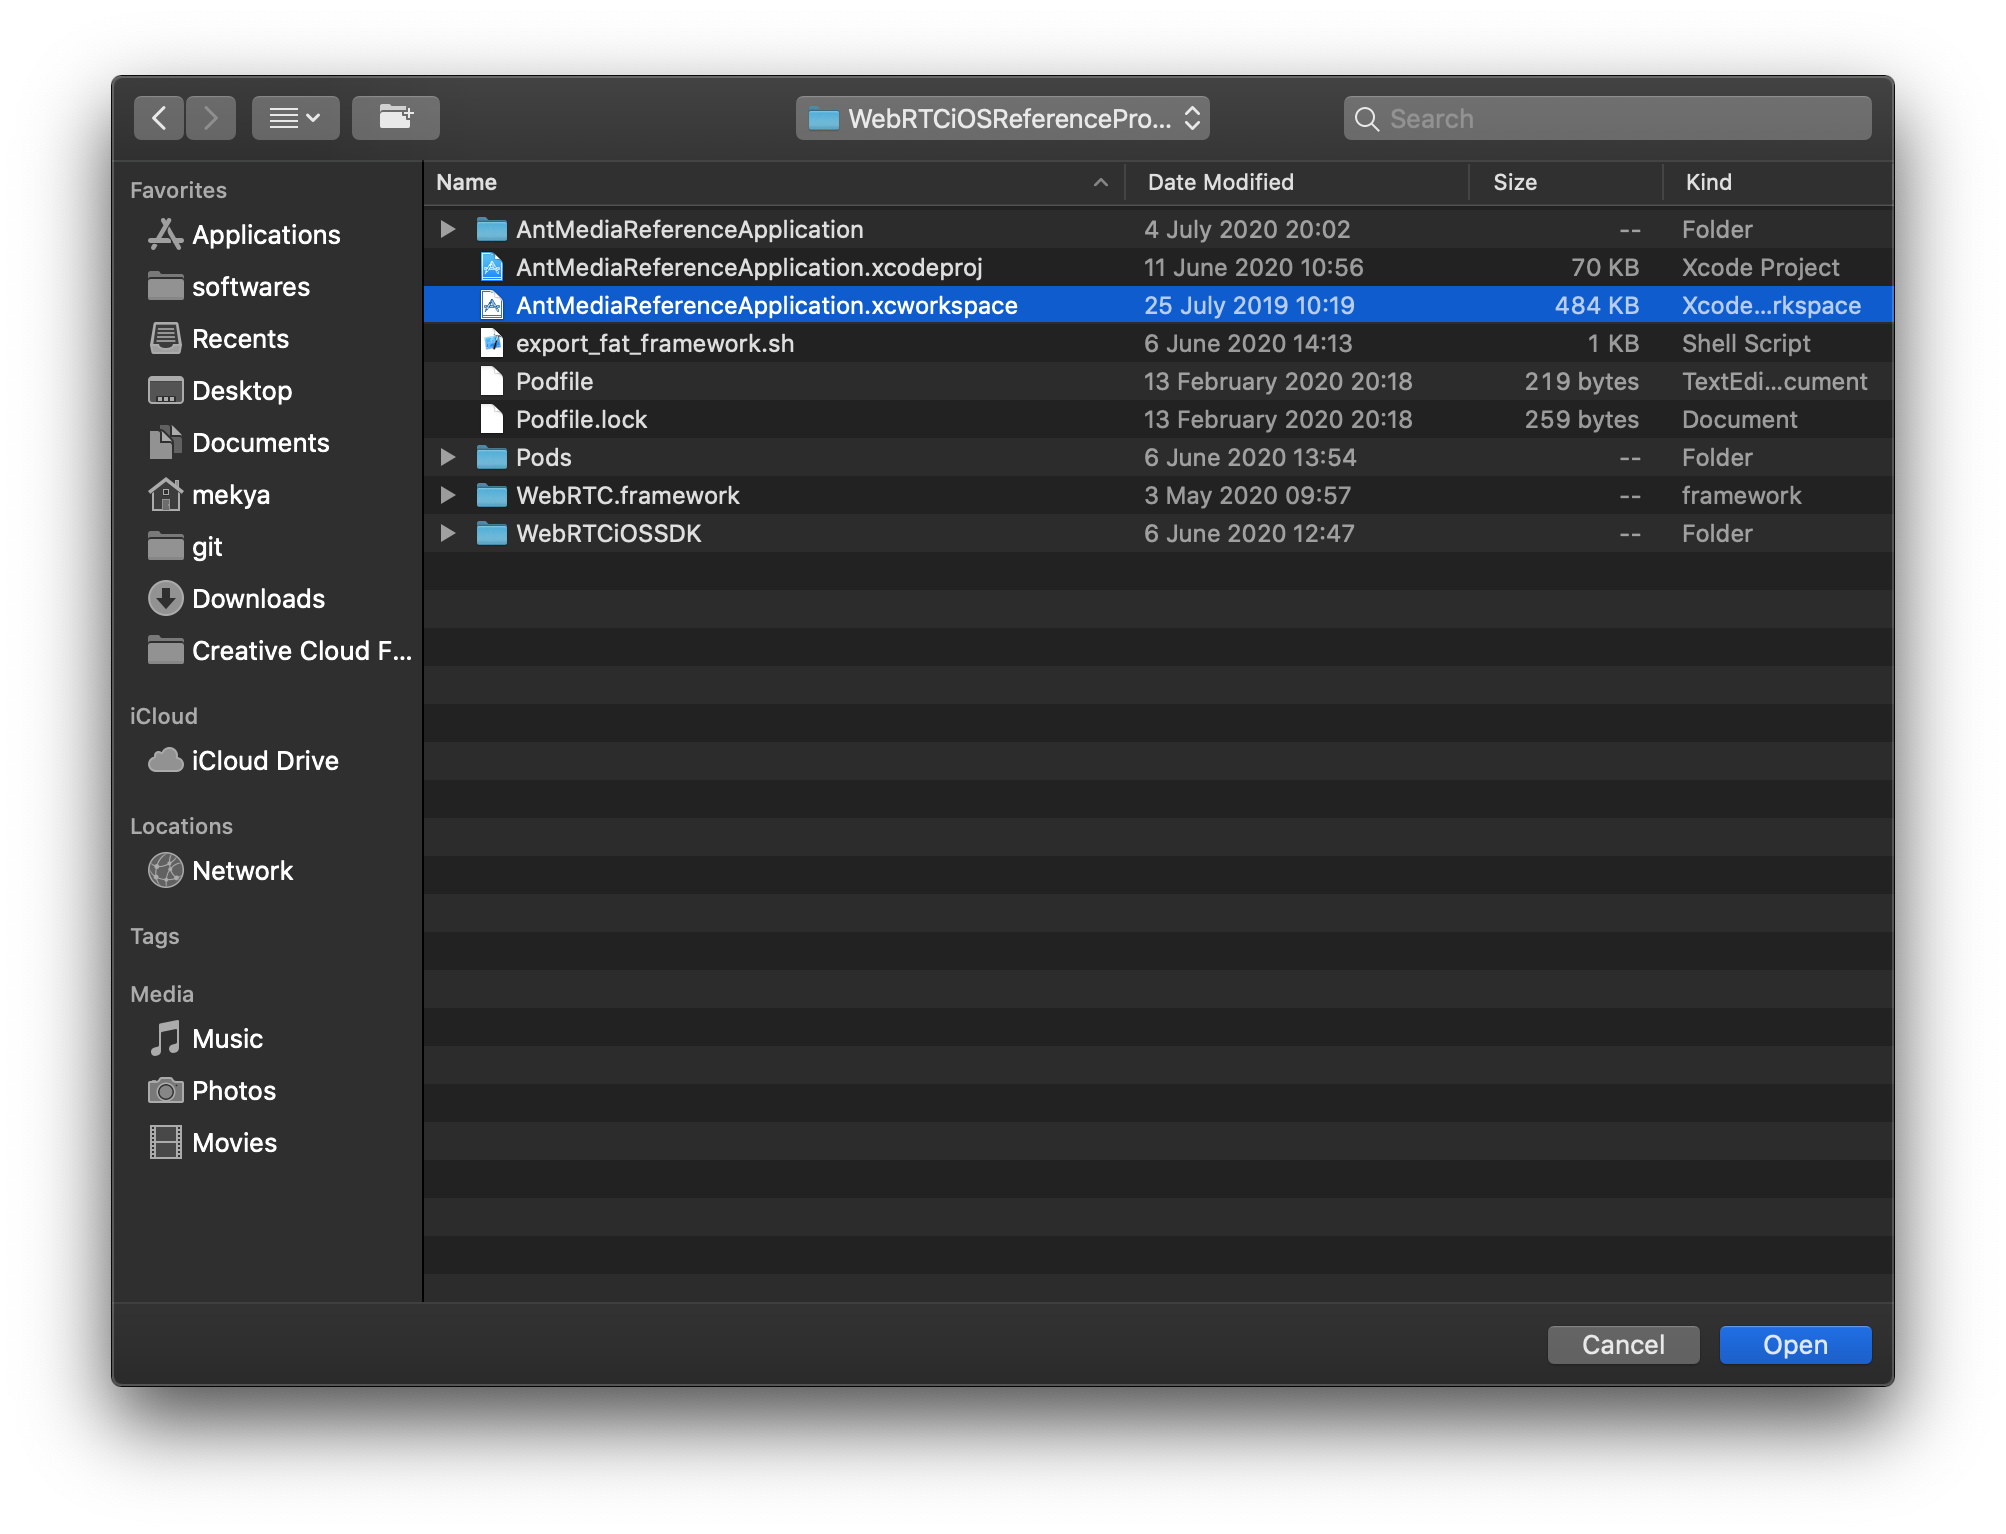 After the project is opened, connect your iPhone to your Mac and choose your iPhone in Xcode as shown below.
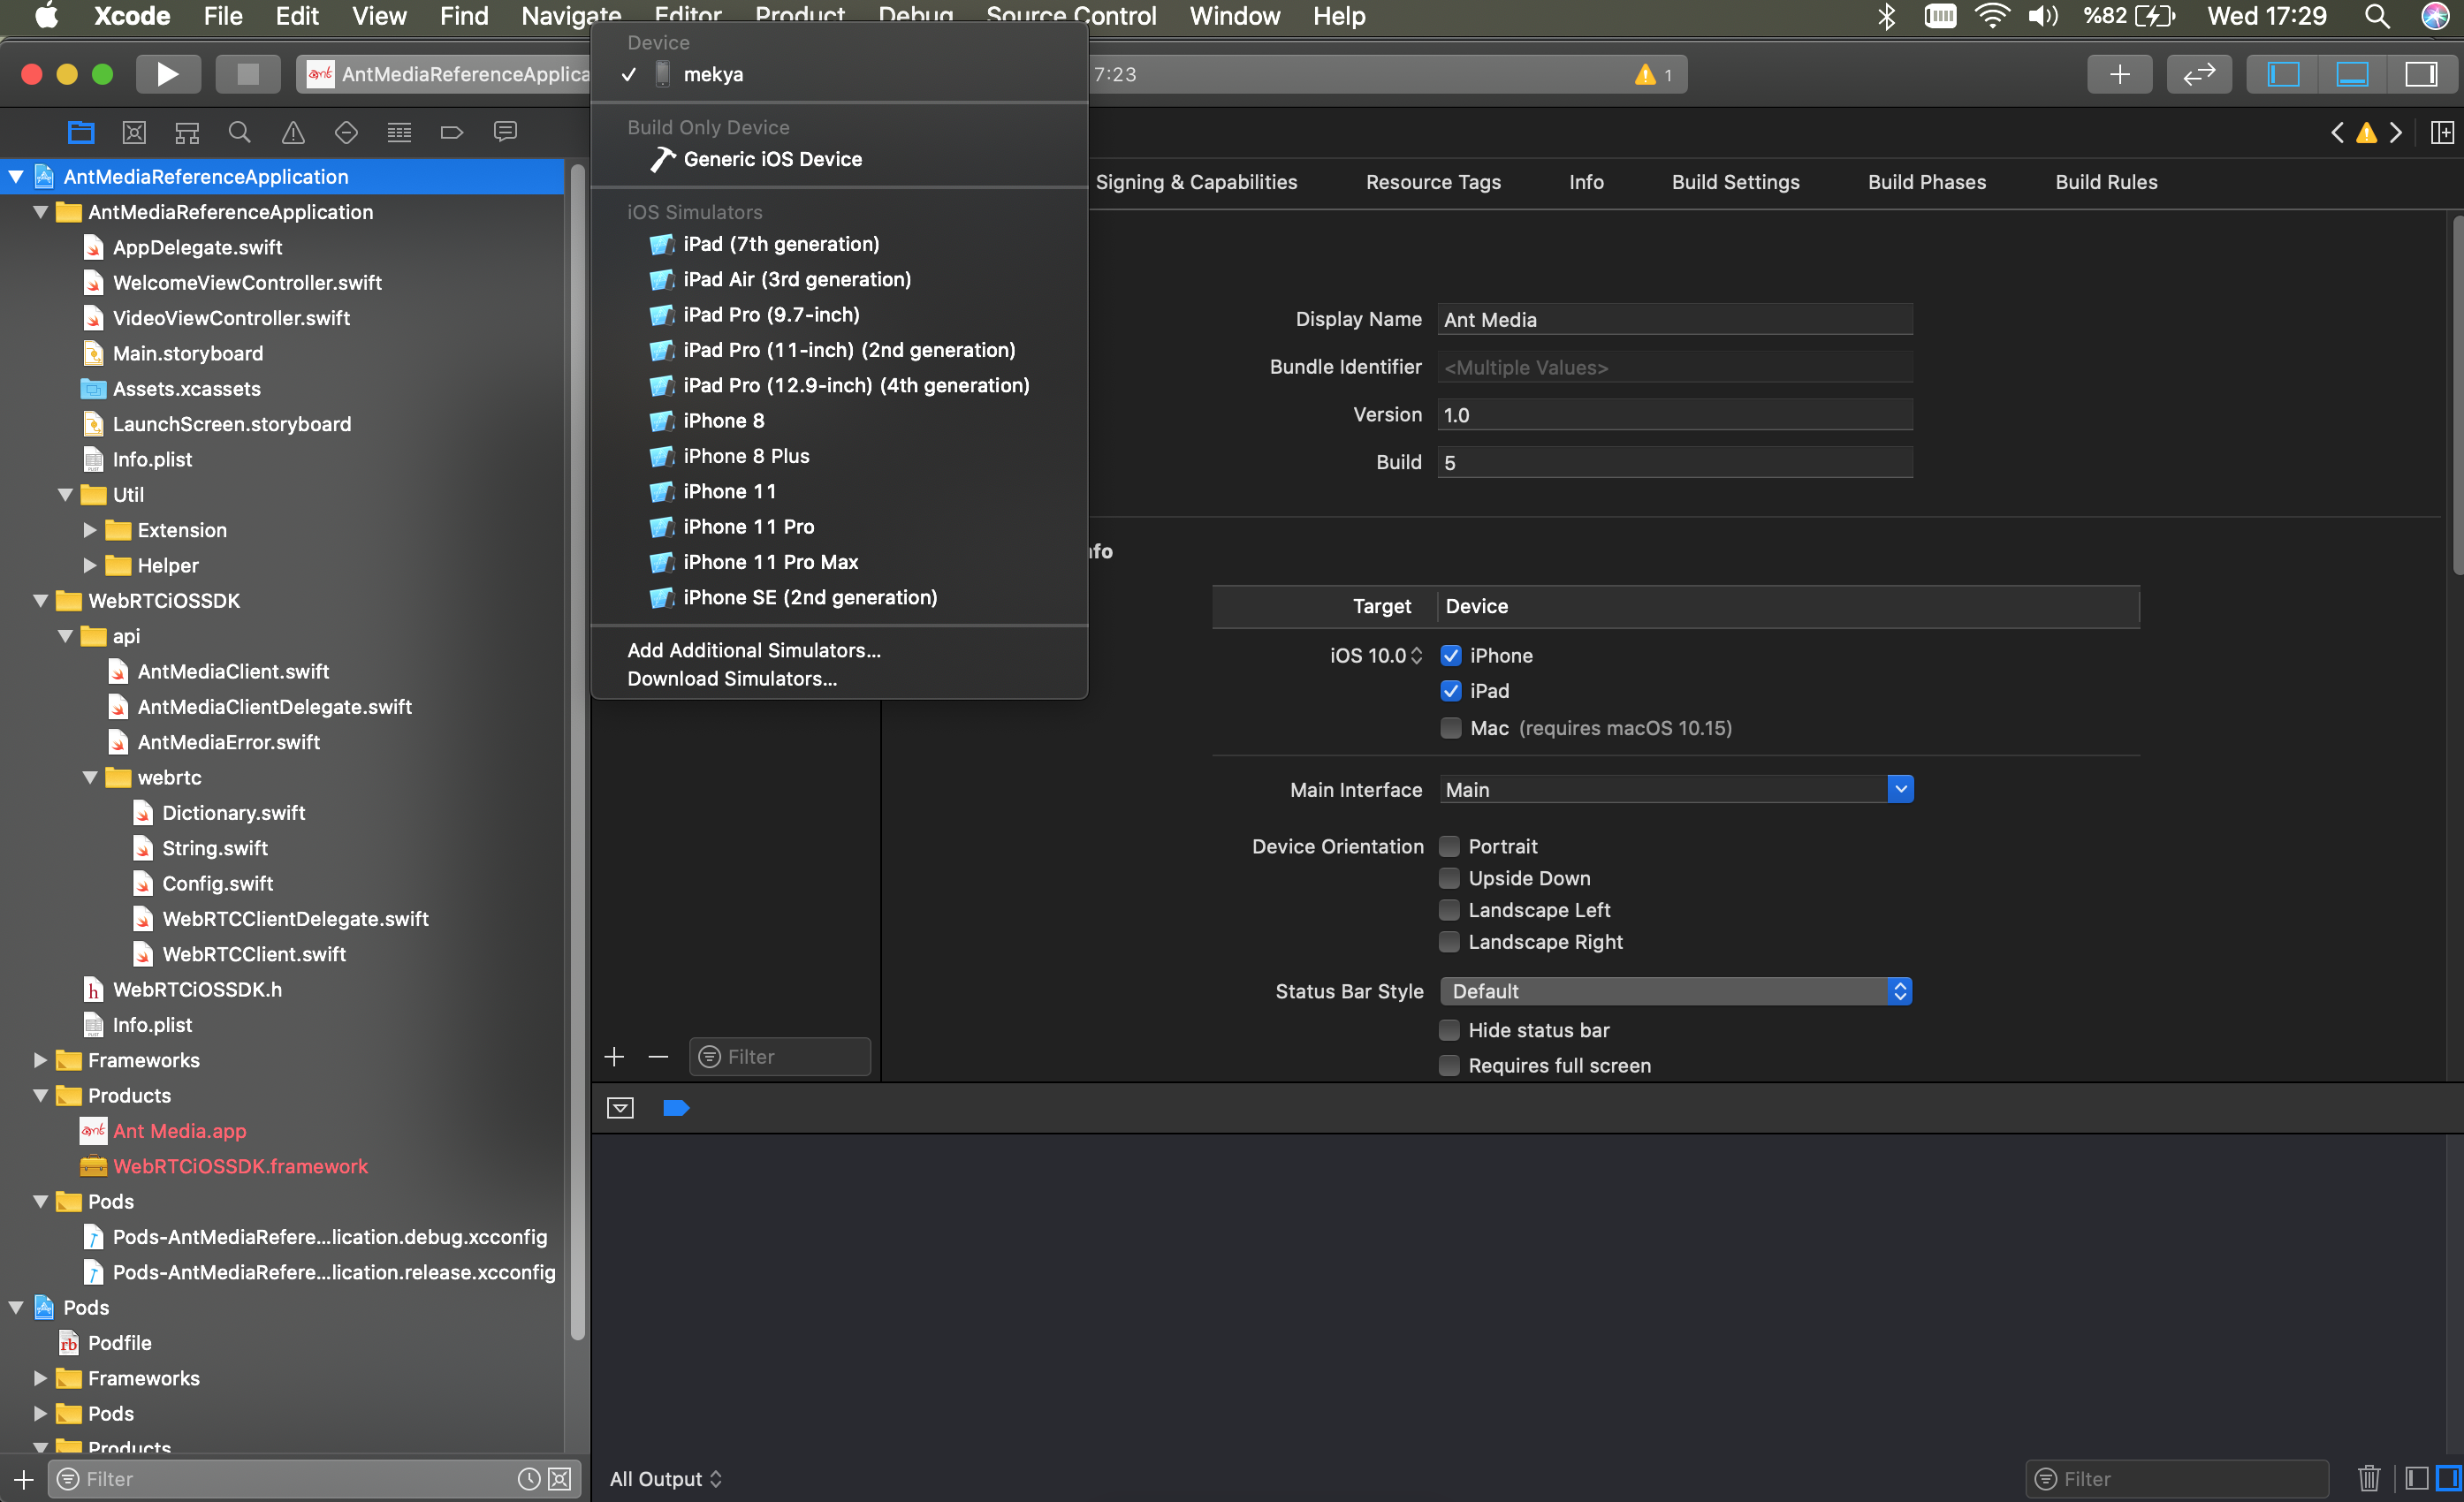 Click
Click Runbutton on the top left of the Xcode. Then project is going to be built and deployed to your iPhone.
Publish Stream From Your iPhone
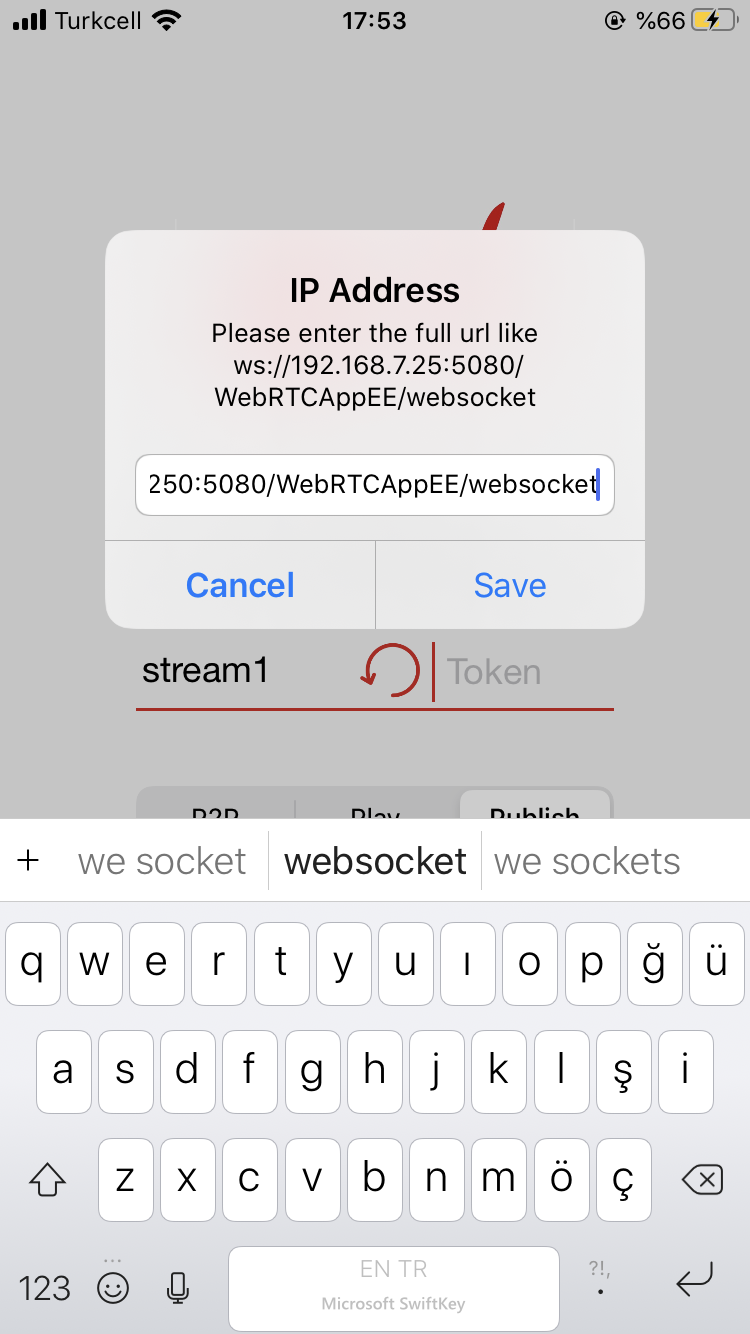
Tap Publish button and then Tap Set Server IP under the connect button in your iPhone.

Write Your Ant Media Server’s full WebSocket URL and tap the Save button. Its format is like this
ws://192.168.7.25:5080/WebRTCAppEE/websocket
If you install SSL to Ant Media Server, you can also use
wss://your_domain_address:5443/WebRTCAppEE/websocket.
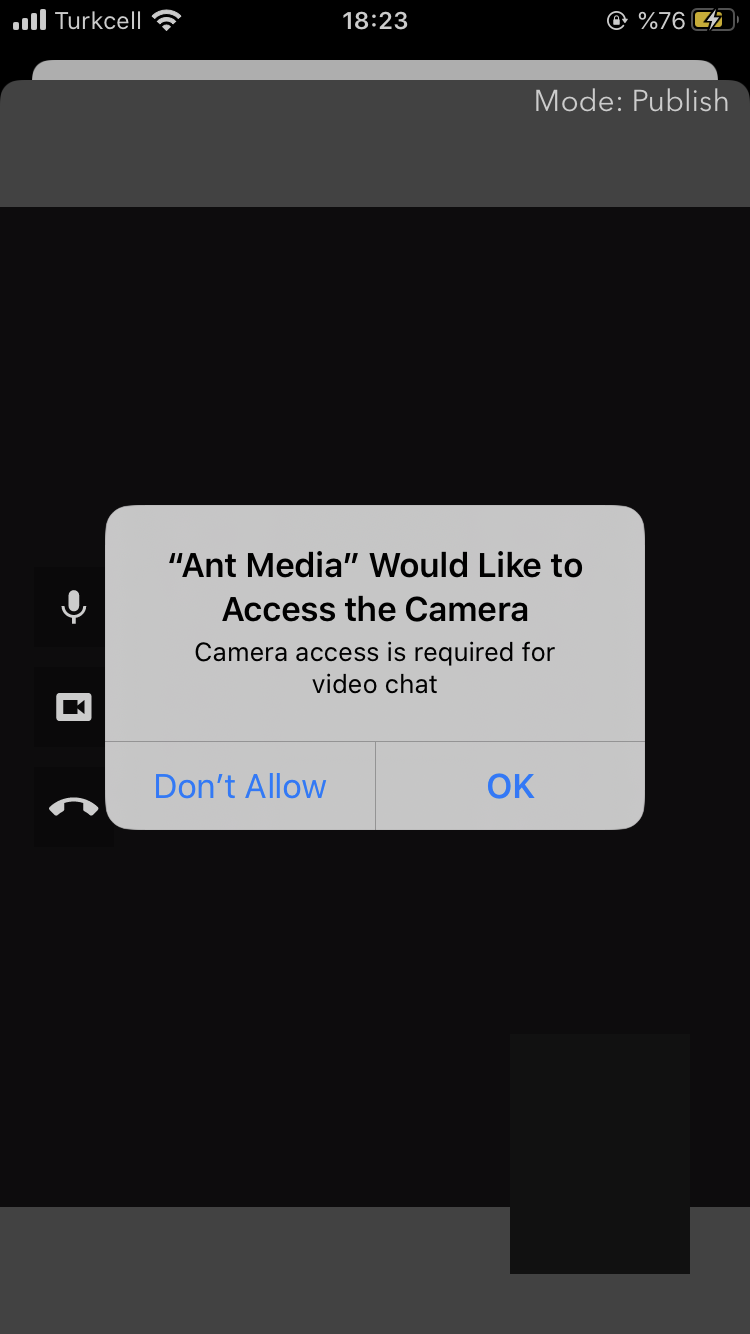
Set the stream id to anything else then ‘stream1’ and Tap the ‘Connect’ button on the main screen. Then it will ask you to access the Camera and Mic. After you allow the Camera and Mic access, the stream will be published on Ant Media Server.
Then it will start Publishing to your Ant Media Server. You can go to the web panel of Ant Media Server(http://server_ip:5080) and watch the stream there. You can also quickly play the stream via https://your_domain:5443/WebRTCAppEE/player.html
Play WebRTC Stream On Your iPhone
Playing stream on your iPhone is almost the same as Publishing. Before playing, make sure that there is a stream already publishing to the server with the same stream id in your textbox (You can quickly publish to the Ant Media Server via https://your_domain:5443/WebRTCAppEE). For our sample, the stream id is still “stream1” in the image below. Then you just need to tap the ‘Play’ button and tap the ‘Connect’ button.
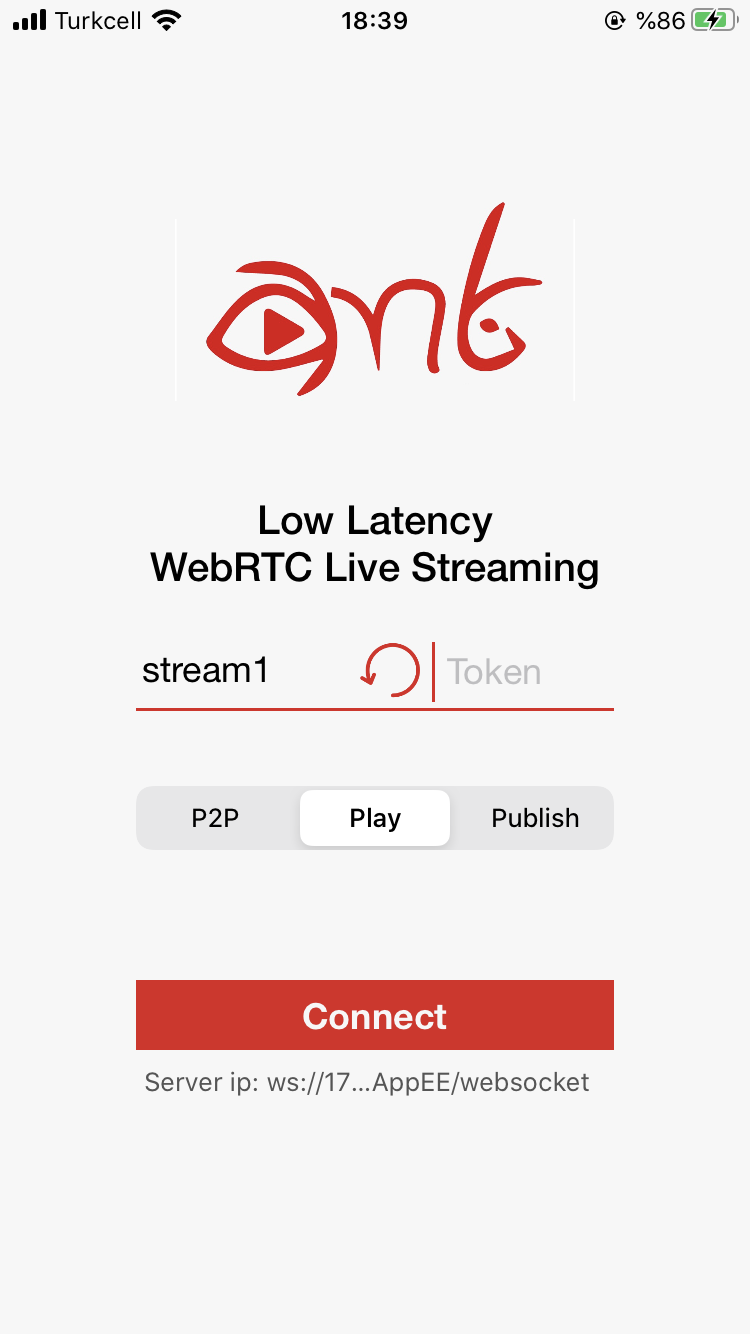
After tapping the ‘Connect’ button, the stream will start playing.
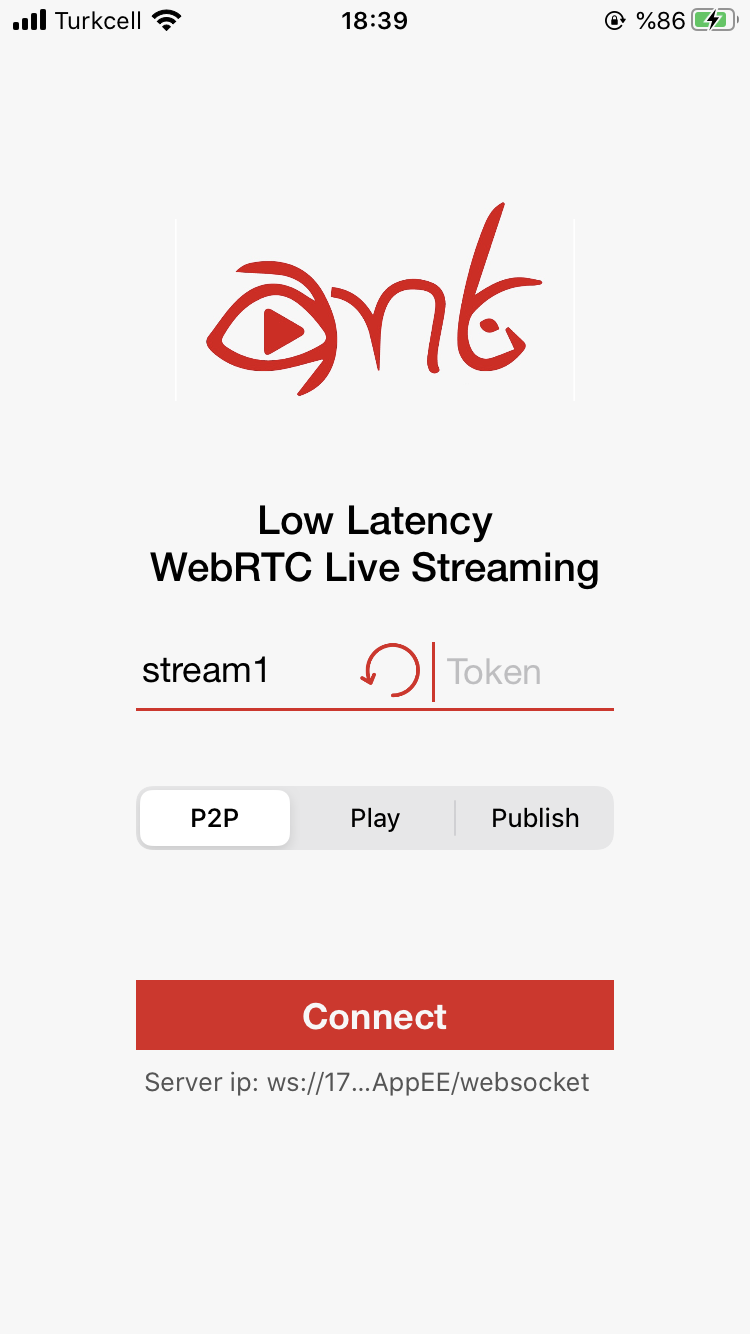
P2P Communication With Your iPhone
WebRTC iOS SDK also supports P2P communication. As you guess, just tap ‘P2P’ and then the ‘Connect’ button.
When there is another peer is connected to the same stream id via Android, iOS, or Web, then P2P communication will be established and you can talk to each other. You can quickly connect to the same stream id via https://your_domain:5443/WebRTCAppEE/peer.html
Develop a WebRTC iOS App
We highly recommend using the sample project to get started with your application. Nevertheless, it’s good to know the dependencies and how it works. So that we’re going to tell you how to create a WebRTC iOS app from Scratch. Let’s get started.
Create Xcode Project
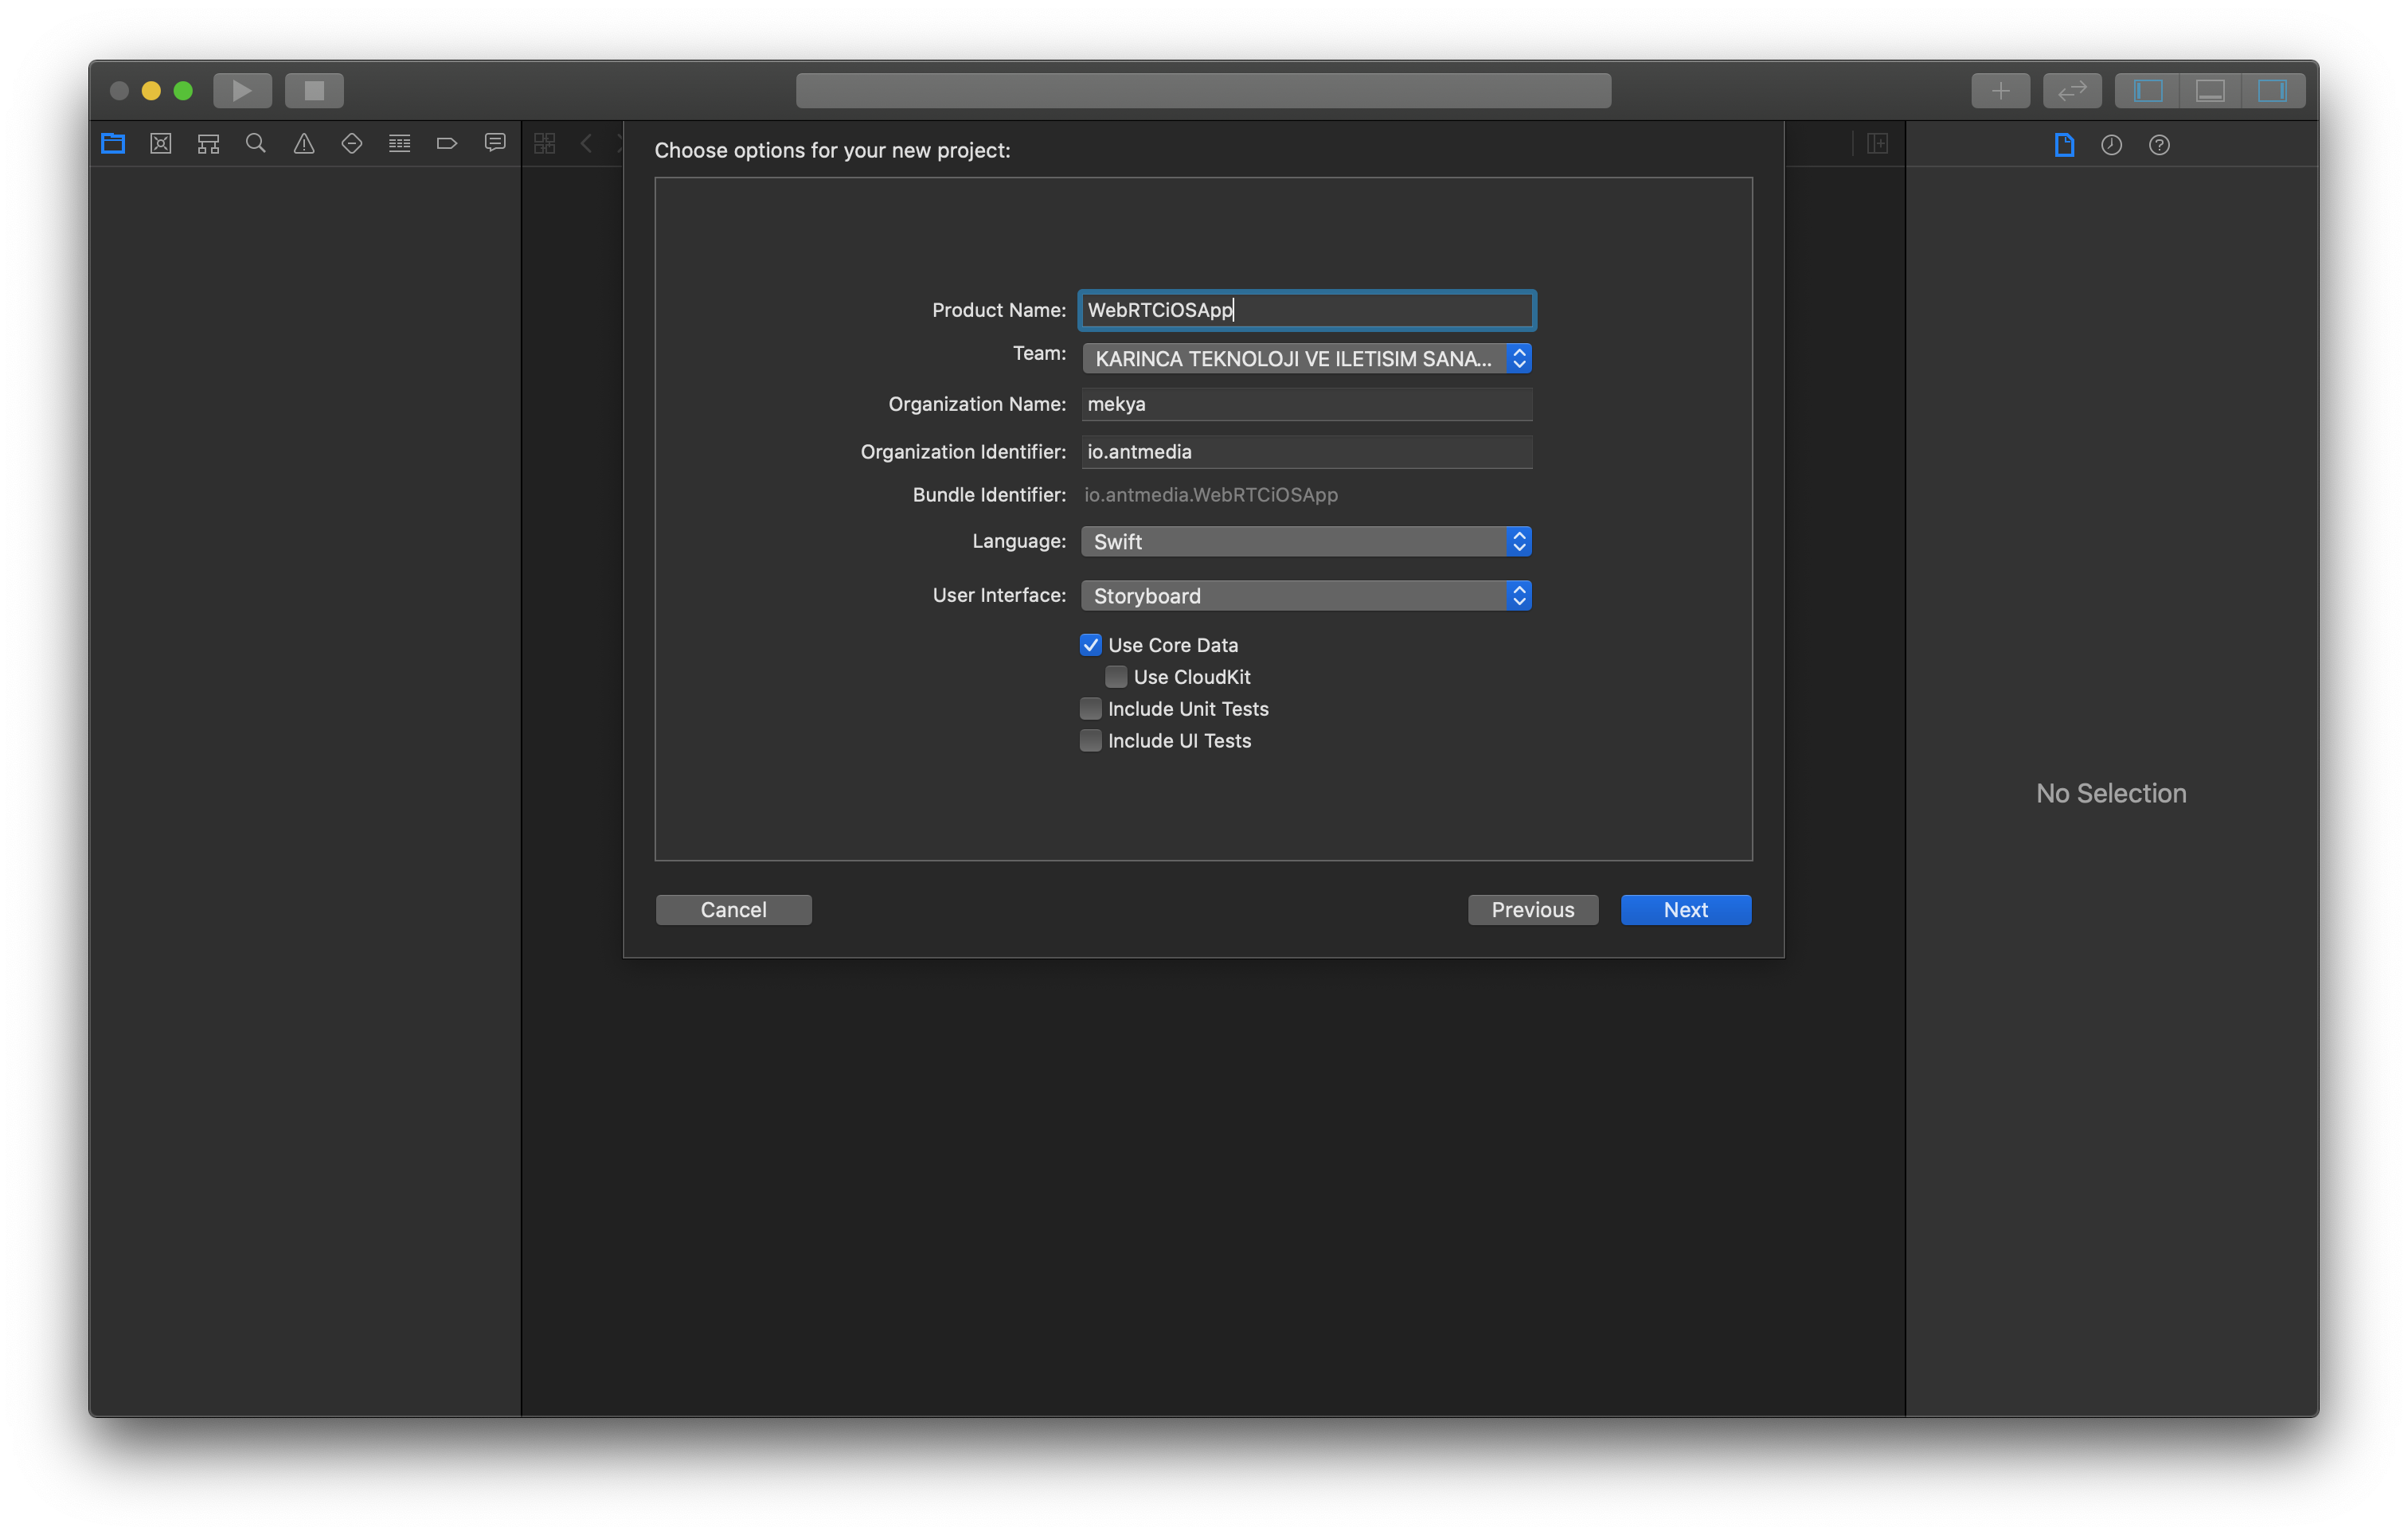
Open Xcode and create a project. Choose Single View App from the templates.
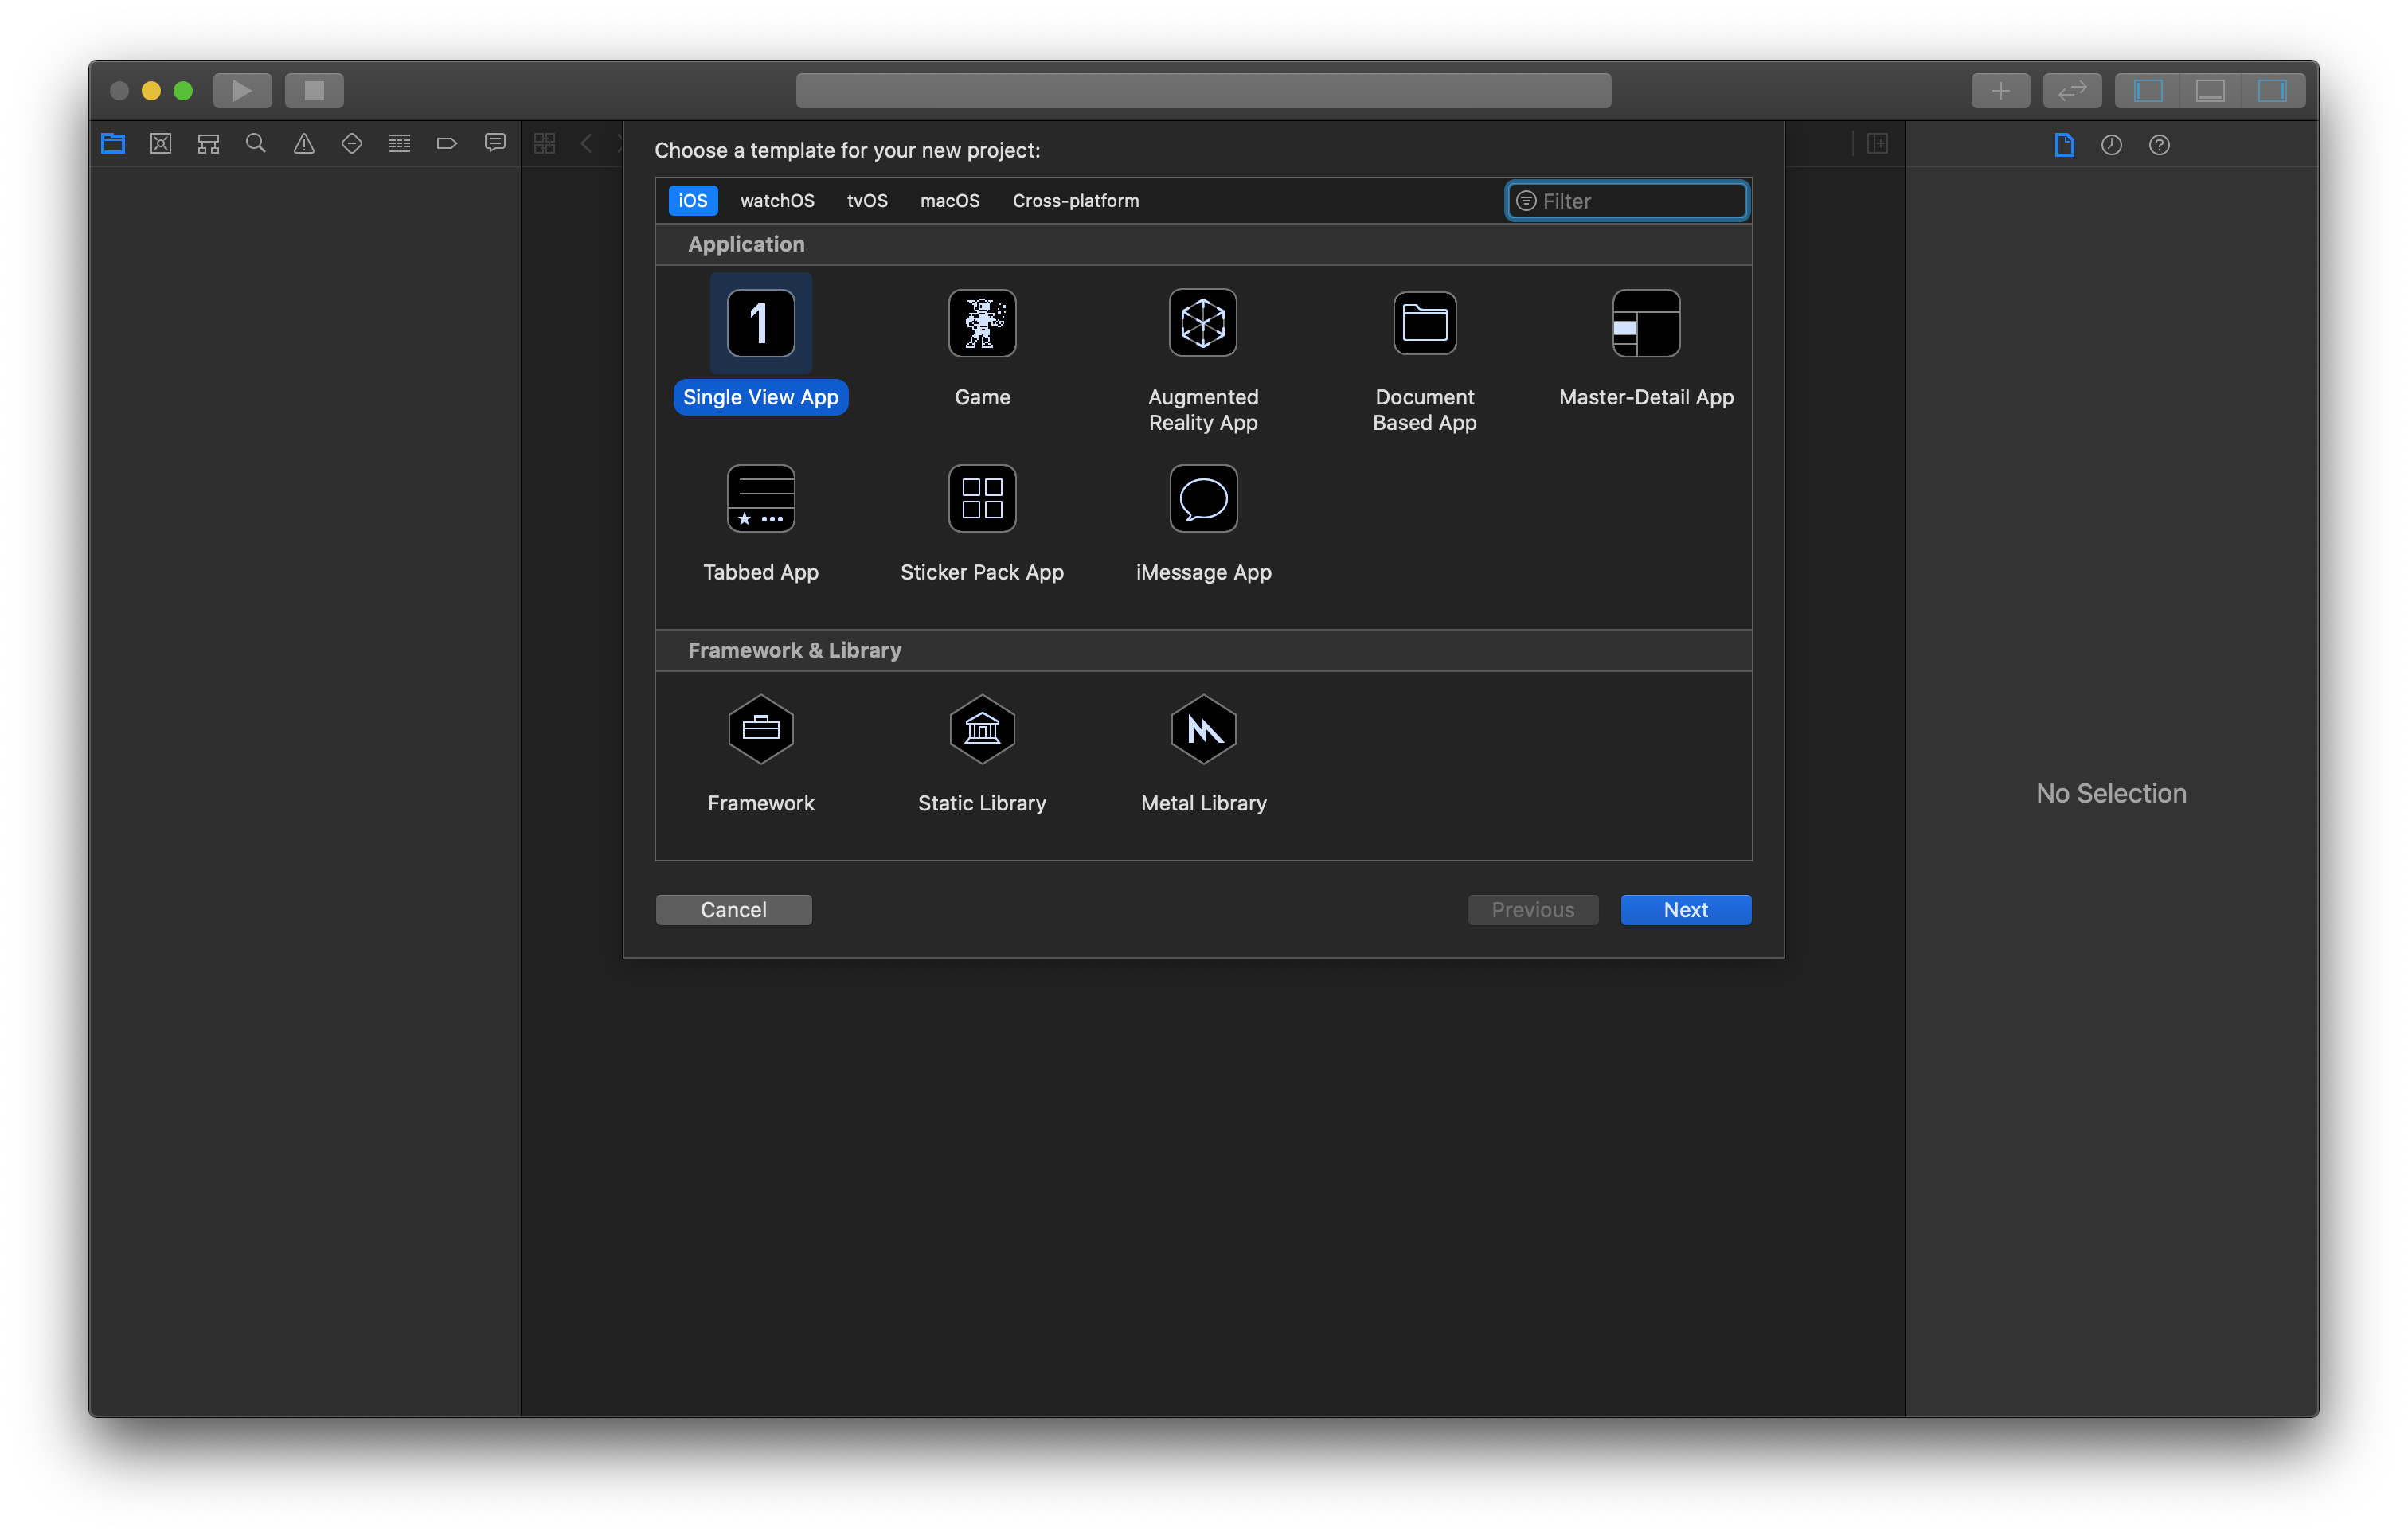
- Name your project as ‘WebRTCiOSApp’ below
Open your terminal and go to the directory where you create your project and make the pod installation. You can learn more about pods on cocoapods.org
cd /go/to/the/directory/where/you/create/the/project
pod init
Podfile should be created after running pod init. Open the Podfile, paste the following and save it.
target 'WebRTCiOSApp' do
  platform :ios, '10.0'
  # Comment the next line if you don't want to use dynamic frameworks
  use_frameworks!

  # Pods for WebRTCiOSApp
 pod 'Starscream', '~> 4.0.4'


 post_install do |installer|
   installer.pods_project.targets.each do |target|
     target.build_configurations.each do |config|
       config.build_settings.delete 'IPHONEOS_DEPLOYMENT_TARGET'
       config.build_settings['BUILD_LIBRARY_FOR_DISTRIBUTION'] = 'YES'
     end
   end
 end

end
Run the following command for pod installation
pod install
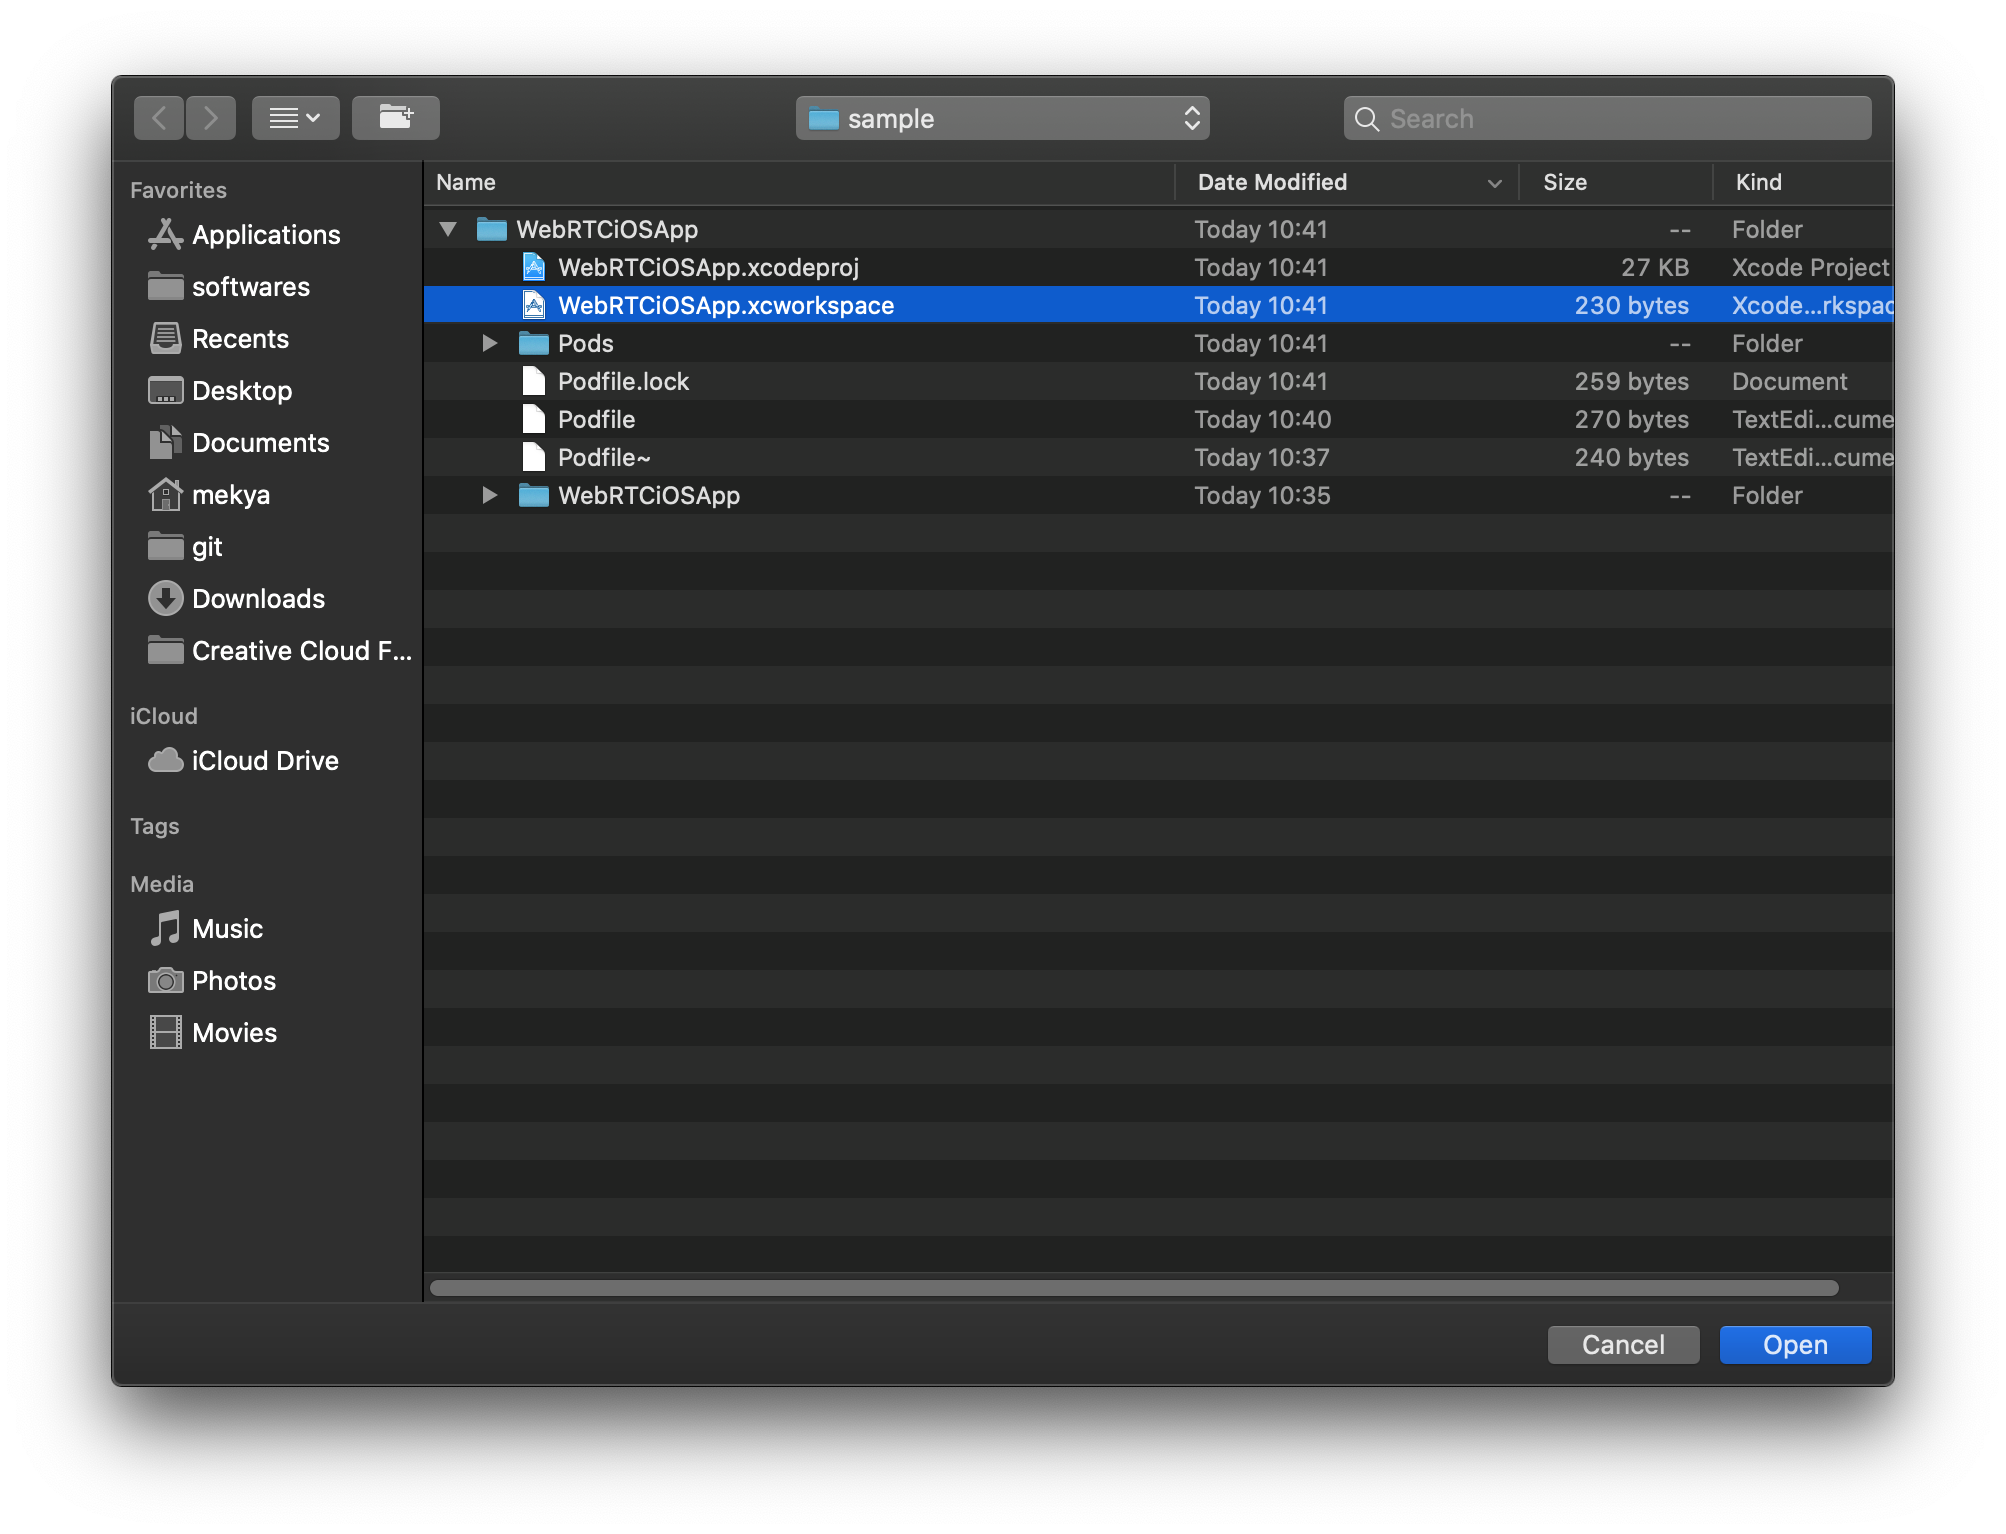
Close the Xcode project and open the WebRTCiOSApp.xcworkspace in Xcode
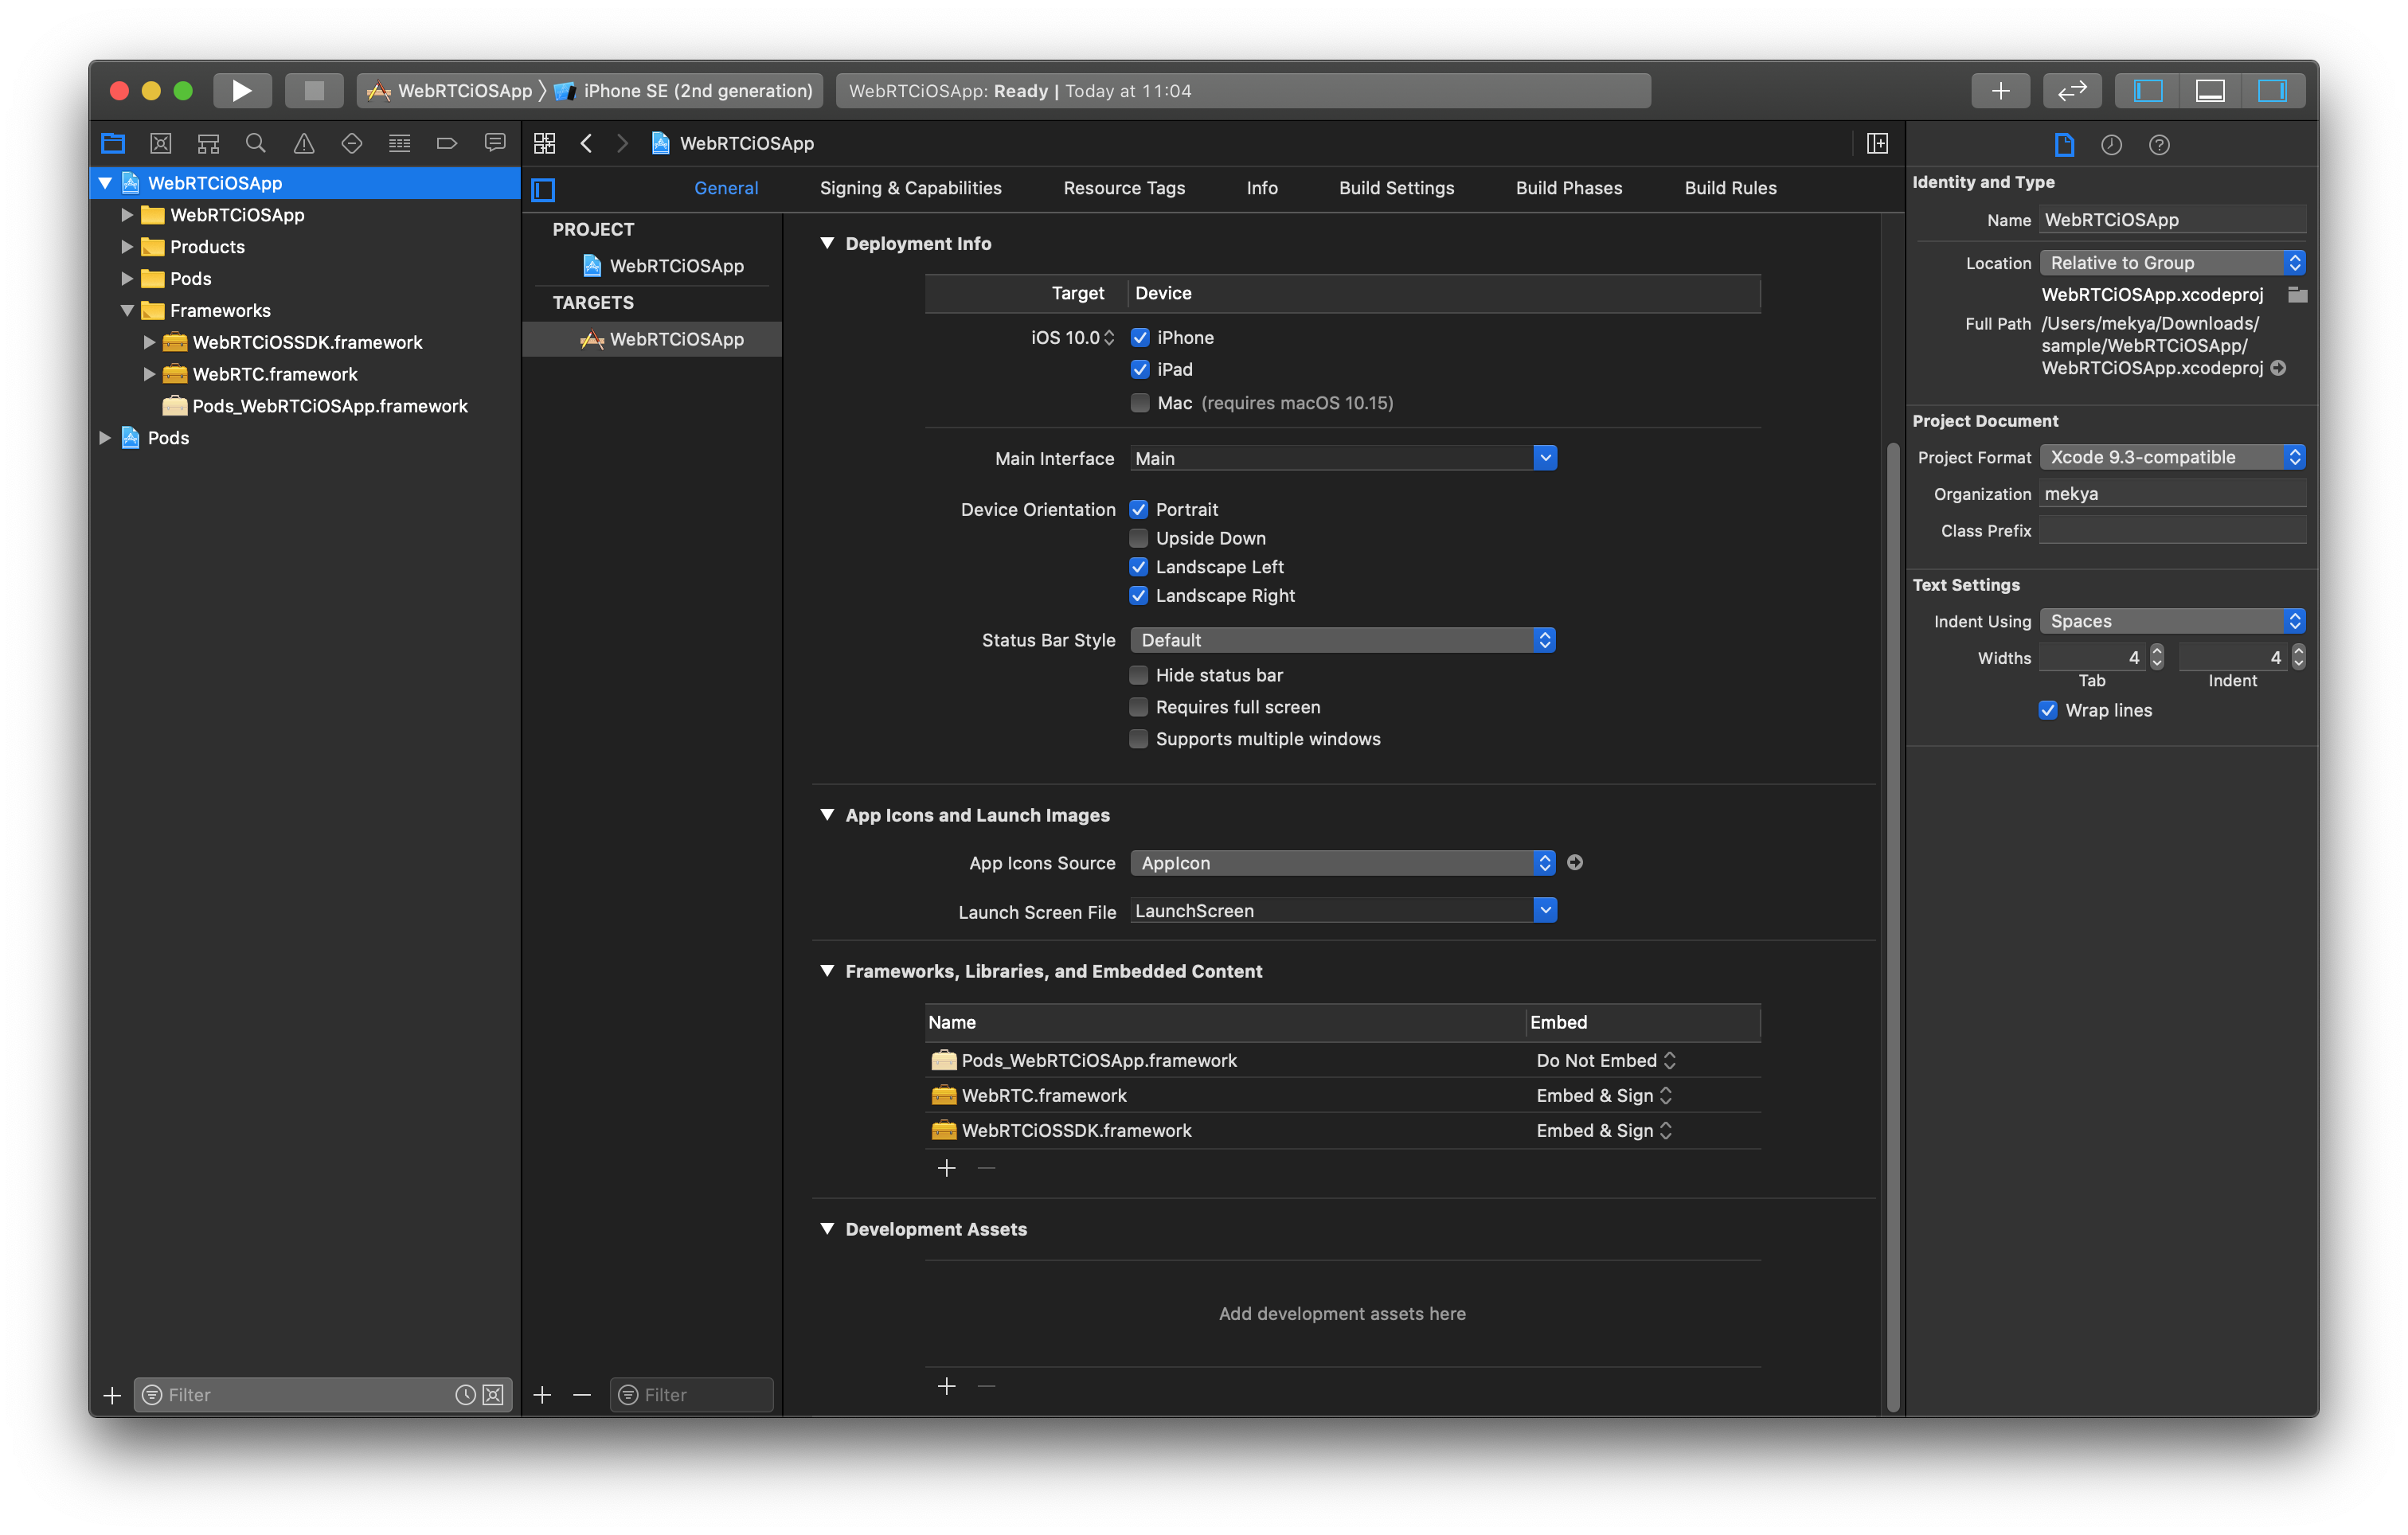
Make the Project Target to iOS 10
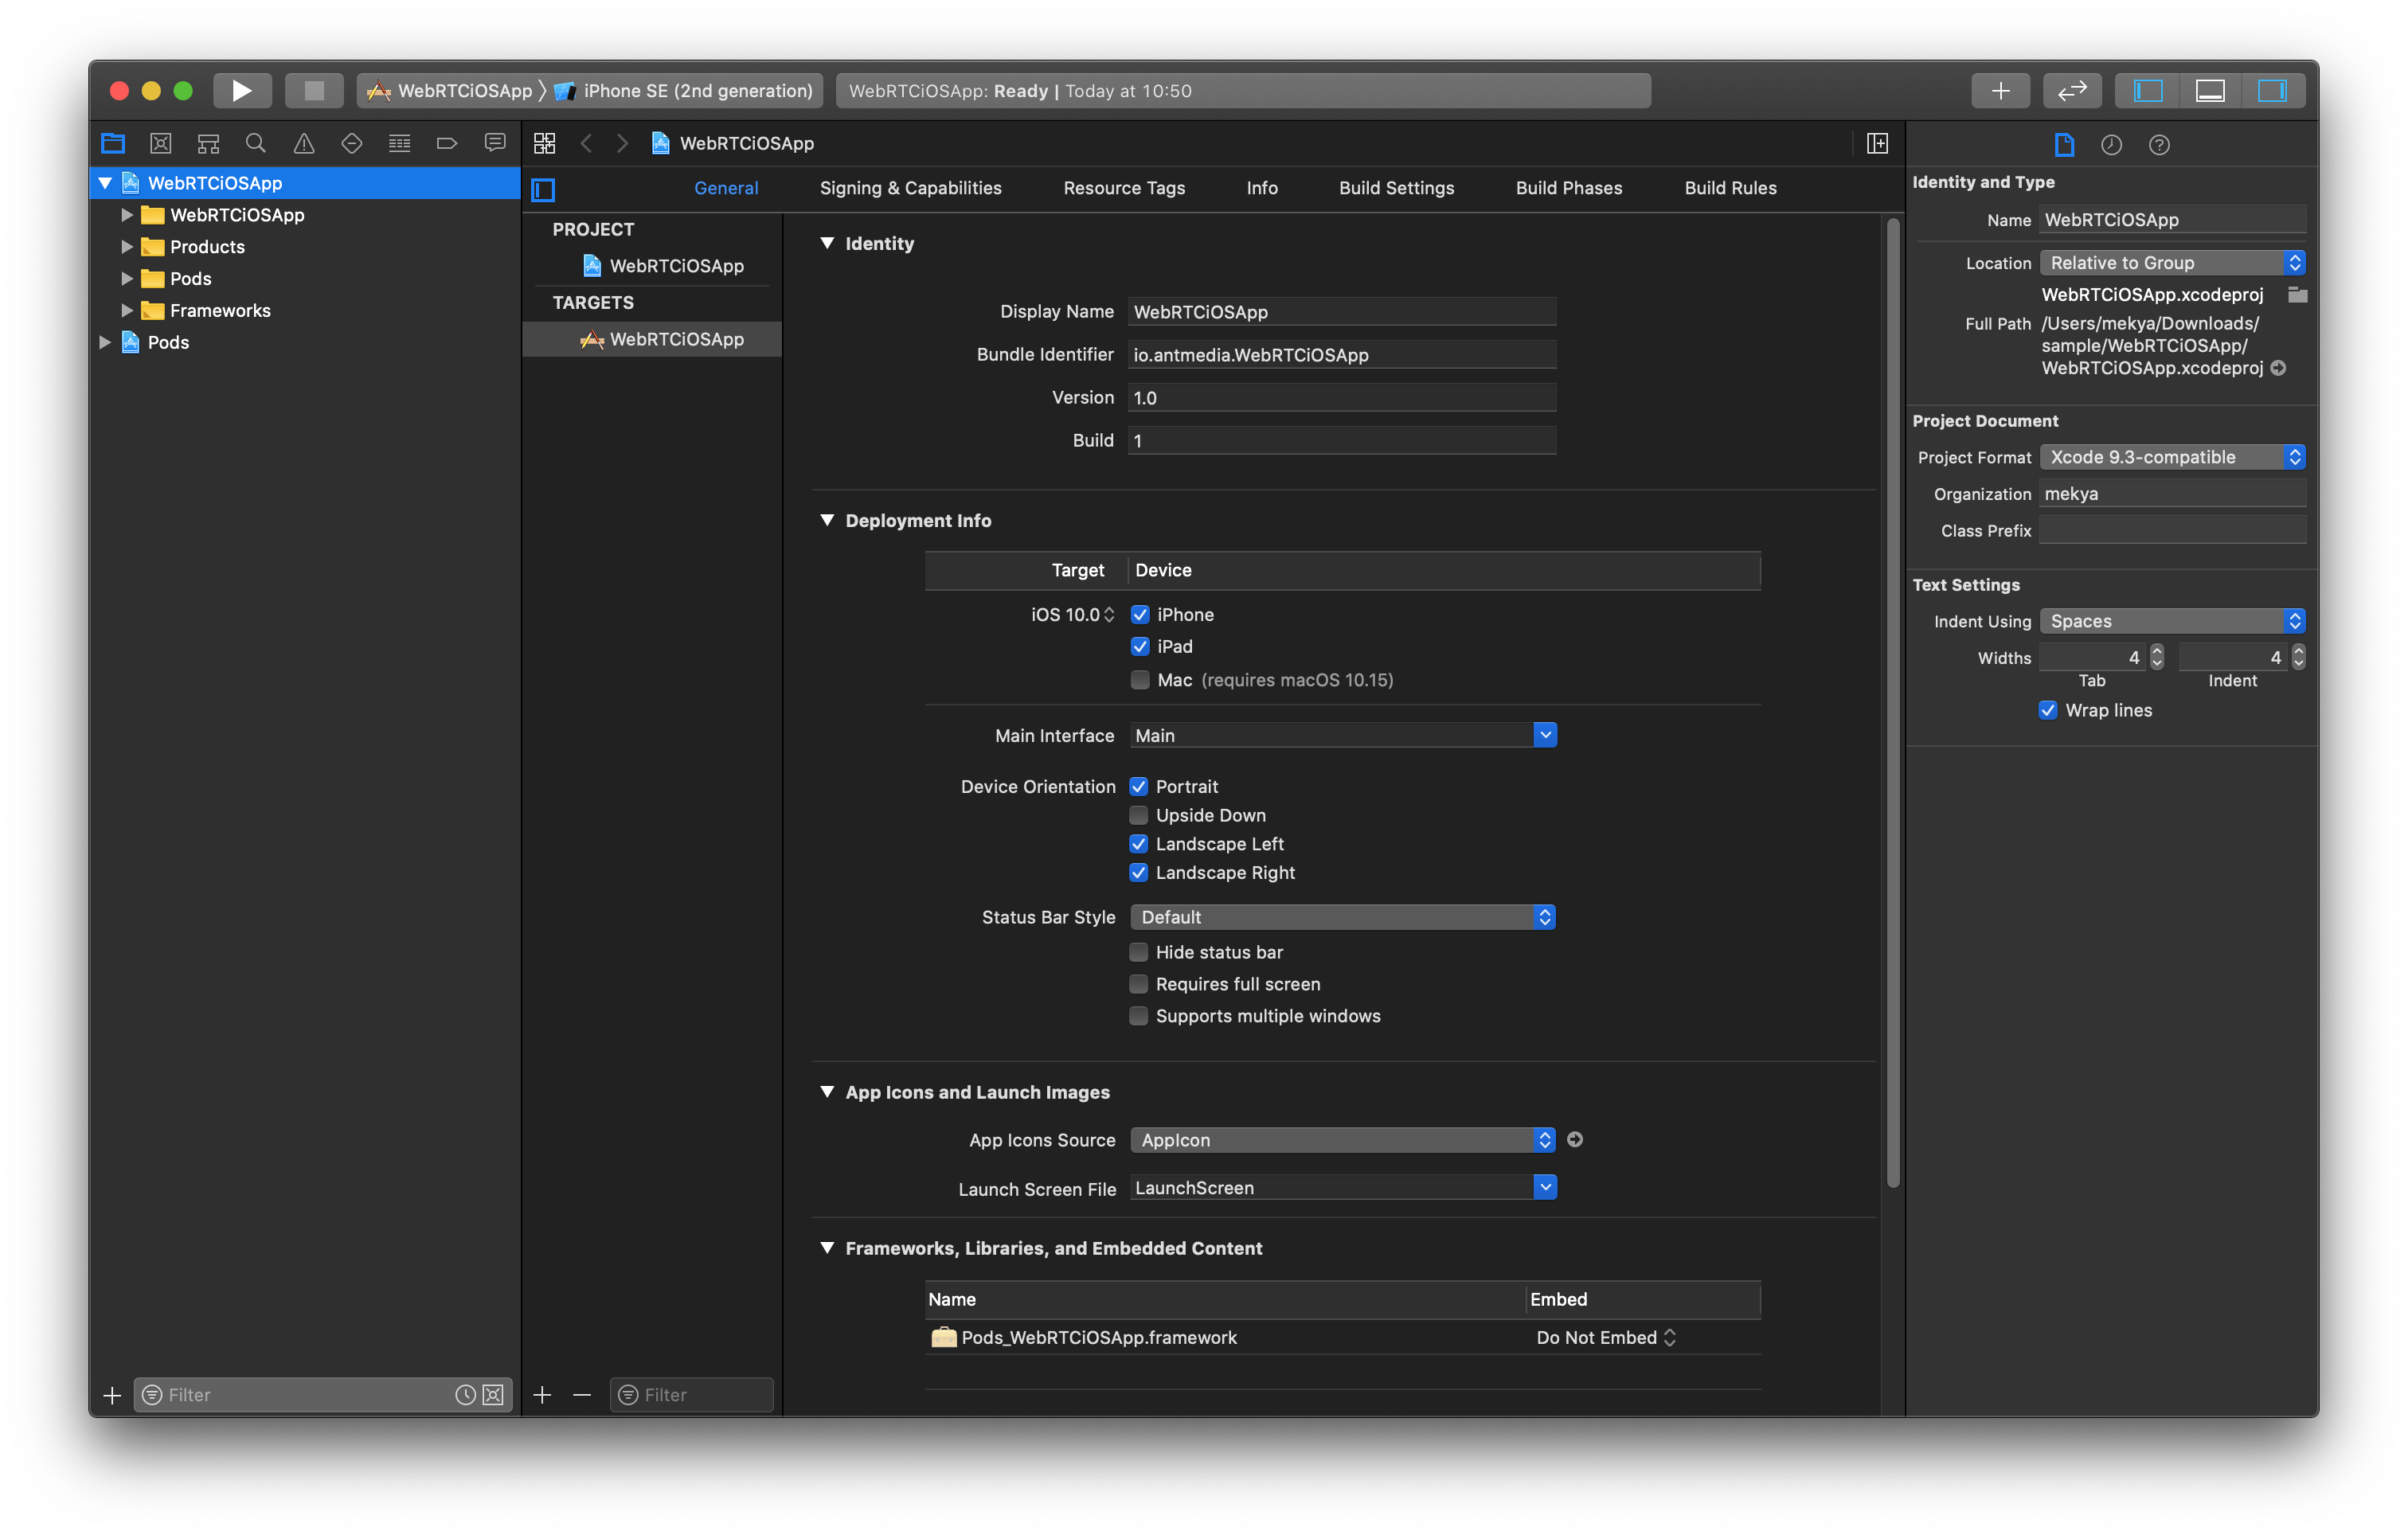
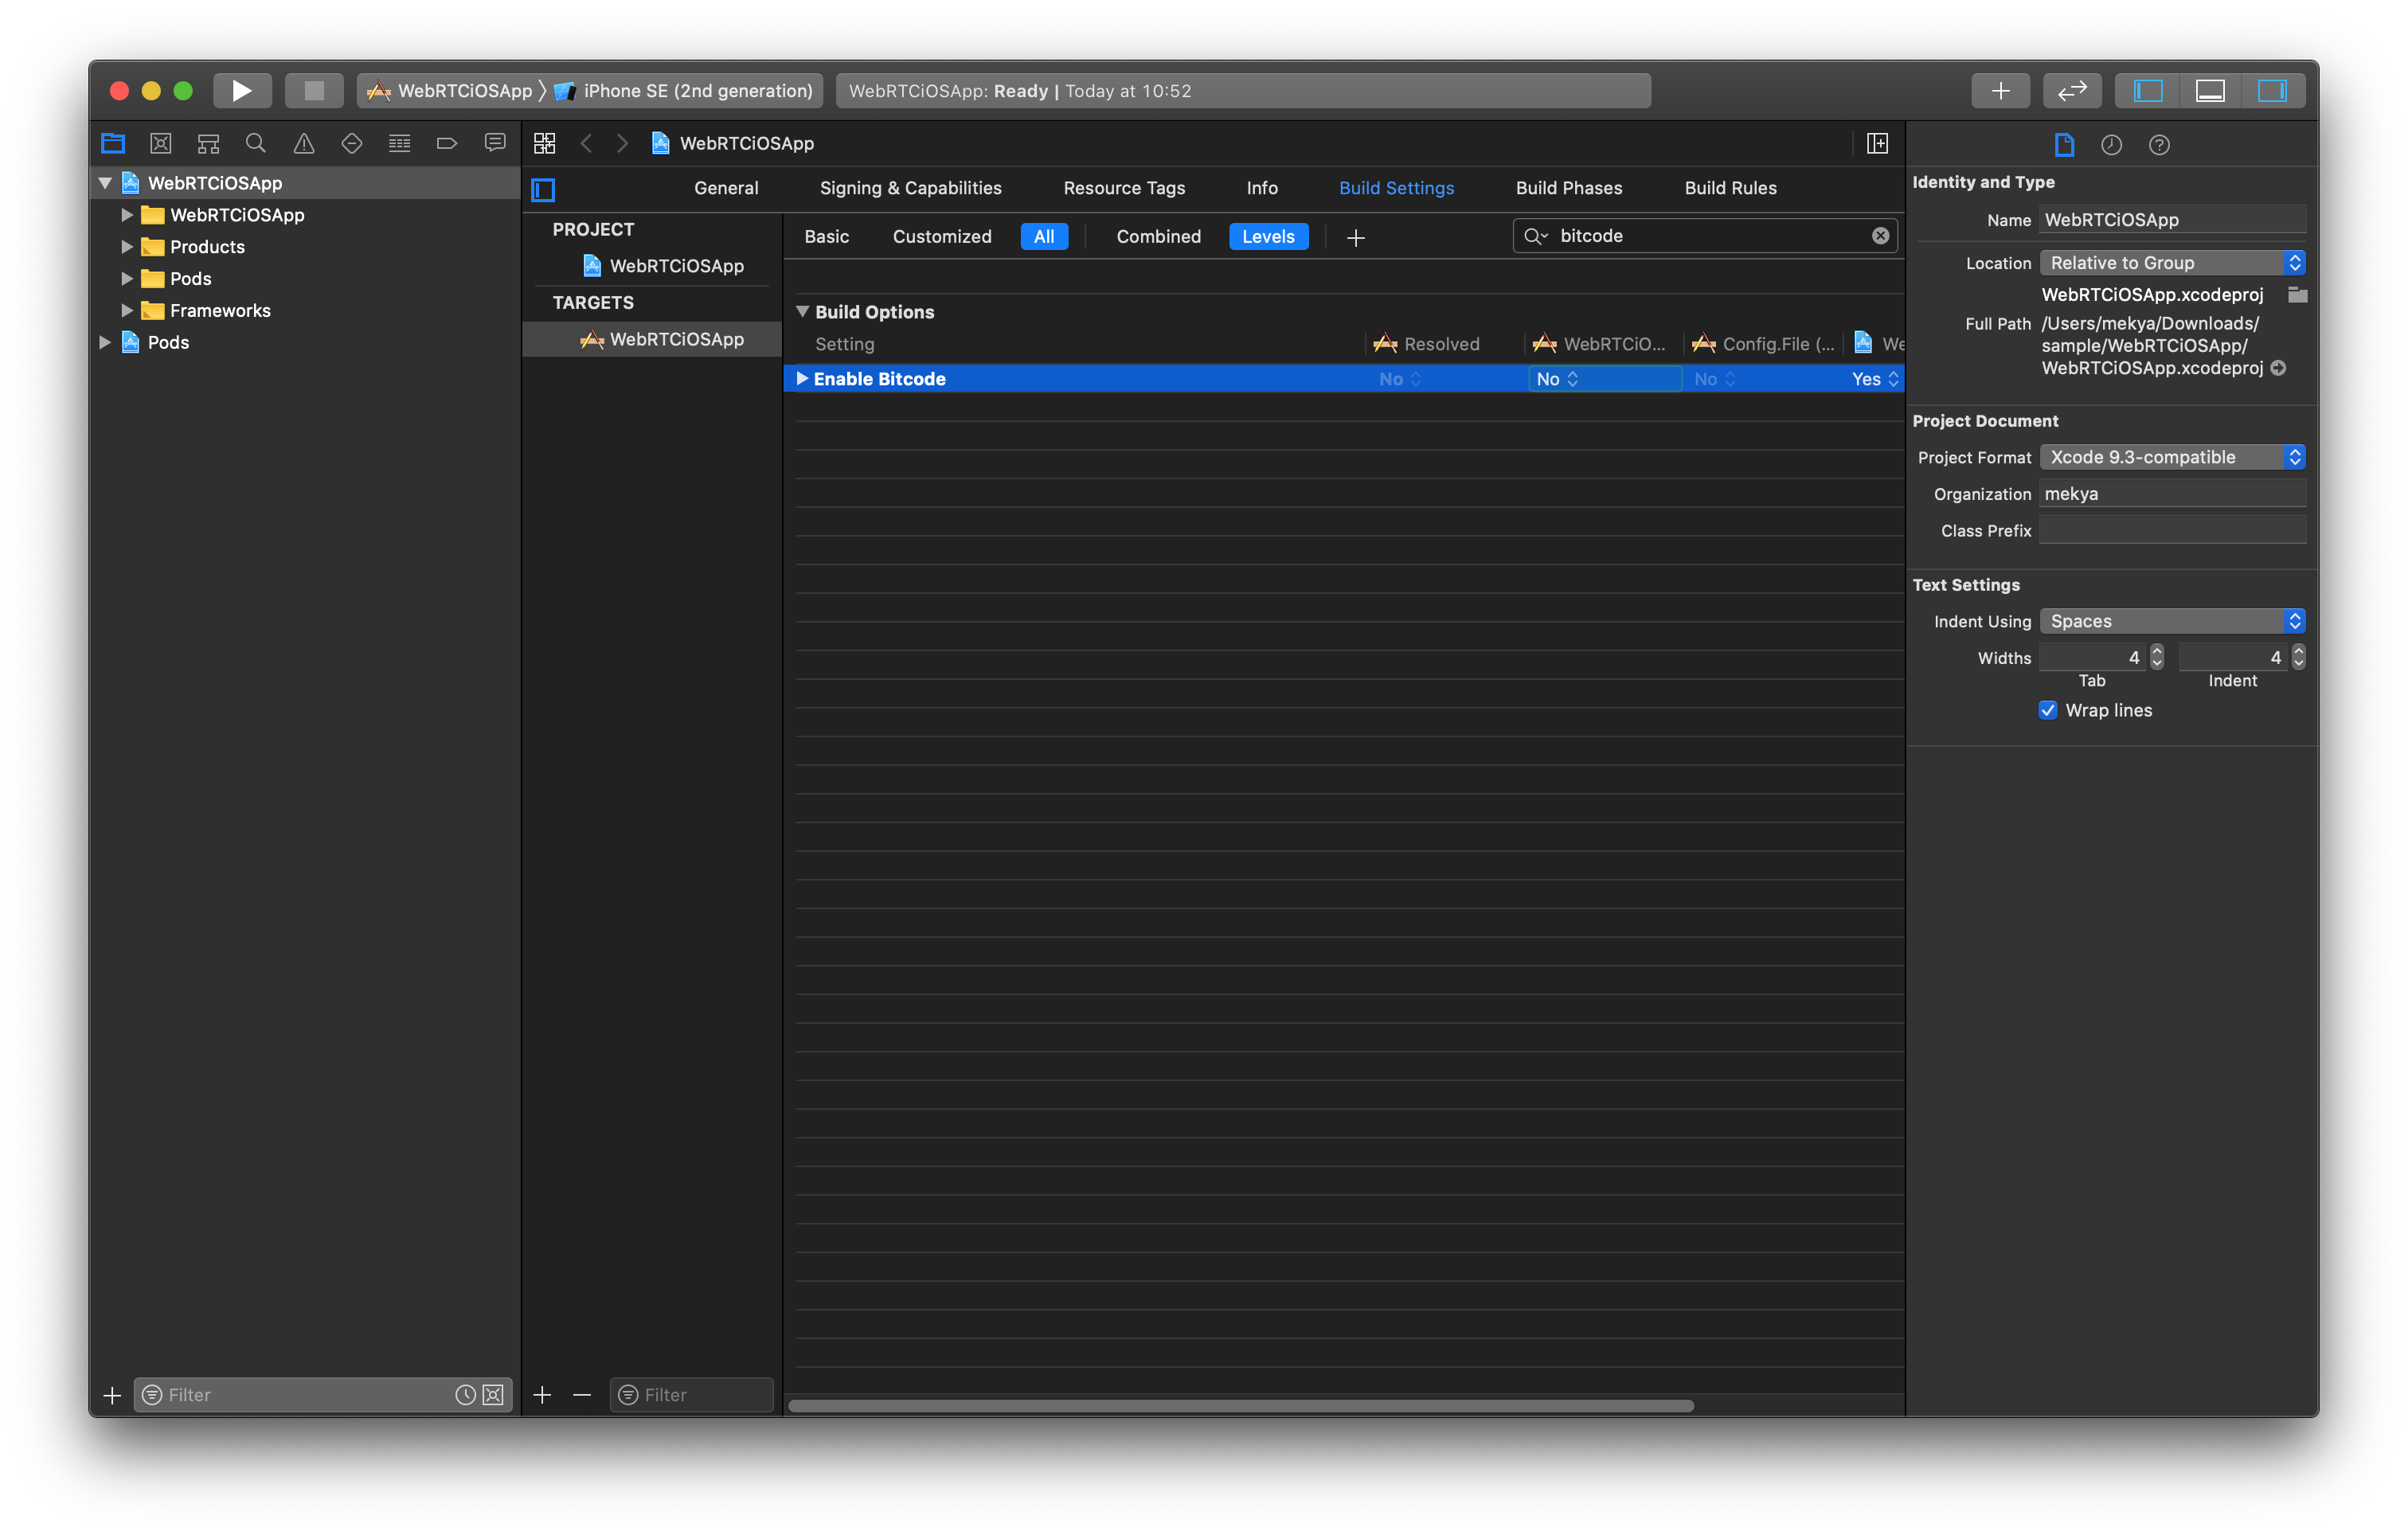
Disable bitcode
- Copy
WebRTC.xcframeworkandWebRTCiOSSDK.xcframeworkfolders to your projects directory.WebRTC.xcFramework: is directly available under theWebRTCiOSReferenceProjectWebRTCiOSSDK.xcFramework: is created by running./export_xc_framework.shinWebRTCiOSReferenceProjectdirectory. After that, it will be ready underRelease-universaldirectory. Alternatively, you can import the source code ofWebRTCiOSSDKto your project directly.
- Embed
WebRTC.xcframeworkandWebRTCiOSSDK.xcframeworkto your projects.

Choose ‘Add Others’ in the coming windows at the bottom left and select Add Files. Then add WebRTC.framework and WebRTCiOSSDK.framework. After it’s done, it should be shown like below.
Try to build and run the app. If you get some errors like some methods are only available in some iOS versions. Use @available annotation. You can get more info about this on this post
How to Publish
Create a UIView and add a Button to your StoryBoard. This is just simple iOS App development, we don’t give details here. You can get lots of tutorials about that on the Internet.
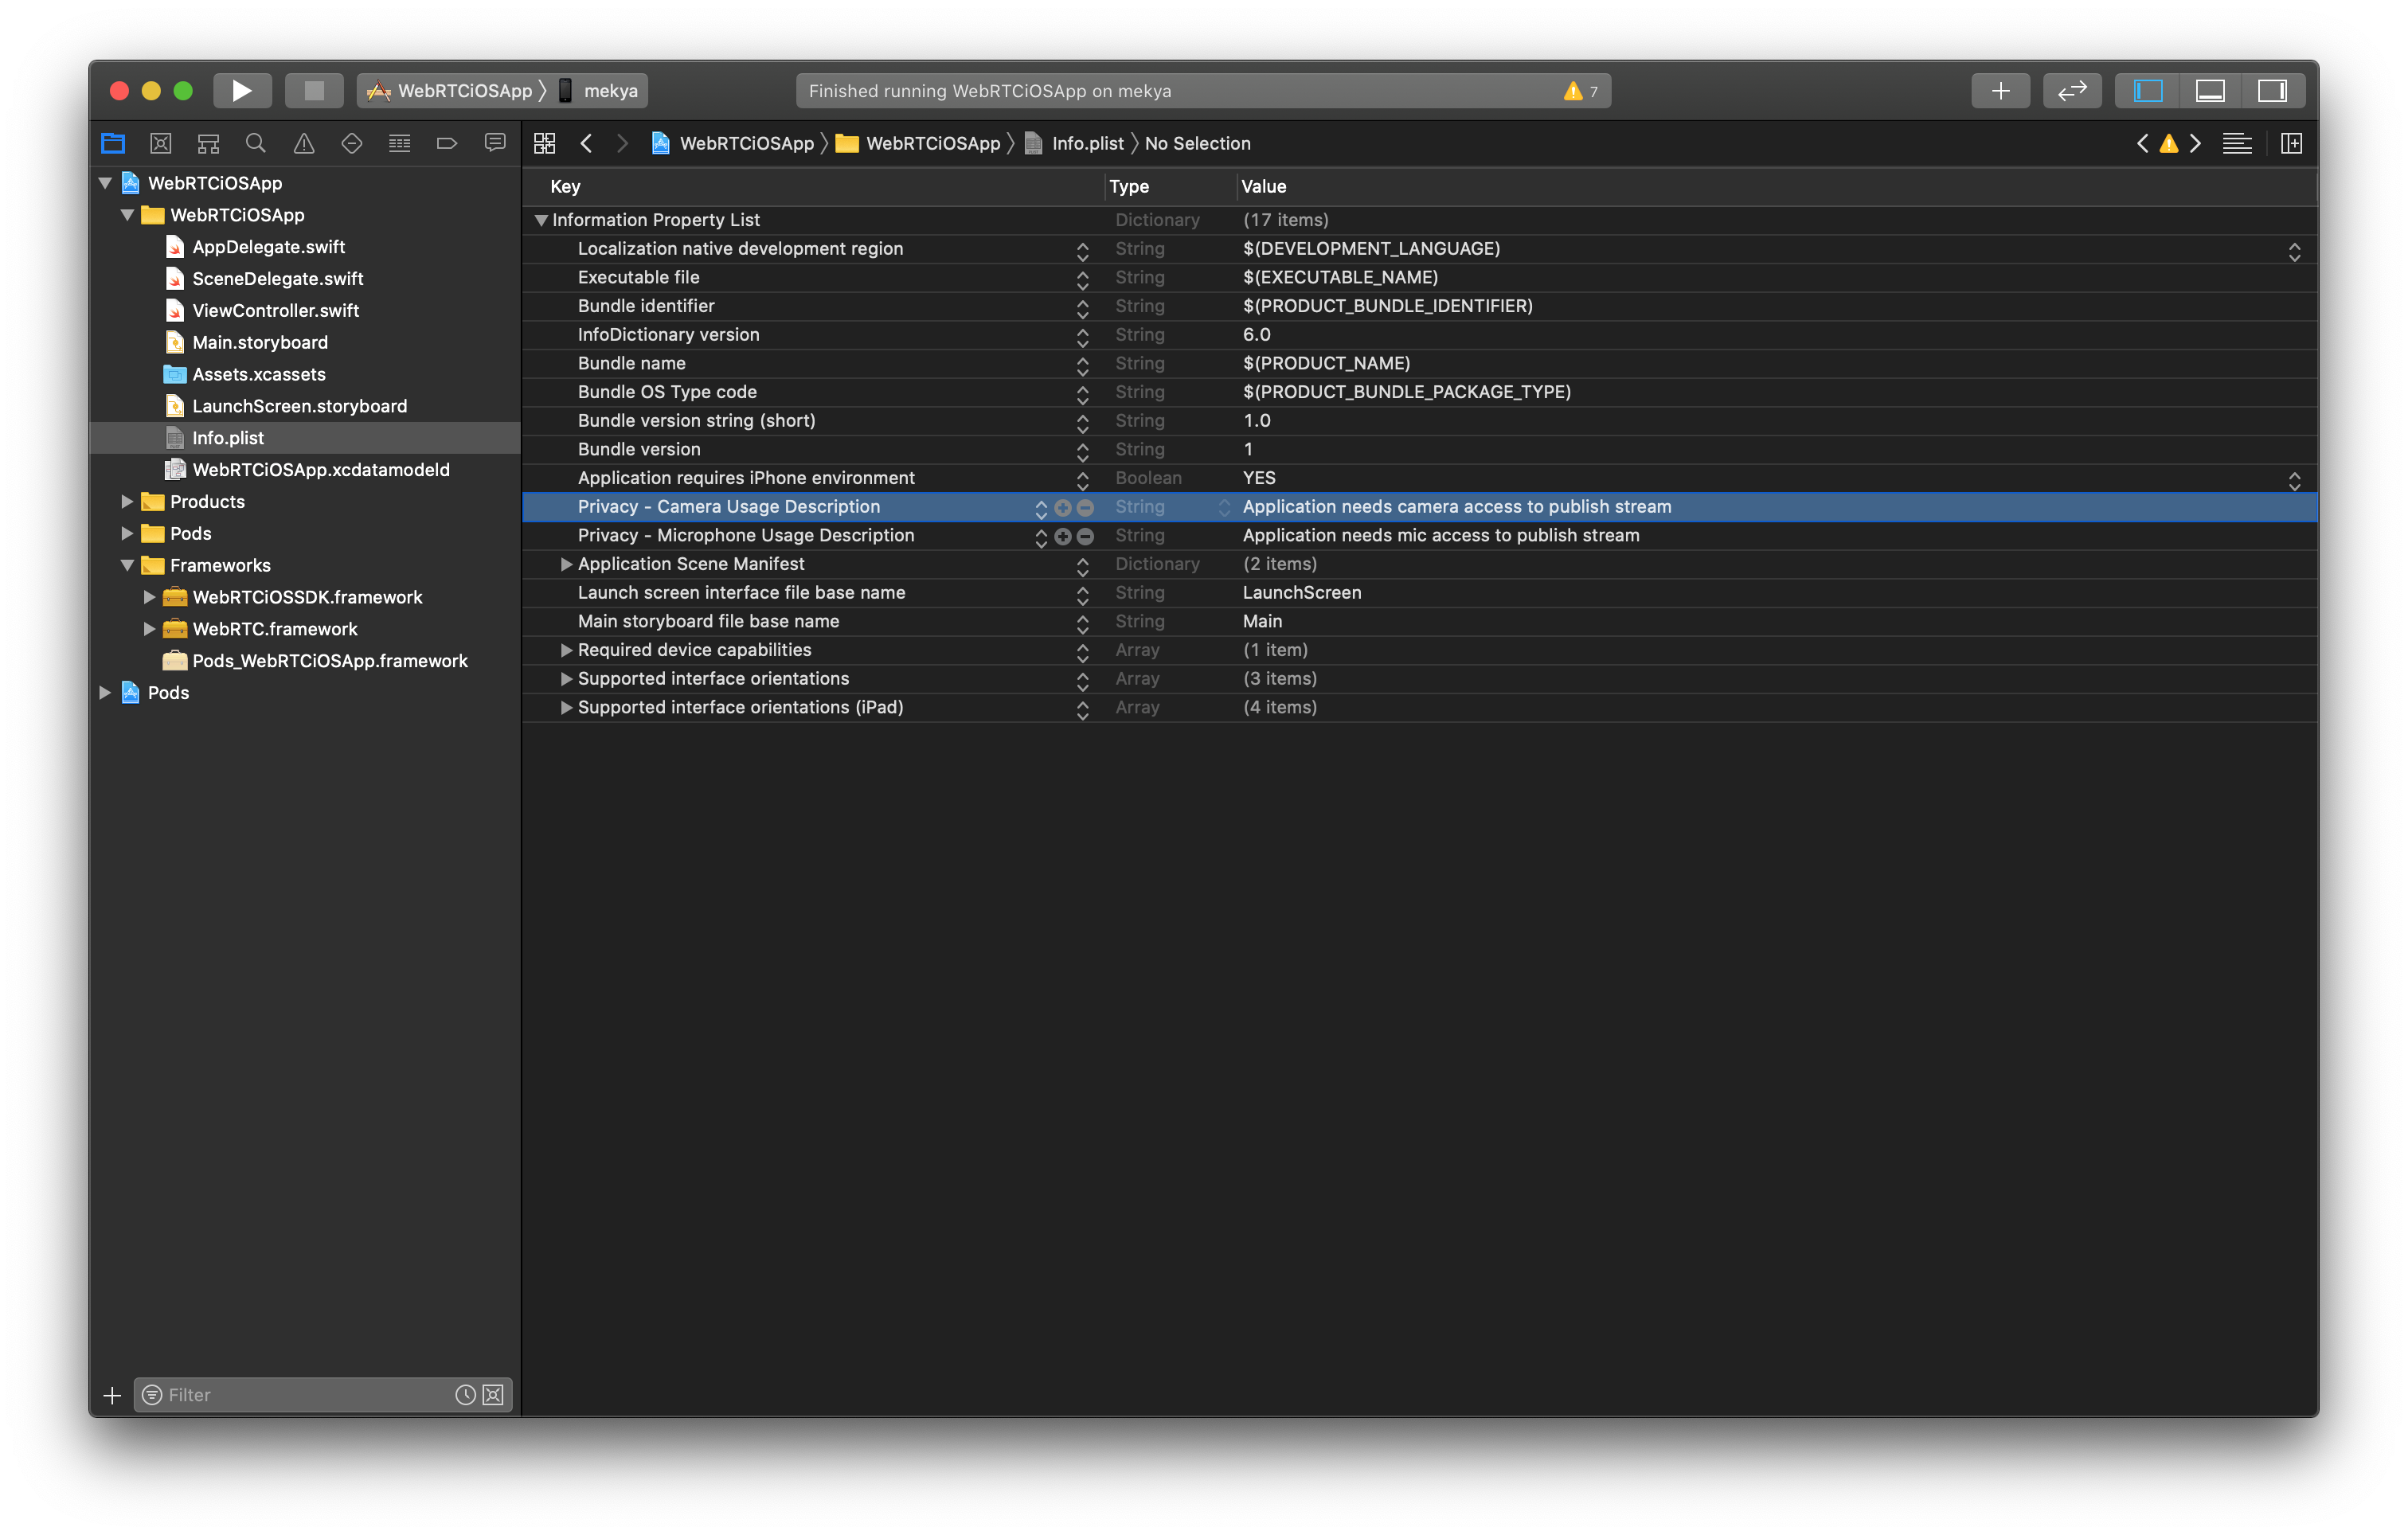
Add Mic and Camera Usage Descriptions
It’s now time to write some code. Initialize webRTCClient in ViewController
let webRTCClient: AntMediaClient = AntMediaClient.init()
Add the following codes to viewDidLoad() method.
 webRTCClient.delegate = self
 webRTCClient.setOptions(url: "ws://ovh36.antmedia.io:5080/WebRTCAppEE/websocket", streamId: "stream123", token: "", mode: .publish, enableDataChannel: false)
 webRTCClient.setLocalView(container: videoView, mode: .scaleAspectFit)
 webRTCClient.start()
Implement the delegate in your ViewController. Xcode helps you for implementation.
ViewController should look like the below. After you run the Application, it will start publishing with streamId: ‘stream123’ to your server.
class ViewController: UIViewController {

  @IBOutlet var videoView: UIView!

  let webRTCClient: AntMediaClient = AntMediaClient.init()

  override func viewDidLoad() {
    super.viewDidLoad()

    webRTCClient.delegate = self
    //Don't forget to write your server url.
    webRTCClient.setOptions(url: "ws://your_server_url:5080/WebRTCAppEE/websocket", streamId: "stream123", token: "", mode: .publish, enableDataChannel: false)
    webRTCClient.setLocalView(container: videoView, mode: .scaleAspectFit)
    webRTCClient.start()
  }

}
How to Play
Playing a Stream is simpler than Publishing. We just need to change some codes in viewDidLoad(). As a result, following code snippets just plays the stream on your server with streamId: ‘stream123’. Make sure that, before you try to play, you need to publish a stream to your server with having stream id ‘stream123’
  class ViewController: UIViewController {

    @IBOutlet var videoView: UIView!

    let webRTCClient: AntMediaClient = AntMediaClient.init()

    override func viewDidLoad() {
       super.viewDidLoad()


       webRTCClient.delegate = self
        //Don't forget to write your server url.
       webRTCClient.setOptions(url: "ws://your_server_url:5080/WebRTCAppEE/websocket", streamId: "stream123", token: "", mode: .play, enableDataChannel: false)
       webRTCClient.setRemoteView(remoteContainer: videoView, mode: .scaleAspectFit)
       webRTCClient.start()
   }
 }
How to use Data Channel
Ant Media Server and WebRTC iOS SDK can use the WebRtc Data Channels. In order to use Data Channels, make sure that it’s enabled both server-side and mobile. In order to enable it for the server side, you can just set the enableDataChannel parameter to true in setOptions method.
webRTCClient.setOptions(url: "ws://your_server_url:5080/WebRTCAppEE/websocket", streamId: "stream123",
    token: "", mode: .play, enableDataChannel: true)
After that, you can send data with the following method of AntMediaClient
func sendData(data: Data, binary: Bool = false)
When a new message is received, the delegate’s following method is called.
func dataReceivedFromDataChannel(streamId: String, data: Data, binary: Bool)
There is also a data channel usage example that exists in the Sample project.
Lastly, if you need to know more about all methods and delegates in WebRTC iOS SDK, please visit the WebRTC iOS SDK Reference.
Useful Links
You can try Ant Media Server for free with all its features!
You can download native Android and iOS WebRTC SDKs and integrate them into your applications for free!
Ant Media Server Github Wiki
You would want to check What is HLS? When to Use HLS Streaming Protocol?, Future of Ultra-Low Latency Streaming Market, 4 secret features about Ant Media Server WebRTC Javascript SDK, Ultra-low latency streaming uses cases, WebRTC Streaming In Unity.


