
In this blog post, you will learn how to develop your own application on Ant Media Server. As you know, business requirements can be changeable according to their use-cases. This blog post will help you kickstart your application writing process in a very short amount of time.
Let’s learn to step by step why you need to develop your own application on Ant Media Server, and how to develop one.
Why do I need to develop an application on Ant Media Server?
Let’s go through with real business requirements first. You may need to use a modified embedded player page in an application. You also may need to override your modified embedded player page after the application is created. However, without a server-side application solution, this will only look like a simple patch, and may not meet your needs.
In a custom application solution, you just need to edit your embedded player page in the repository and build it.
How can I create a custom application?
In order to be able to build an application, you need to know Git/Maven knowledge, during the compilation process. As you read forward, we will add these details step by step.
Step 1: Fetch the StreamApp sample app
Clone the latest version of the StreamApp repository.
git clone https://github.com/ant-media/StreamApp.git
Note that git should already be installed in your environment. Please check this guide for more detail about git.
Step 2: make your changes & compile with Maven
Let’s say you want to change Stream will start playing automatically text in the embedded player page aka
when it is liveplay.html page.
Go src/main/webapp path in StreamApp project.
Open play.html page in your favorite editor, such as vim or nano.
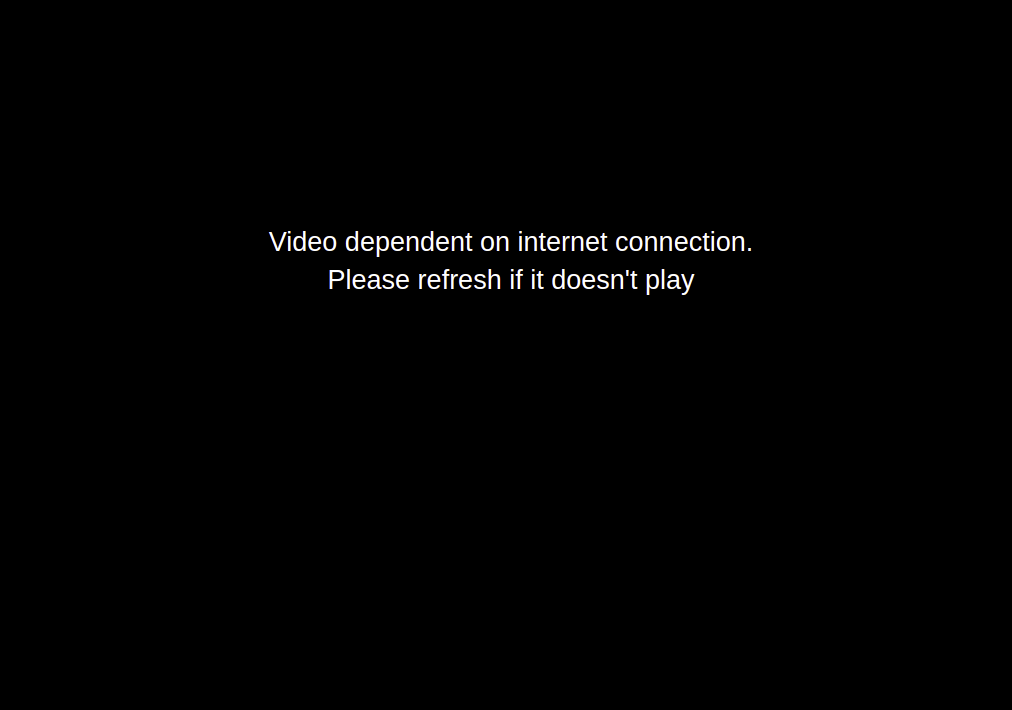
Change the text Video dependent on internet connection. to a text that you would like to modify.
Please refresh if it doesn't play
Build StreamApp project using the code below:
mvn clean install -DskipTests -Dmaven.javadoc.skip=true -Dgpg.skip=true
After that, you will see StreamApp.war file on target folder.
Note that mvn should already be installed in your environment. Please check this guide for more information about mvn.
Step3: upload war file in Ant Media Server dashboard
Now, upload .war file to Ant Media Server dashboard.
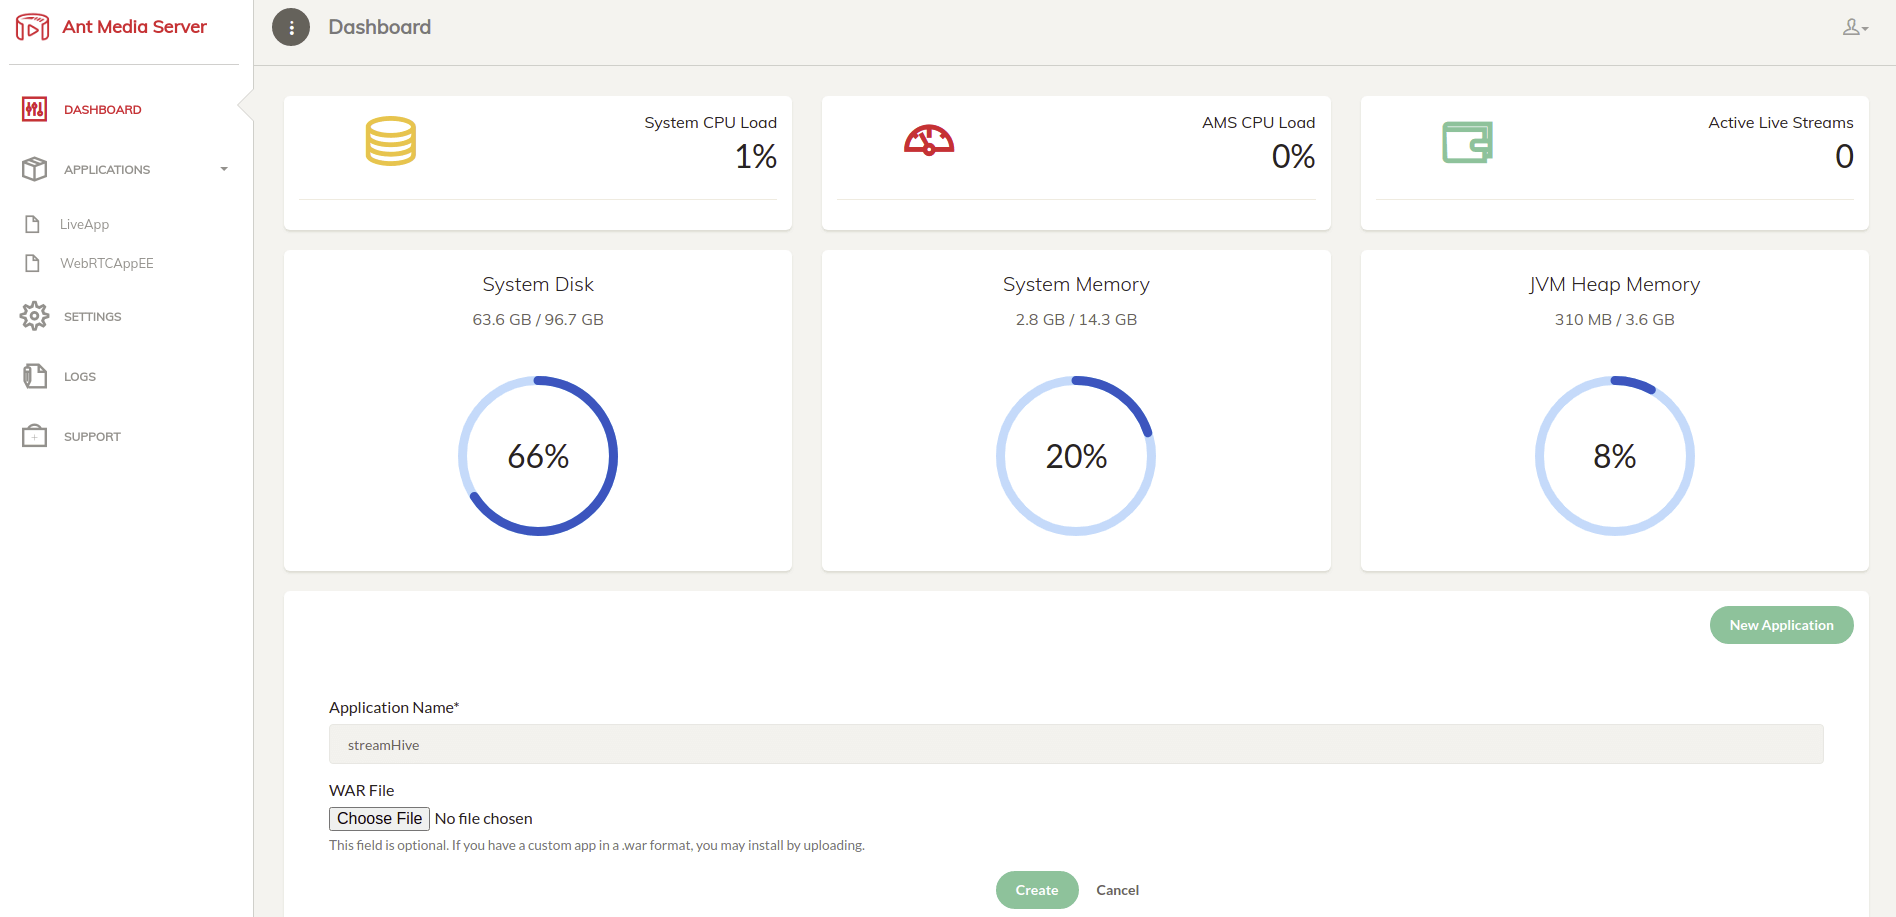
After the .war file uploads completely, you will see your application on Dashboard.
This is the end of step by step application installation on Ant Media server. What you need to do is to go to http://ams-url:5080/streamHive/play.html, and see the results:
Conclusion
In this blog post, we showed how to download an application and upload to Ant Media Server, which puts an overlay message on the blank screen that is shown before a stream is initiated.


