
Today, we are going to walk you through the steps of how to get started with your first stream from Ant Media Server on DigitalOcean. DigitalOcean is a cloud service provider where you can host and run your servers.
Create an Ant Media Server Instance
DigitalOcean has many options to offer for hosting your server, such as bare metal instances, droplets, etc. In this blog, we will create an hourly priced droplet with the one-click install for Ant Media Server on the marketplace.
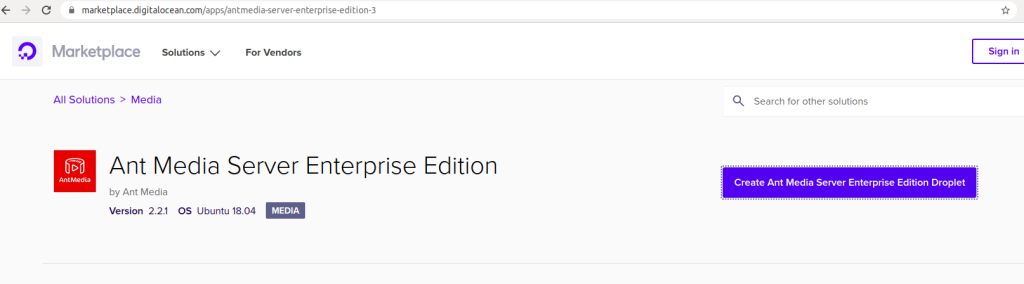
Click on create droplet button and continue with the selection of instances. The critical thing here is, that video encoding is a CPU-intensive process. Therefore, a dedicated CPU should be chosen instead of a shared CPU. As DigitalOcean also suggests, shared CPU machines are basic virtual machines with shared resources and they should be used in small projects like blogs.
Create Droplet
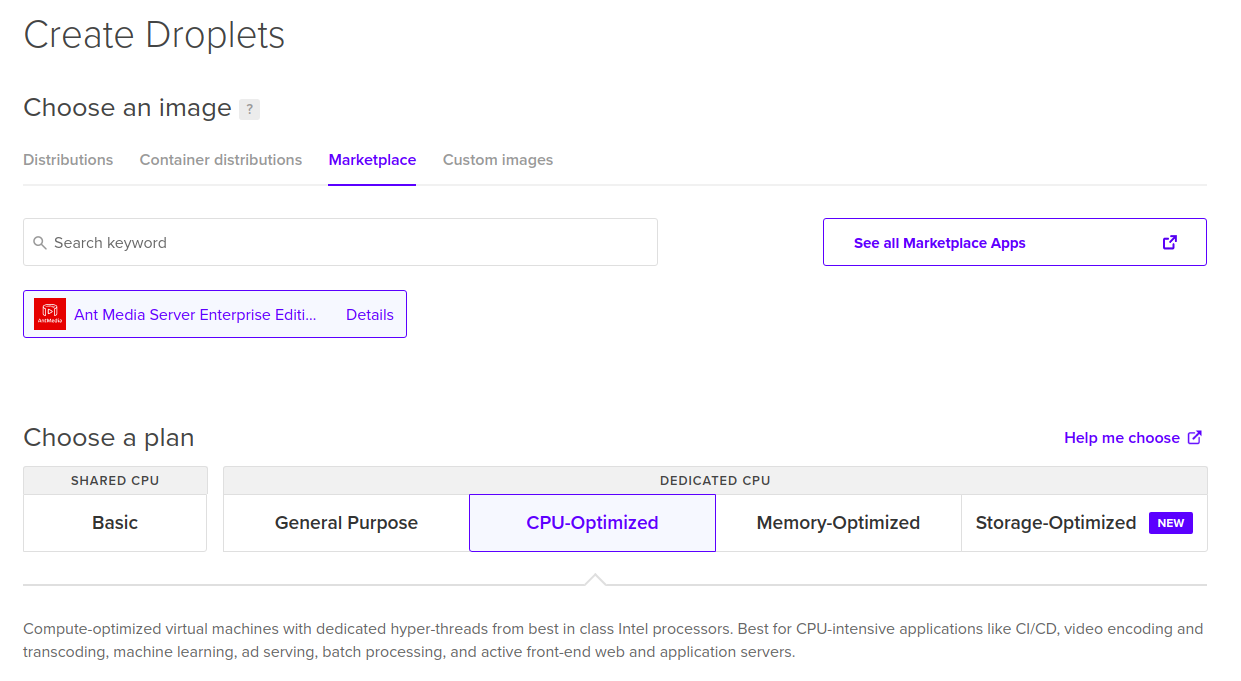
The best choice is CPU-Optimized Dedicated CPU machines because we will do lots of video encoding in a media server.
Then we choose the instance type according to the needs, Ant Media Server can run in almost any type of instance, the difference will be the number of broadcasters and viewers. For the limits, you may check out; https://antmedia.io/cost-calculator .
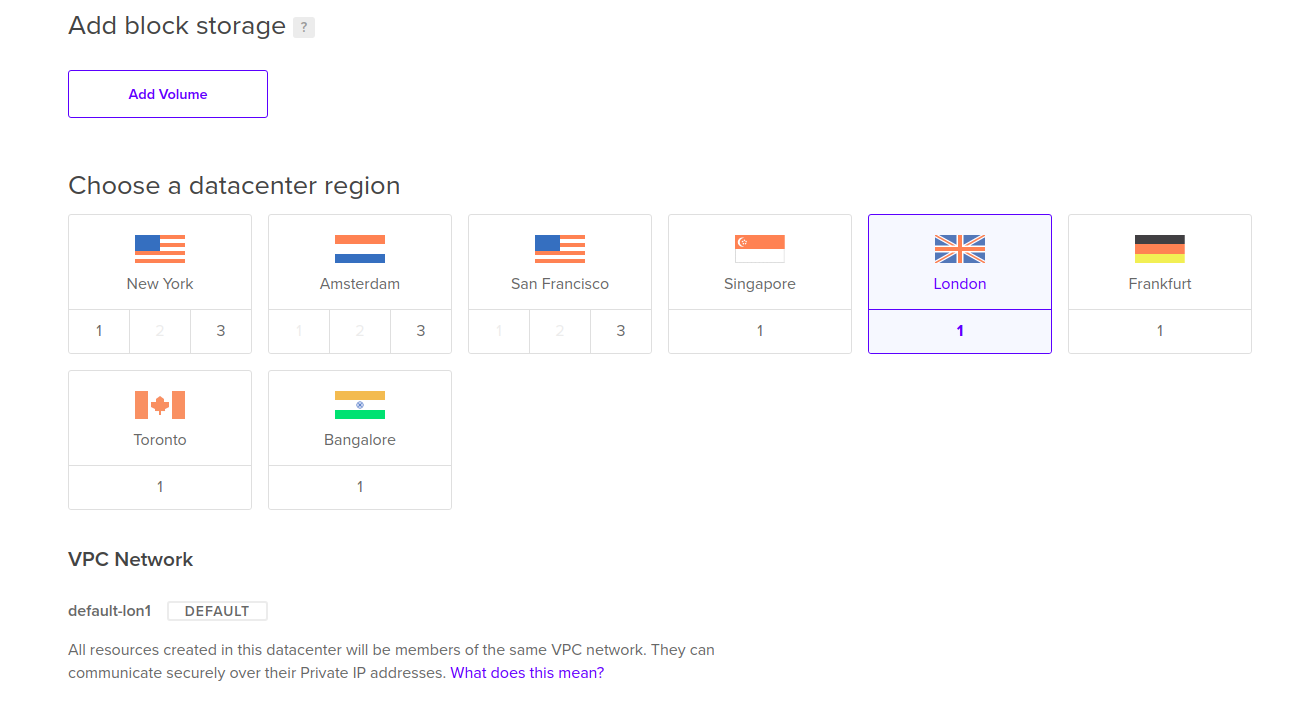
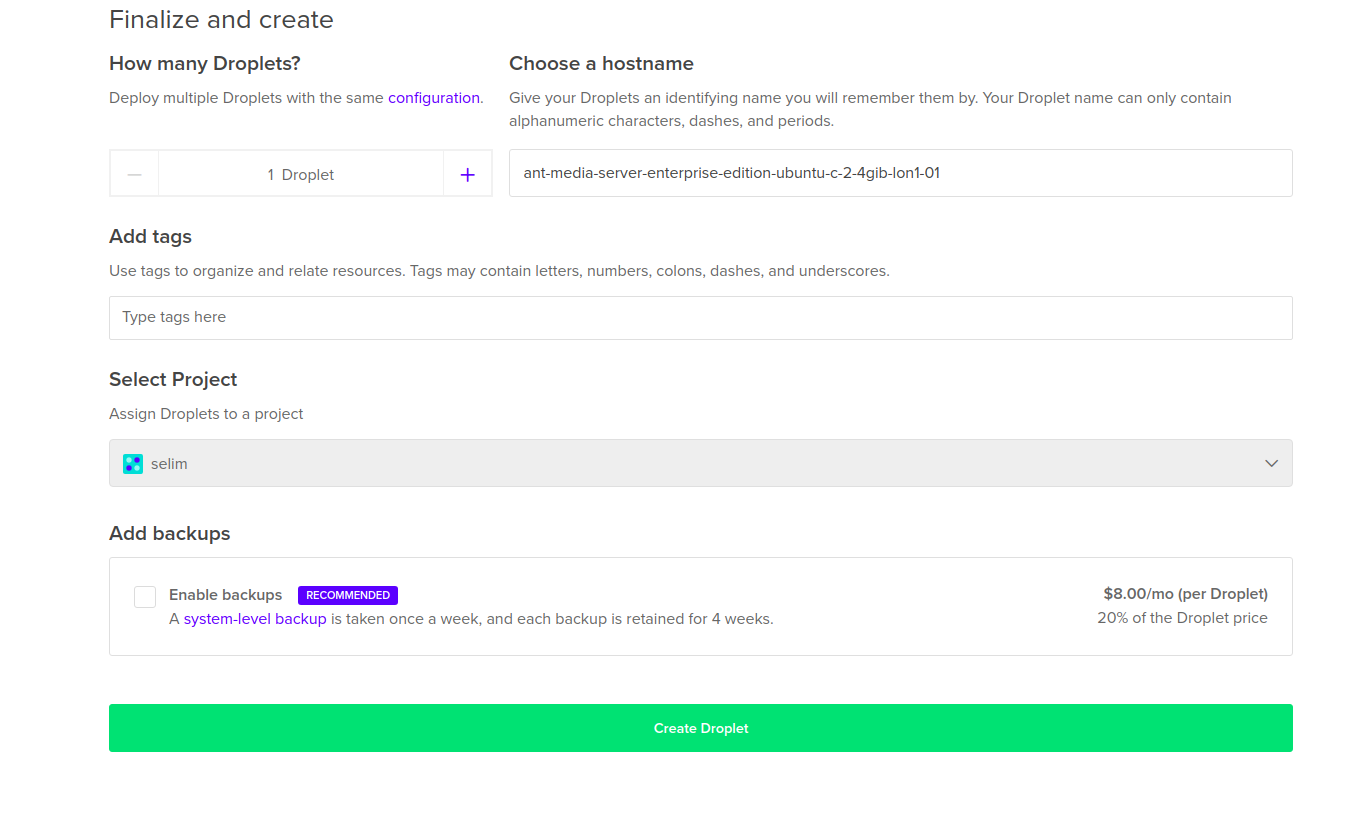
Configure the region and instance as you want, we won’t need VPC for a single instance in this post.
Create an SSH key on the DigitalOcean droplet
We need an SSH key or root password for connecting the instance. To add an SSH key to the DigitalOcean, first, we need to generate one. Copy the following command to the terminal;
ssh-keygen
Then the name and a passphrase will be asked, configure them however you want to. Then there will be 2 files created under ~/.ssh folder which are id_rsa and id_rsa.pub. Copy the content of id_rsa.pub from;
cat ~/.ssh/id_rsa.pub
Then paste it to the DigitalOcean ssh as below.

Create Instance
Then if the instance is created successfully, you can directly go to your management panel by using http://<instance_IP>:5080 ;
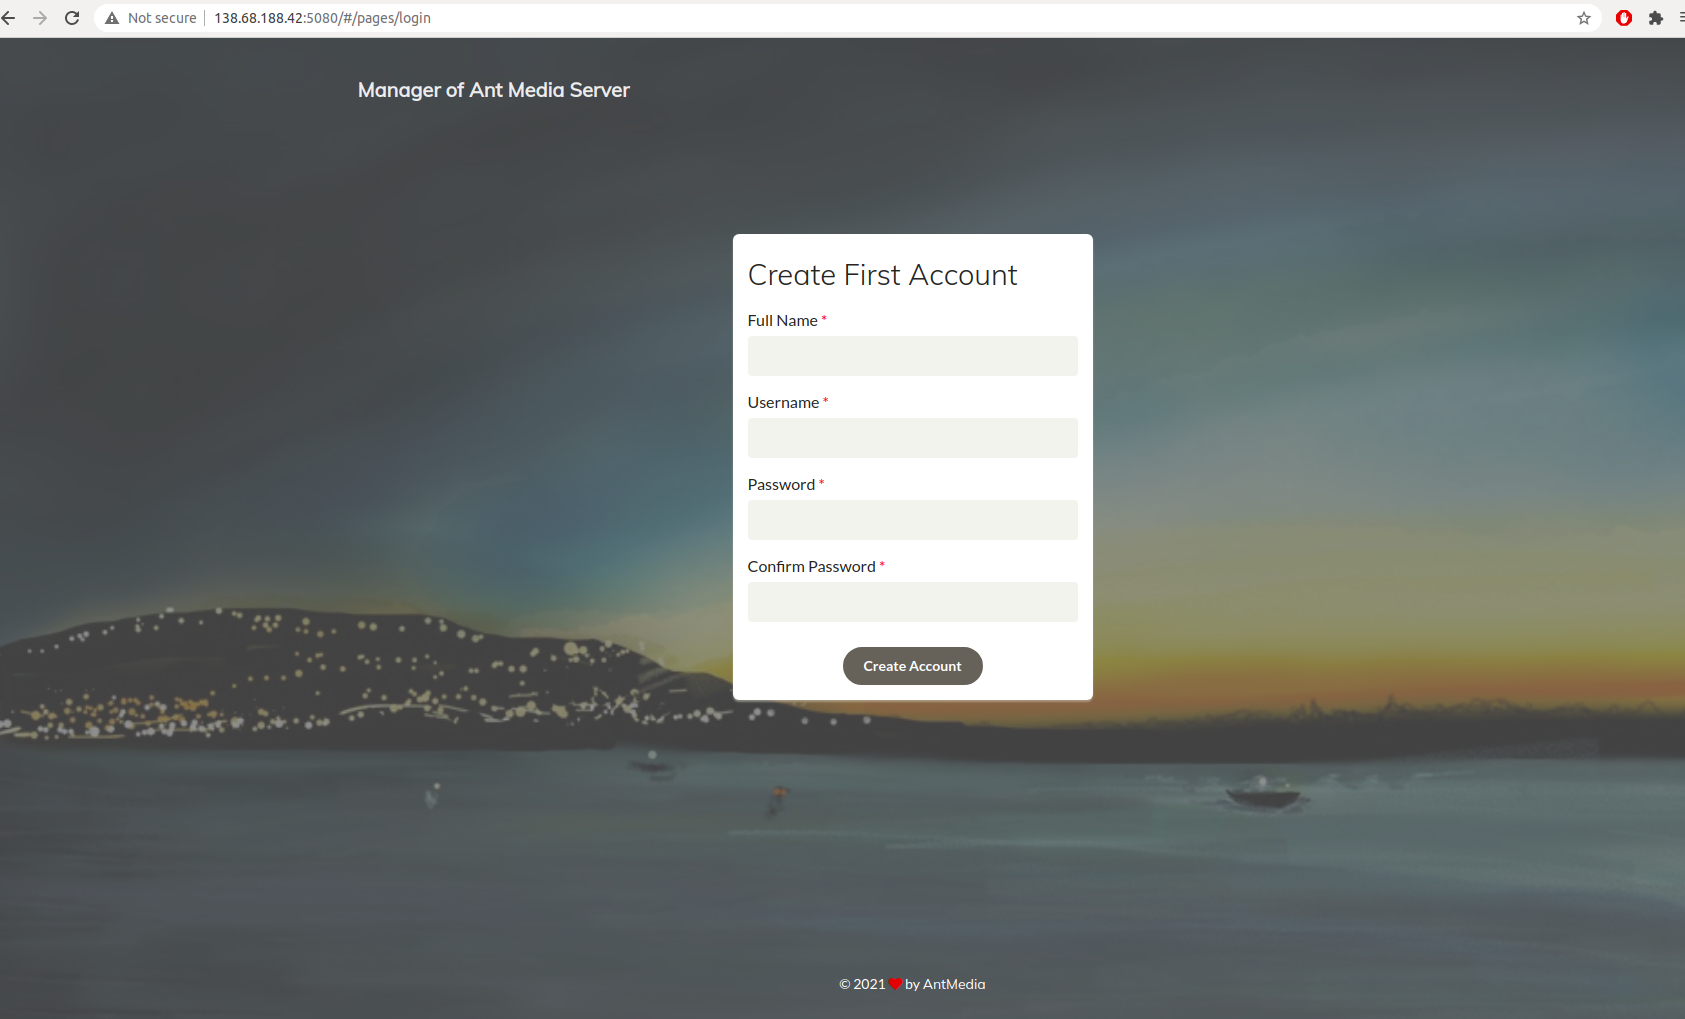
It’s done! The instance is up and running. Create your account and log in to the dashboard to test the features!
Browsers ask for SSL if we try to publish with webRTC, to enable SSL for Ant Media Server, check out the references below.
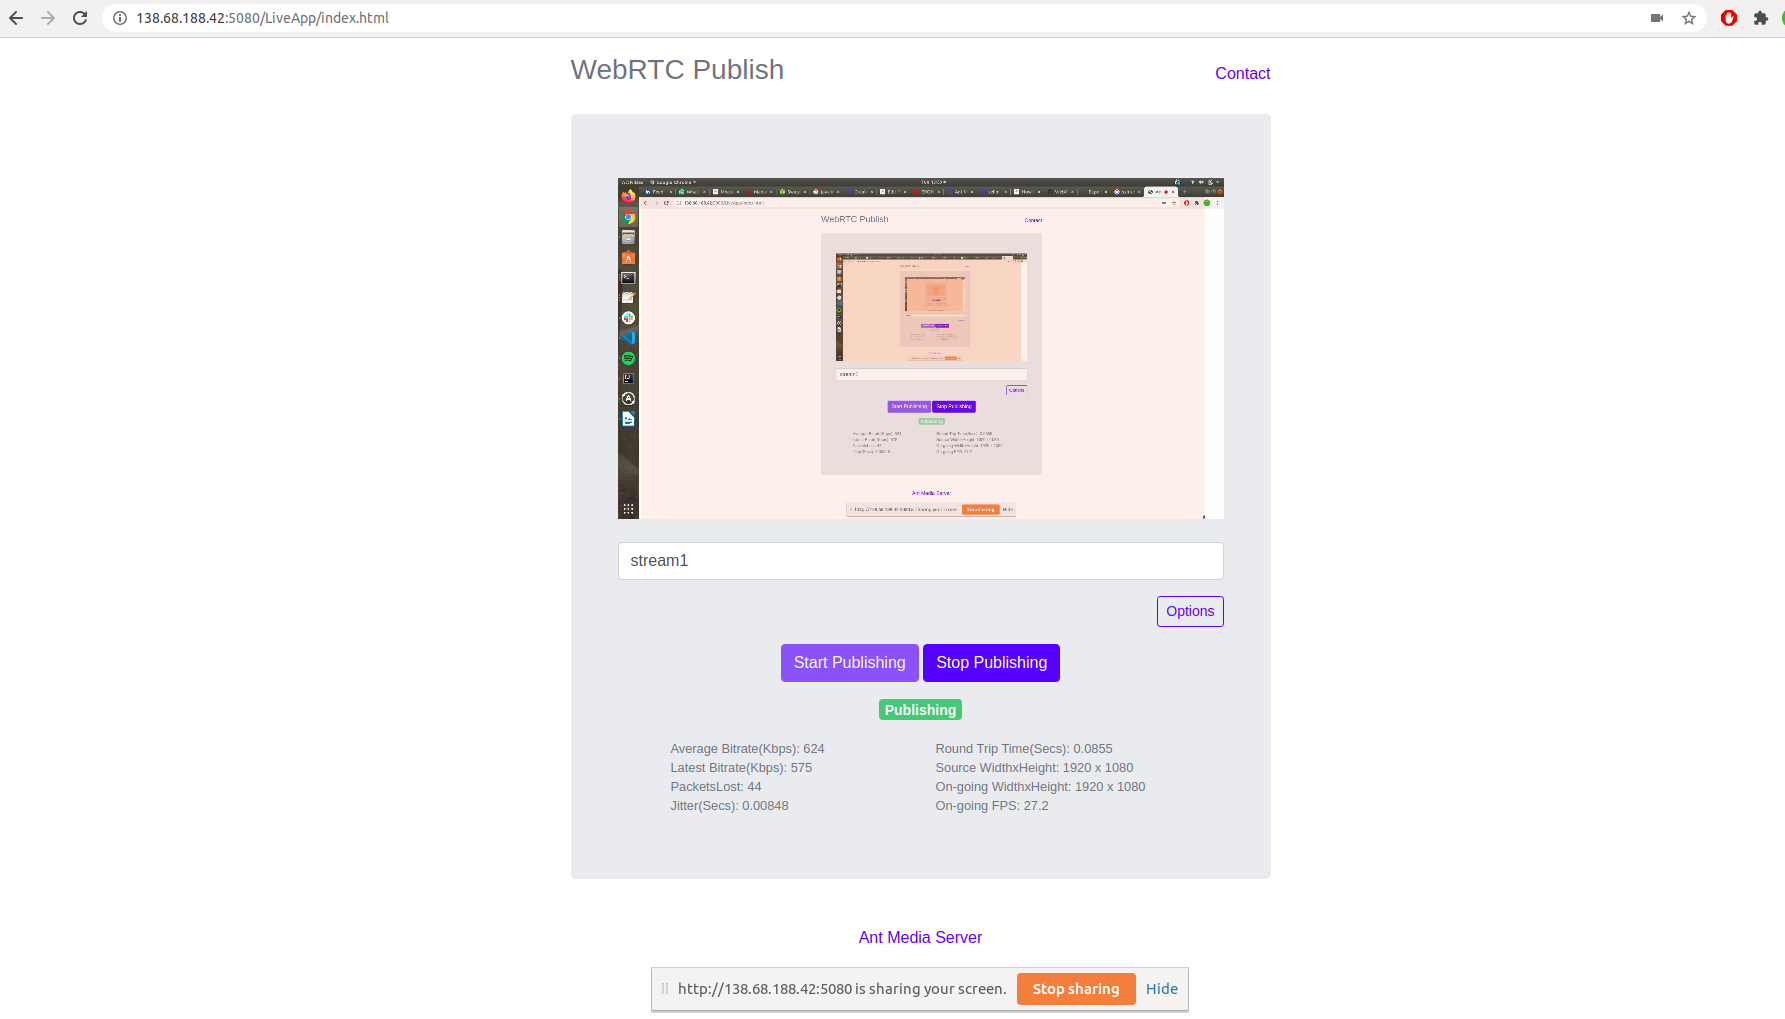
For testing purposes, you can use chrome’s insecure origin treated as a secure option from ‘ chrome://flags/#unsafely-treat-insecure-origin-as-secure ‘ and start your broadcast on:
http://<your_instance_IP>:5080/LiveApp/index.html
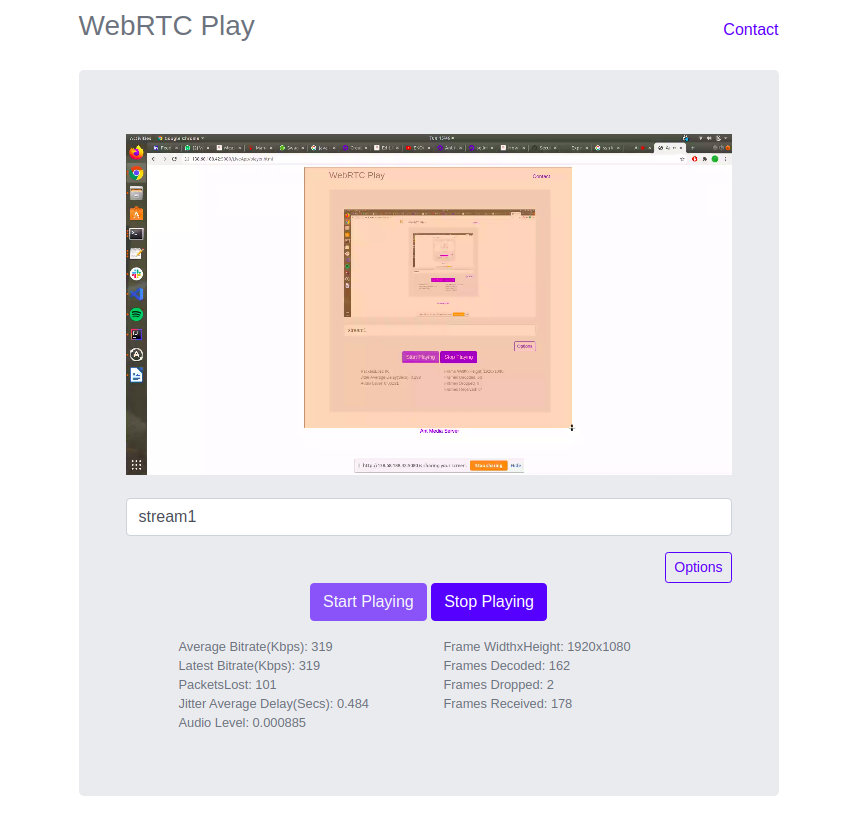
You can watch the broadcast with only 0.5 seconds latency from
http://<your_instance_IP>:5080/LiveApp/player.html
I hope you enjoy Ant Media Server!
If you decide to continue using Ant Media Server you can check these useful blogs and documentation;
Enable SSL for Ant Media Server -> https://antmedia.io/enable-ssl-on-ant-media-server/
Ant Media WebRTC Mobile SDKs -> https://github.com/ant-media/Ant-Media-Server/wiki/WebRTC-SDKs
Ant Media Security Options -> https://github.com/ant-media/Ant-Media-Server/wiki


