XSplit is a Windows-based live streaming application enabling RTMP broadcast publishing to media server infrastructure through multi-source video mixing and hardware-accelerated encoding. The software provides scene composition tools, camera capture integration, and audio mixing capabilities designed for gameplay streaming, presentation broadcasting, and live event production.
Broadcasting teams configuring XSplit for RTMP streaming workflows gain desktop production control combined with server-side scalability. XSplit publishes encoded video via RTMP protocol to Ant Media Server which processes the ingest and delivers playback through WebRTC achieving sub-second latency, HLS providing adaptive streaming, and DASH enabling cross-platform compatibility.
This guide documents the complete XSplit configuration process for streaming to Ant Media Server including Windows installation, video source setup, RTMP connection parameters, encoder optimization, and broadcast verification methods.
What is XSplit?
XSplit is a live streaming and video mixing application developed by SplitmediaLabs, commonly used for broadcasting gameplay, presentations, talk shows, and live events. XSplit provides an intuitive interface for managing video scenes, screen sharing, camera inputs, and audio sources.
XSplit can be used to publish live streams to Ant Media Server using RTMP. Once ingested, Ant Media Server can deliver the stream using multiple playback options, including WebRTC for low-latency viewing.
This guide explains how to use XSplit to stream to Ant Media Server, covering installation, source configuration, RTMP setup, and how to start a live broadcast.
How to Use XSplit
Let’s see how to use XSplit for streaming step by step:
1. Install XSplit
Download XSplit from xsplit.com and install it. XSplit is only available in Windows 7 or newer and is currently not supported in Linux or macOS.
After installation, launch XSplit to begin configuring your streaming setup.
2. Configure Video and Audio Sources
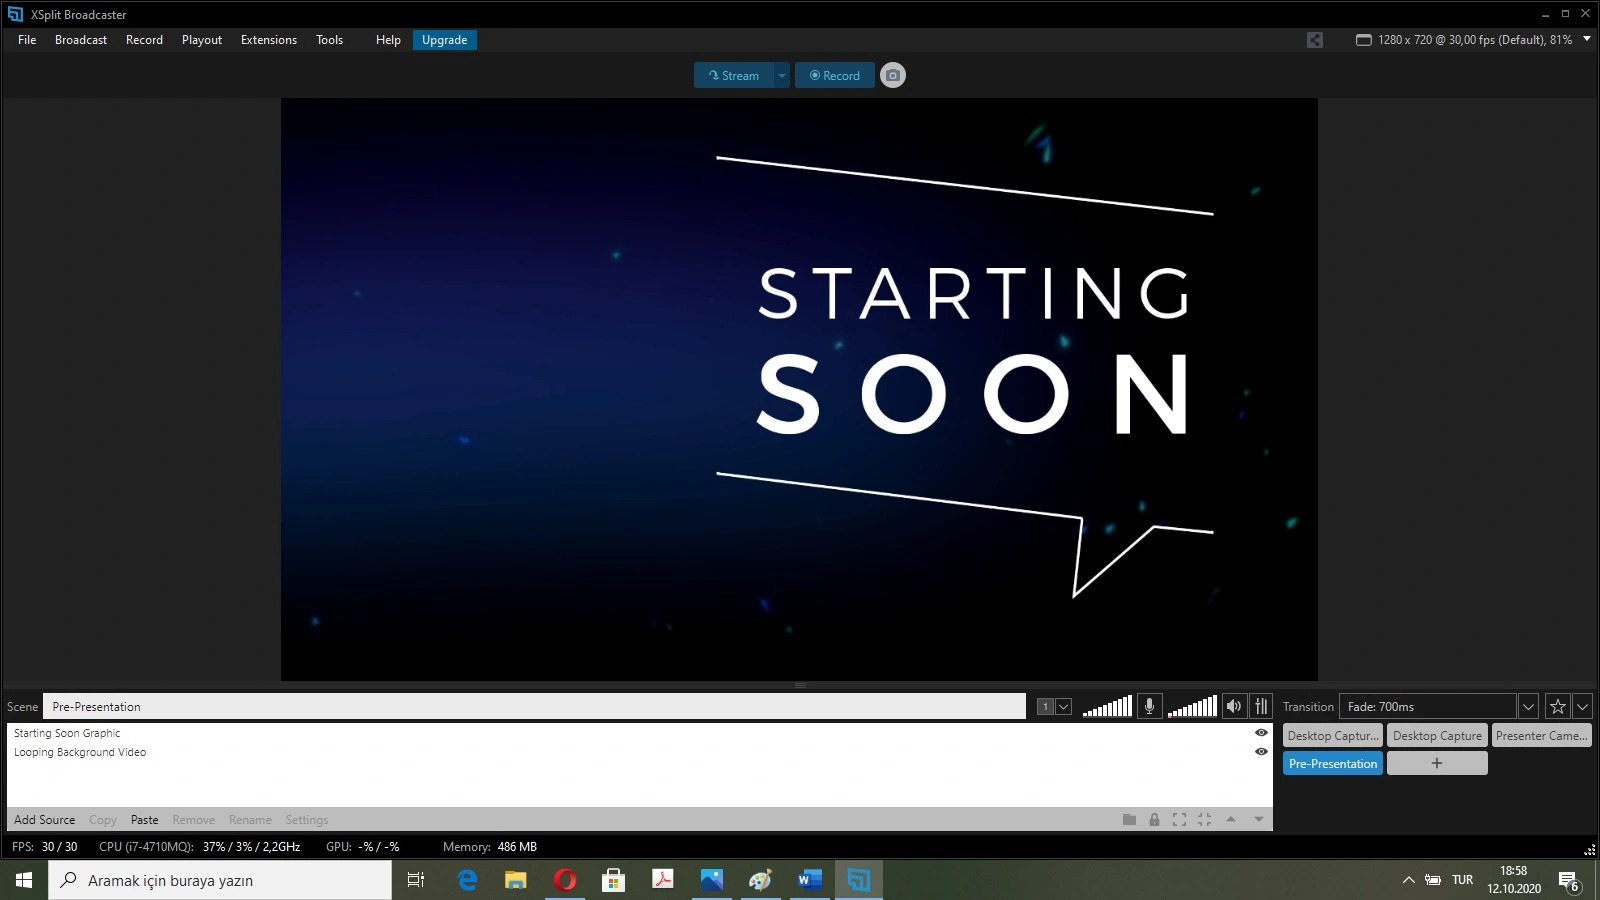
XSplit uses sources to define what appears in your live stream. Sources can include screen capture, application windows, images, webcams, external cameras, and audio devices such as microphones.
When you open XSplit, you can choose a canvas layout based on your use case. Sources can be added, resized, and arranged on the canvas using drag-and-drop controls.
XSplit provides scene-based production workflows where multiple video layouts can be configured and transitioned between during live streaming. For further information about XSplit features, you can reference XSplit’s official manual at xsplit.com/support/broadcaster/manual/introduction.
3. Configure XSplit for Streaming
Before starting the stream, XSplit must be configured to publish video to Ant Media Server using RTMP.
Note: This guide assumes that your Ant Media Server instance allows RTMP publishing and that no additional security options are enabled.
To configure RTMP output:
- Open XSplit
- Click Broadcast in the top menu
- Select Set up a new output
- Choose Custom RTMP from the list
- Enter any name and description for the output

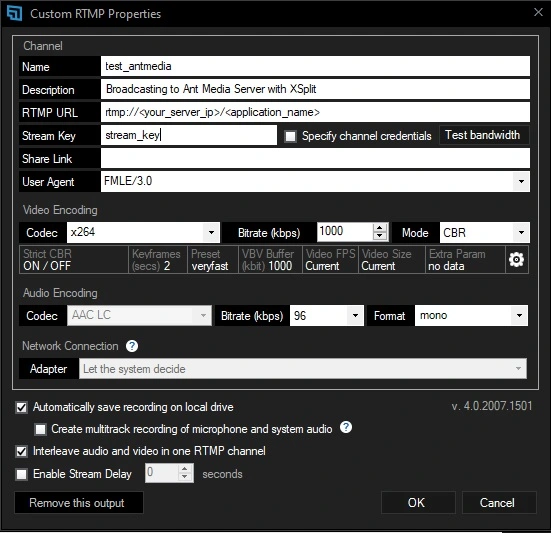
Configure RTMP Settings
In the RTMP configuration screen, set the following connection parameters:
- RTMP URL: Type your RTMP URL without stream id using the format
rtmp://your_server_domain_name/LiveApp- Your port 1935 must be open and the server must be reachable from the broadcasting machine
- If port 1935 is not reachable, XSplit cannot send the stream to Ant Media Server
- Stream Key: Enter any stream id (assuming no security options are enabled)
- When using token authentication, generate a publish token and use the format:
streamid?token=tokenid
- When using token authentication, generate a publish token and use the format:
Broadcasters implementing RTMP ingest workflows benefit from understanding Real-Time Messaging Protocol fundamentals including port configuration requirements, stream key authentication, and connection handshake procedures documented in streaming protocol specifications for reliable publishing operations.
Encoder and Bitrate Settings
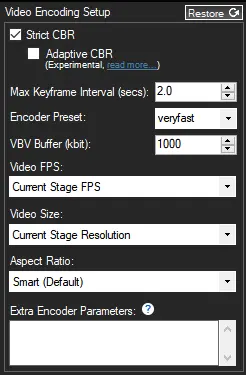
You can access encoder settings by clicking the gear icon next to the output configuration.
XSplit supports multiple encoding engines:
- NVENC: NVIDIA GPU hardware encoding
- Quick Sync: Intel integrated graphics encoding
- Video Coding Engine: AMD GPU encoding
- x264: CPU-based software encoding
Resolution, frame rate, and bitrate can be adjusted based on your streaming requirements.
If you encounter quality or stability issues, restore encoder settings to defaults and re-test the stream.
Advanced encoder options should only be modified if you are familiar with video encoding concepts.
You can change your bitrate according to your needs. Resolution and fps selections are available in the encoder settings accessed via the gear icon.
When x264 is selected, you can change the preset to “medium” for better image quality during motion sequences.
When using token-based stream security, generate a publish token and use the format streamid?token=tokenid in the stream key field.
4. Start Streaming and Watch the Broadcast
After completing the configuration, you are ready to start streaming from XSplit.
To start broadcasting:
- Close the Settings or output configuration window
- Click the Stream button in the main XSplit window
XSplit will begin publishing the live stream to Ant Media Server using RTMP. The software displays connection status indicating successful RTMP transmission or error messages identifying connection failures.
Verify and Watch the Stream
Once the stream starts, you can verify and watch it using the following methods:
- Ant Media Server Management Console – Access at
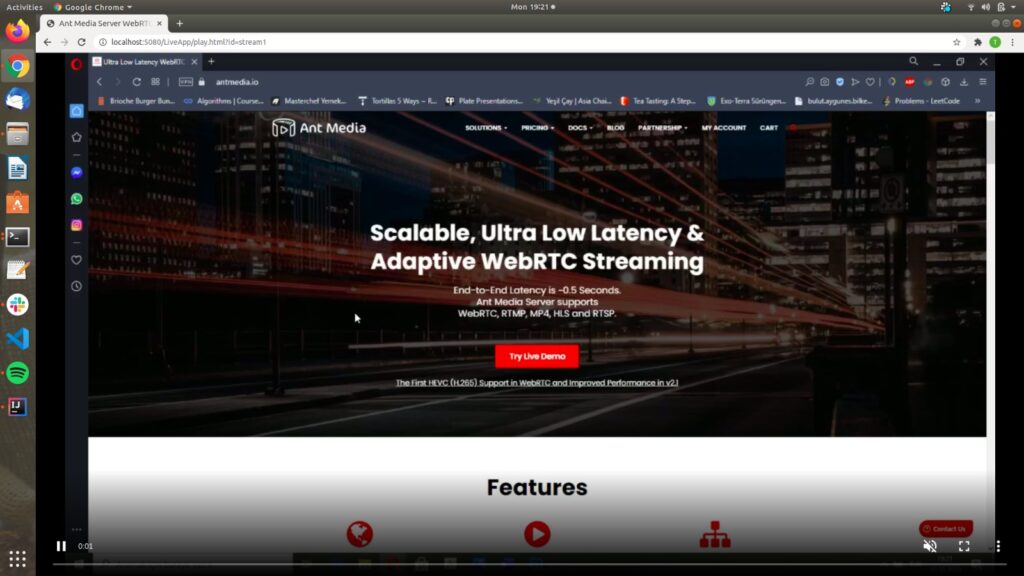
https://your_domain:5443to confirm the stream is live - WebRTC playback (low latency):
https://your_server_domain_name/LiveApp/play.html?id=stream_key - RTMP or HLS playback, depending on your server configuration
When configured correctly, WebRTC playback provides significantly lower latency compared to RTMP-based playback. WebRTC achieves sub-500ms glass-to-glass delays enabling interactive streaming applications including live auctions, gaming broadcasts with real-time viewer interaction, and educational platforms requiring instant engagement.
Advanced Configuration and Performance Optimization
Organizations implementing professional streaming workflows requiring hardware-accelerated NVENC encoding with validated sub-500ms WebRTC latency performance and GPU transcoding optimization across distributed edge deployments benefit from hands-on encoder testing providing complete hardware acceleration validation, latency measurement tools, and transcoding configuration access for confirming RTMP-to-WebRTC conversion performance without production infrastructure investment.
GPU-Accelerated Encoding Benefits
Production broadcasting systems utilizing XSplit with NVENC GPU encoding reduce CPU utilization by 70-85% compared to x264 software encoding while maintaining equivalent visual quality. This CPU offloading enables simultaneous operation of resource-intensive applications including gameplay rendering or video conferencing platforms without affecting RTMP stream stability.
Protocol Conversion and Multi-Format Delivery
XSplit publishes RTMP streams to Ant Media Server which implements automatic protocol conversion delivering broadcasts through WebRTC for ultra-low-latency playback, HLS for mobile compatibility with adaptive streaming, and DASH for cross-platform player support. This multi-protocol delivery enables device-agnostic viewer access without requiring separate encoding configurations.
Broadcasters requiring ultra-low-latency playback for interactive applications publish standard RTMP streams from XSplit while Ant Media Server handles protocol conversion complexity delivering WebRTC output to viewers. This architecture separates broadcast production concerns from playback delivery optimization.
Alternative RTMP Publishing Software
Broadcasting teams can compare XSplit with alternative RTMP encoders:
- OBS Studio: Open-source broadcasting software with cross-platform support
- vMix: Professional production switcher with integrated RTMP streaming
- Wirecast: Enterprise broadcasting application with advanced production features
Each encoder implements distinct scene management approaches and hardware acceleration options suited to different broadcasting use cases.
Frequently Asked Questions
Is XSplit free to use with Ant Media Server?
Which protocol does XSplit use to stream to Ant Media Server?
Where do I get the RTMP URL and stream key for XSplit?
Why can’t XSplit connect to Ant Media Server?
How can I achieve low-latency playback when streaming from XSplit?
Conclusion
XSplit combined with Ant Media Server delivers scalable, low-latency streaming through simple RTMP publishing. This guide covered the complete workflow: Windows installation, source configuration, RTMP connection setup, encoder optimization, and broadcast verification.
The XSplit-to-Ant-Media-Server pipeline separates desktop production from server-side delivery, enabling WebRTC playback with sub-500ms latency, HLS for mobile devices, and DASH for cross-platform compatibility—all from a single RTMP stream.
Try Ant Media Server for free to experiment with WebRTC publishing, validate low-latency workflows, and start building next-generation live video experiences today.
Estimate Your Streaming Costs
Use our free Cost Calculator to find out how much you can save with Ant Media Server based on your usage.
Open Cost Calculator

