Hey Android developers! Now that we discussed how to build WebRTC mobile apps, let’s go over the process of creating a WebRTC Android streaming application. Or simply use this tutorial to introduce data, audio or video streaming to your existing product – all with 4 simple steps.
WebRTC is one of the most used real-time streaming protocols. It is very easy to use in browsers. You may find lots of tutorials for this technology. But what about implementing it on Android with the WebRTC Android SDK? We are here to make it easy for you.
If you are an iOS developer, check our How to build an iOS WebRTC app in 4 steps.
With the WebRTC Android SDK, you can build robust streaming applications quickly and efficiently.
Step 1: Create an Android App Project in Android Studio
Follow the instruction from our documentation:
- Open Android Studio and create a new project with No Activity.
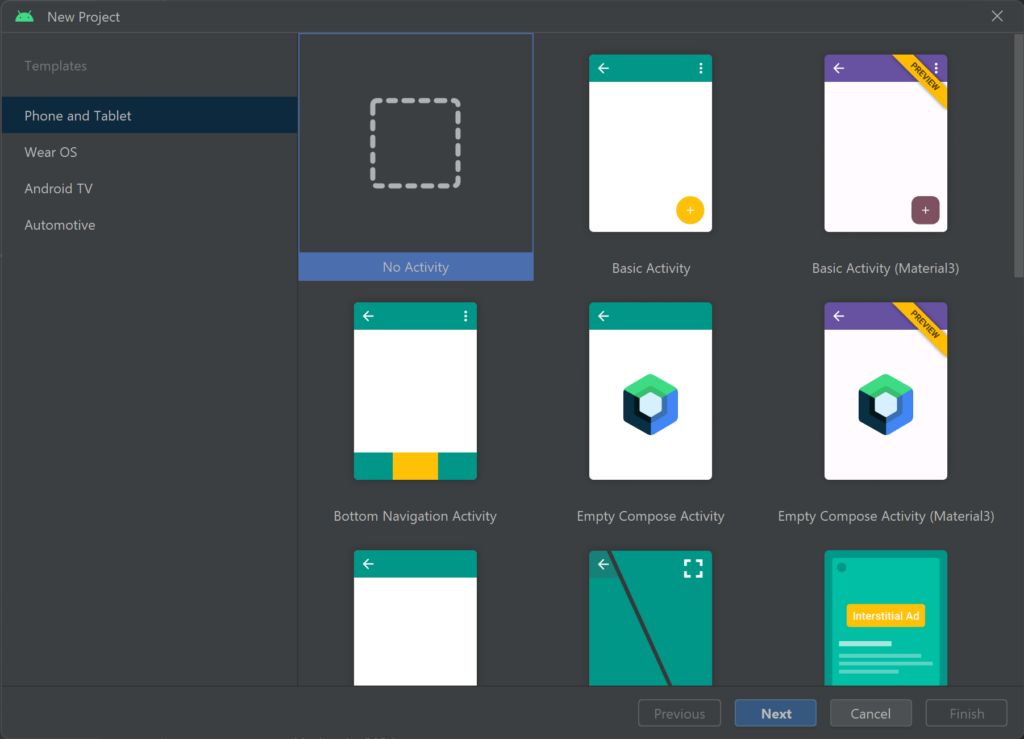
- Select No Activity and then click Next.
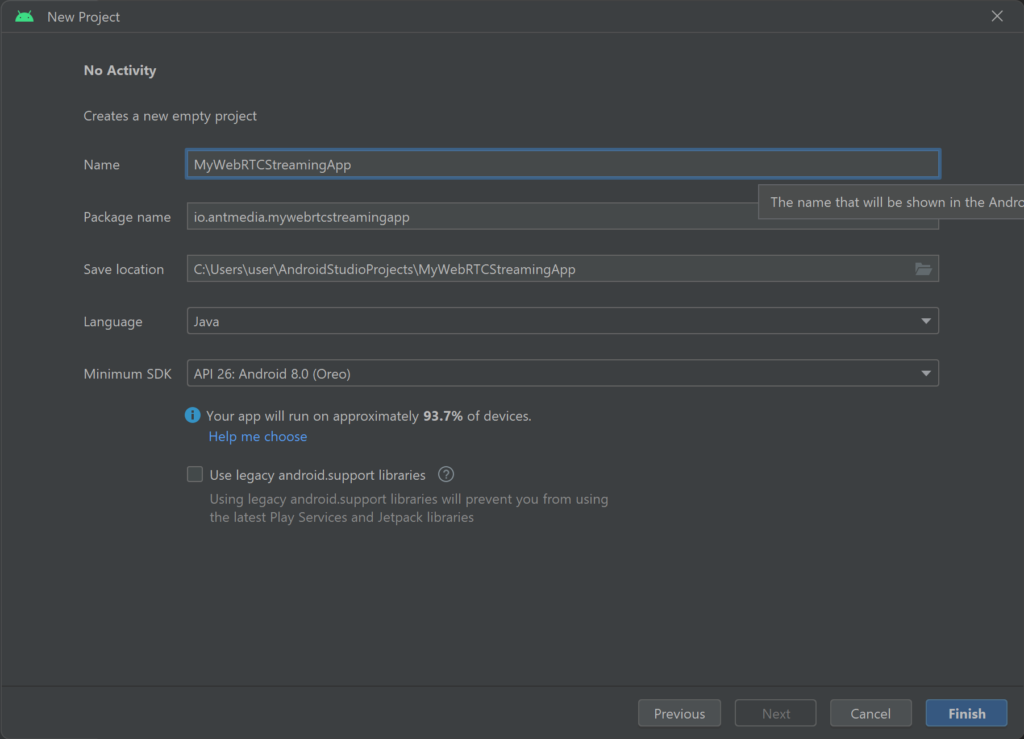
- Give your application a name, and then click Finish. I will call it
MyWebRTCStreamingAppfor this tutorial.
Congratulations! You have successfully created your WebRTC Android SDK application project.
Step 2: Add WebRTC-Android-SDK Dependency
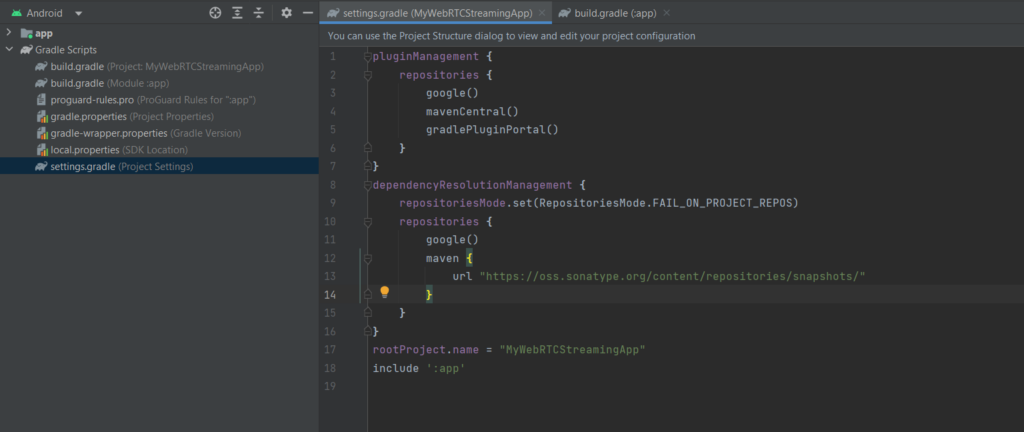
At this point, we should add the dependency on the WebRTC Android SDK module to our newly created project. Since the module is hosted in the Sonatype Maven repository, we will add that repository to the dependency manager. The related setting is in the settings.gradle file. Add the following lines to the dependencyResolutionManagement/repositories section:.
maven {
    url "https://oss.sonatype.org/content/repositories/snapshots/"
}
After adding the repository, we will add the following lines to the dependencies section in the app build.gradle file.
implementation "io.antmedia:webrtc-android-framework:2.8.0-SNAPSHOT"
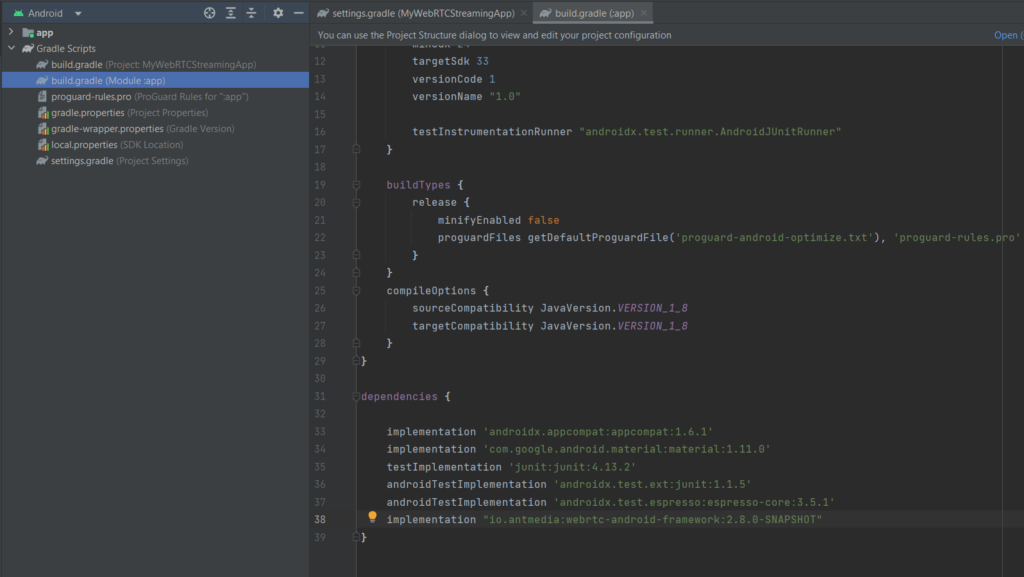
That is all. We have added the dependency, and we are ready to create our WebRTC streaming application.
Step 3: Publish a WebRTC Live Stream in Android
In this step, we will start coding. We will create our layout for the UI part, create an Activity and set the manifest file. Then we will be able to run our application to publish a WebRTC stream on Android.
Create the UI part
First, we need to create a layout folder under res directory and then we will create an XML file. For this application, a simple UI with only a SurfaceViewRenderer is enough. SurfaceViewRenderer is a View that is provided by the WebRTC Android SDK. We will use it to render our camera locally in our app.
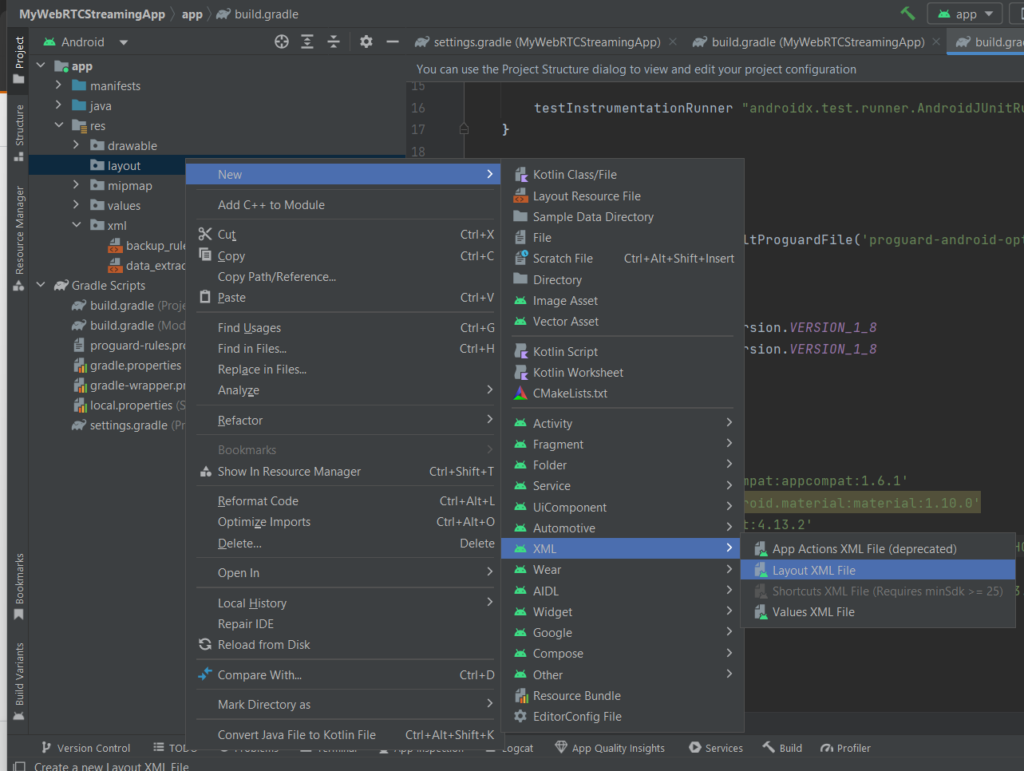
You can create the UI by Android Studio UI Designer or you can just copy the following lines into your xml file, say webrtc_streaming.xml.
<?xml version="1.0" encoding="utf-8"?>
<RelativeLayout xmlns:android="http://schemas.android.com/apk/res/android"
    android:layout_width="match_parent"
    android:layout_height="match_parent">
    <org.webrtc.SurfaceViewRenderer
        android:id="@+id/full_screen_renderer"
        android:layout_width="match_parent"
        android:layout_height="match_parent" />

</RelativeLayout>
Create the sample Activity Now
We will create a Java class that extends Activity class. Let’s name it WebRTCStreamingActivity. In onCreate method, we will build an IWebRTCClient
object by configuring it and calling its publish method. That is all. Here is the necessary code for our activity.
package io.antmedia.mywebrtcstreamingapp;

import android.app.Activity;
import android.os.Bundle;
import io.antmedia.webrtcandroidframework.api.IWebRTCClient;

public class WebRTCStreamingActivity extends Activity {
    @Override
    protected void onCreate(Bundle savedInstanceState) {
        super.onCreate(savedInstanceState);
        setContentView(R.layout.webrtc_streaming);

        IWebRTCClient webRTCClient = IWebRTCClient.builder()
                .setActivity(this)
                .setLocalVideoRenderer(findViewById(R.id.full_screen_renderer))
                .setServerUrl("wss://test.antmedia.io:5443/WebRTCAppEE/websocket")
                .build();

        webRTCClient.publish("stream1");
    }
}
Edit Android manifest File
We will edit two things in the AndroidManifest.xml file.
- First, we will set our WebRTCStreamingActivity as the default activity for our application.
- Second, we will add required permissions for our streaming application. Here is the edited manifest file.
<?xml version="1.0" encoding="utf-8"?>
<manifest xmlns:android="http://schemas.android.com/apk/res/android"
    xmlns:tools="http://schemas.android.com/tools">

    <uses-feature android:name="android.hardware.camera" />
    <uses-feature android:name="android.hardware.camera.autofocus" />
    <uses-feature
        android:glEsVersion="0x00020000"
        android:required="true" />

    <uses-permission android:name="android.permission.ACCESS_NETWORK_STATE" />
    <uses-permission android:name="android.permission.BLUETOOTH" />
    <uses-permission android:name="android.permission.CAMERA" />
    <uses-permission android:name="android.permission.MODIFY_AUDIO_SETTINGS" />
    <uses-permission android:name="android.permission.INTERNET" />
    <uses-permission android:name="android.permission.BLUETOOTH_CONNECT" />

    <application
        android:allowBackup="true"
        android:dataExtractionRules="@xml/data_extraction_rules"
        android:fullBackupContent="@xml/backup_rules"
        android:icon="@mipmap/ic_launcher"
        android:label="@string/app_name"
        android:supportsRtl="true"
        android:theme="@style/Theme.MyWebRTCStreamingApp" >

        <activity android:name=".WebRTCStreamingActivity"
            android:exported="true"
            android:theme="@style/Theme.AppCompat.DayNight">
            <intent-filter>
                <action android:name="android.intent.action.MAIN" />

                <category android:name="android.intent.category.LAUNCHER" />
            </intent-filter>
        </activity>
    </application>
</manifest>
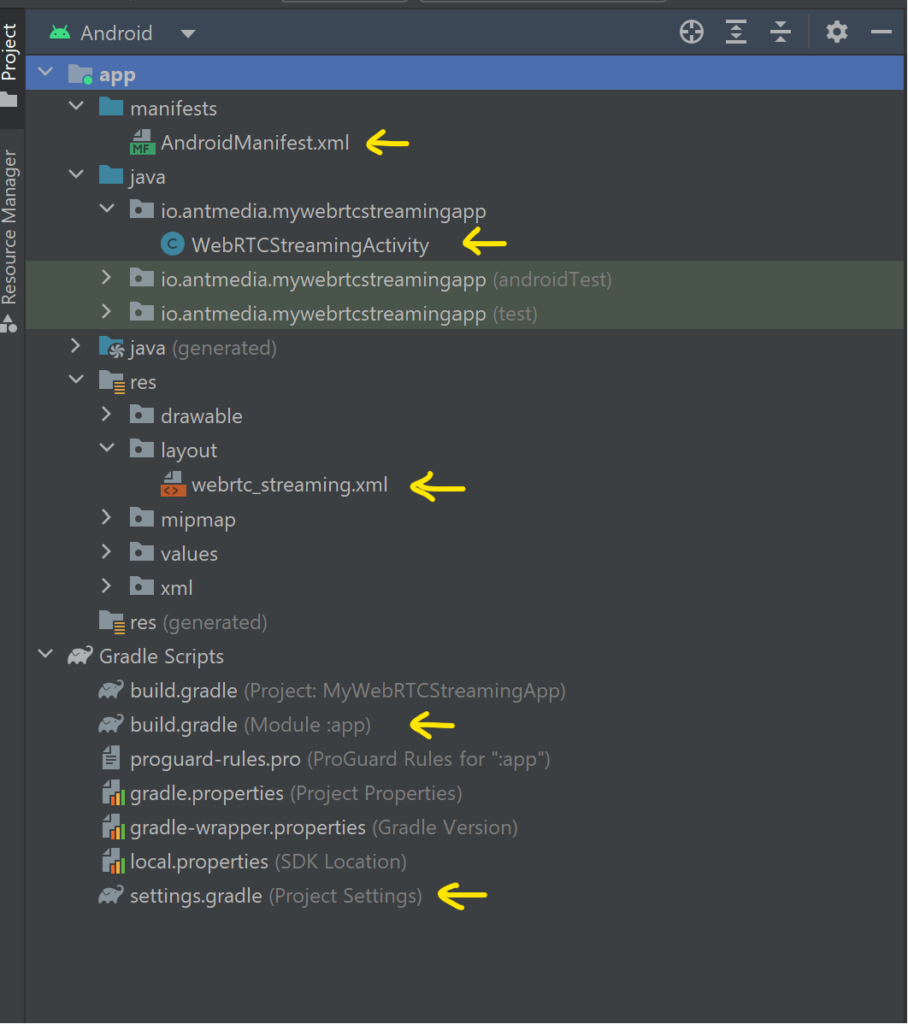
Congratulations! Our WebRTC Android Publish Application is ready now. The project structure should be as shown in the following image, where the files we created and edited are pointed with arrows.
We can run it on an Android emulator or a real Android device after connecting to the computer. Click the Run button on Android Studio and wait for installation.
In the first run, our application asks you to grant access. Accept them, and it will start streaming. On the Android emulator, it will be like this:
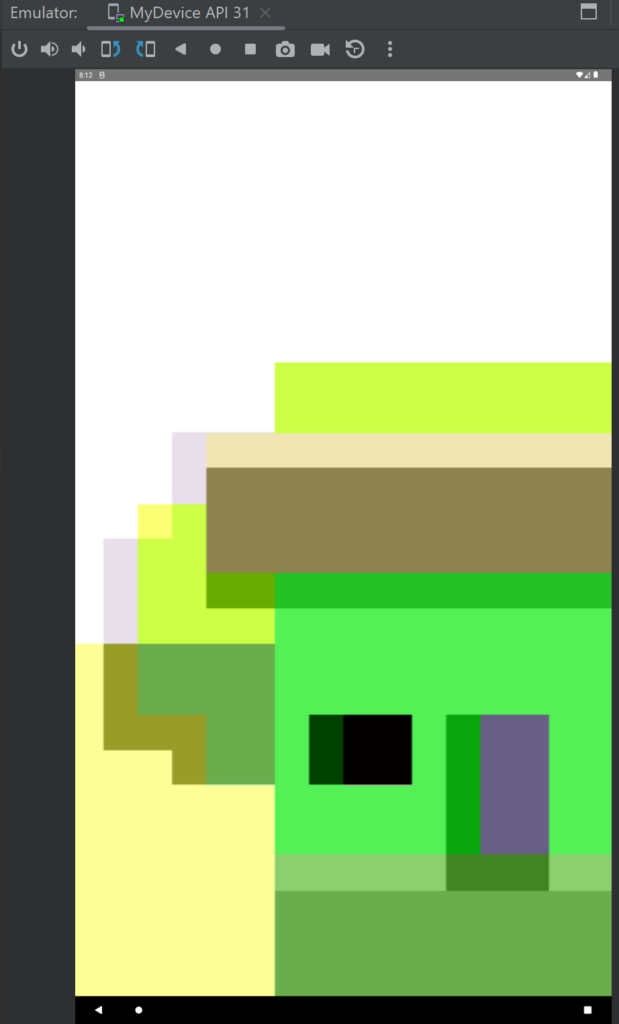
Congratulations! You are now publishing your live stream.
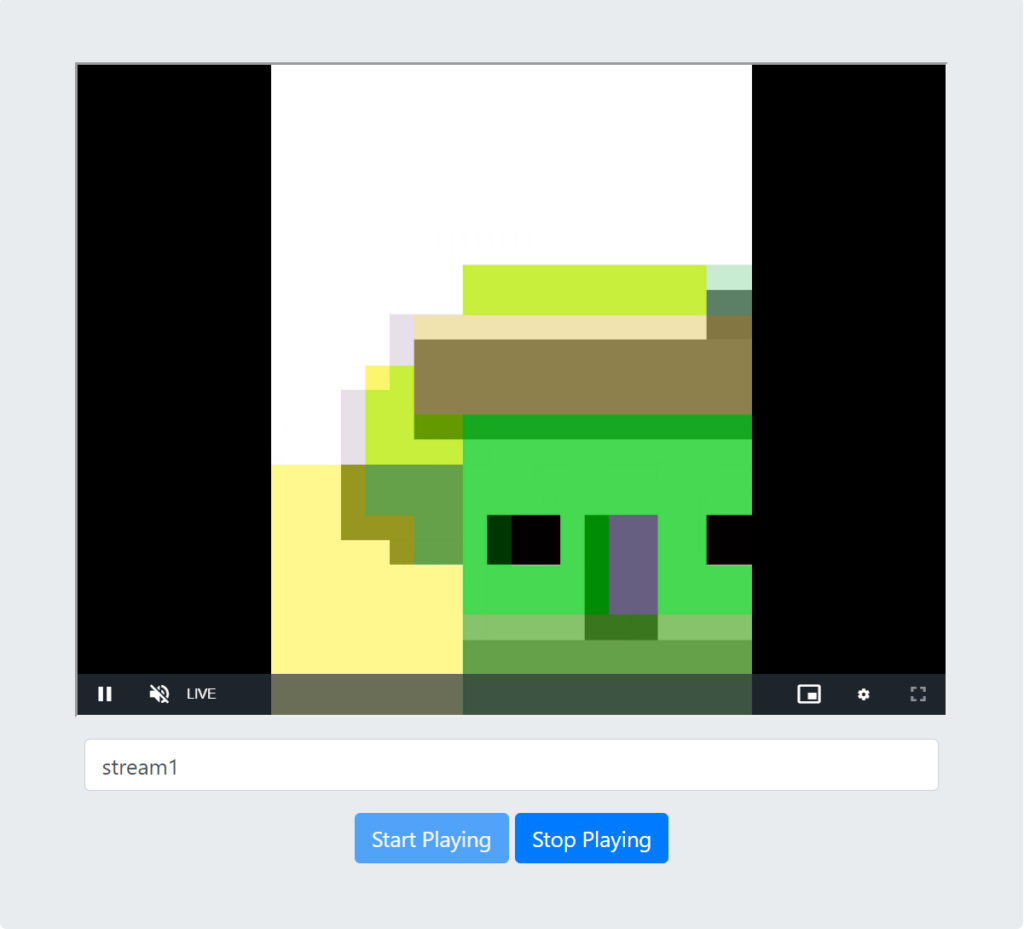
To play the stream we created from our WebRTC Android Publish Application, visit Ant Media’s Test WebRTC Player, write the stream1 to the box, and click the Start Playing button.
Step 4: Play WebRTC Live Stream in Android
Playing a WebRTC Live Stream in an Android application is easier because we already have everything. The only changes are two lines of code in our WebRTCStreamingActivity class. We should make our SurfaceViewRenderer object a remote video renderer instead of a local one, and we will call play instead of publish. It will look like:
package com.antmedia.mywebrtcstreamingapp;

import android.app.Activity;
import android.os.Bundle;
import io.antmedia.webrtcandroidframework.api.IWebRTCClient;

public class WebRTCStreamingActivity extends Activity {
    @Override
    protected void onCreate(Bundle savedInstanceState) {
        super.onCreate(savedInstanceState);
        setContentView(R.layout.webrtc_streaming);

        IWebRTCClient webRTCClient = IWebRTCClient.builder()
                .setActivity(this)
                //.setLocalVideoRenderer(findViewById(R.id.full_screen_renderer))
                .addRemoteVideoRenderer(findViewById(R.id.full_screen_renderer))
                .setServerUrl("wss://test.antmedia.io:5443/WebRTCAppEE/websocket")
                .build();

        //webRTCClient.publish("stream1");
        webRTCClient.play("stream1");
    }
}
To test our WebRTC Android Play application, we should create a stream first. Visit the WebRTC Publish page and write stream1 in the box and click Start Publishing.
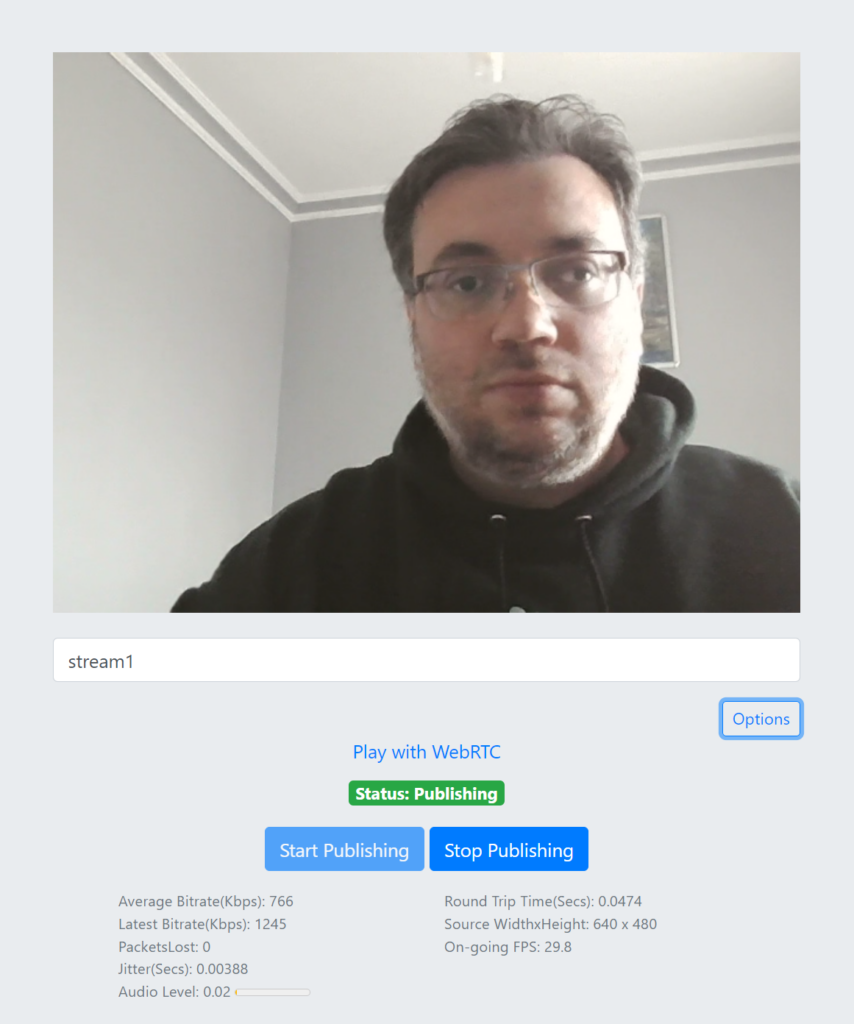
After we see green publishing text, we know there is a WebRTC stream on the server with the stream id stream1. So we can run our WebRTC Android Play application to play that stream.
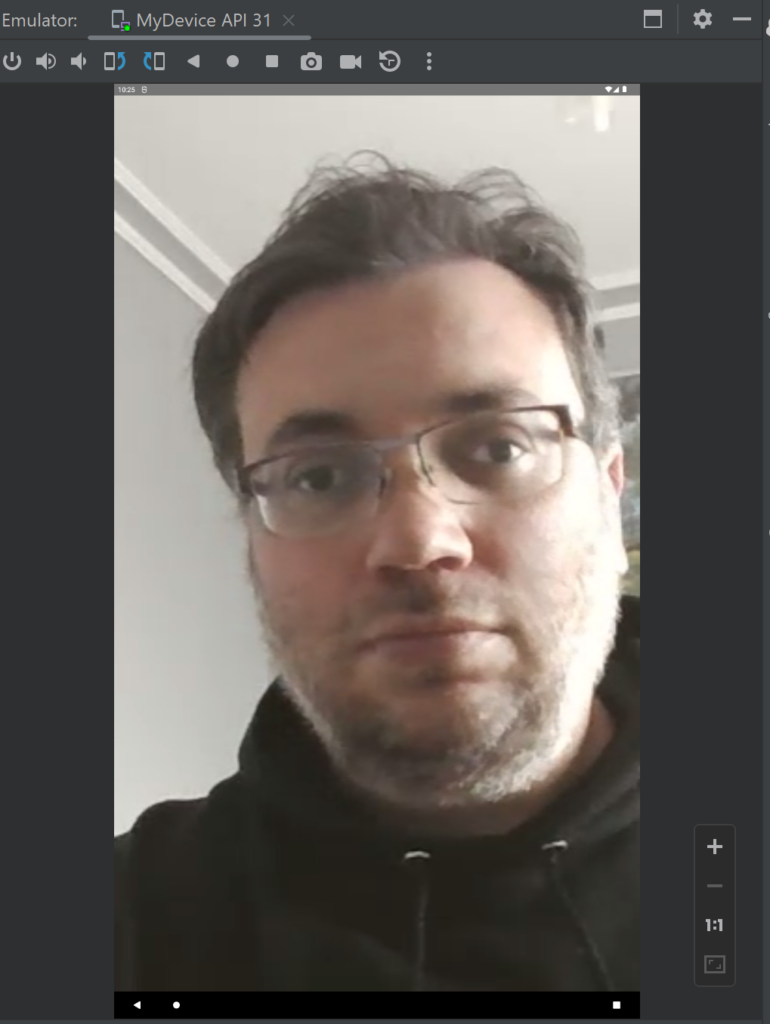
If you can see your video on your Android device or emulator, you have done so. Otherwise, their might be some issue, and you may always reach us in Github Discussions. Also you can access the source code here for the project we have created in this post.
By following this guide, you have learned how to publish and play WebRTC live streams in your Android application.
If you’re eager to explore more features and samples, visit the WebRTC-Android-SDK repository.
Frequently Asked Questions (FAQ)
1. Do I need my own server to use WebRTC with Android?
Yes. WebRTC requires a signaling and media server. In this tutorial, we use Ant Media Server, which handles signaling, streaming, and playback for you.
2. Can I use this tutorial with an existing Android app?
Absolutely. You can integrate the WebRTC Android SDK into any existing project by adding the dependency and creating or adapting an Activity for publishing or playing streams.
3. Does this work on real devices and emulators?
Yes. You can run it on both. However, for publishing (camera streaming), a real device is recommended because emulators have limited camera and audio support.
4. Can I stream audio-only or data instead of video?
Yes. WebRTC supports audio, video, and data channels. You can configure the SDK to disable video and use only audio or data messaging depending on your use case.
5. What Android versions are supported?
The WebRTC Android SDK supports most modern Android versions (typically API 21+). Always check the SDK documentation for the latest compatibility details.
6. Why am I not seeing any video when I press Play?
Make sure:
- A stream with the same
streamId(e.g.,stream1) is actively publishing. - The server URL is correct.
- Camera and microphone permissions are granted.
7. Is WebRTC suitable for low-latency streaming?
Yes. WebRTC is designed for real-time communication and ultra-low latency use cases such as live streaming, video calls, and interactive broadcasts.
In conclusion
I hope this tutorial was helpful for you to understand how to use WebRTC Android SDK. If you have any questions, just send an email to [email protected]
Check our other Ant Media Server SDKs and our documentation. You may also be interested in What is Transcoding? Why Is It Important for Streaming? and Everything you need to know about streaming protocols.


