Caption Every Live Stream. Automatically.
No editors. No delays. No third-party workflows.
Scribe listens to your stream, transcribes speech in real time, translates it into any language, and injects WebVTT subtitle tracks directly into your HLS or DASH manifest — so viewers get captions the moment you go live.

1. Install the Plugin
Run the following command on your server:
curl -fsSL https://downloads.raskenlund.com/scribe/antmediaserver/install.sh | sudo bash
This installs the plugin, sets permissions, and restarts the service.
2. Open Scribe Dashboard
Go to:
http://<your-server>:5080/rest/scribe/ui/
NOTE: Make sure you have already logged into Ant Media Server in another tab.
Dashboard Preview
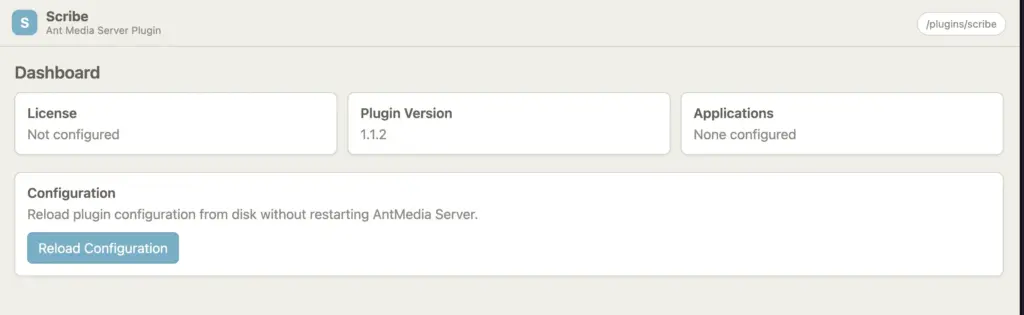
3. Configure Settings
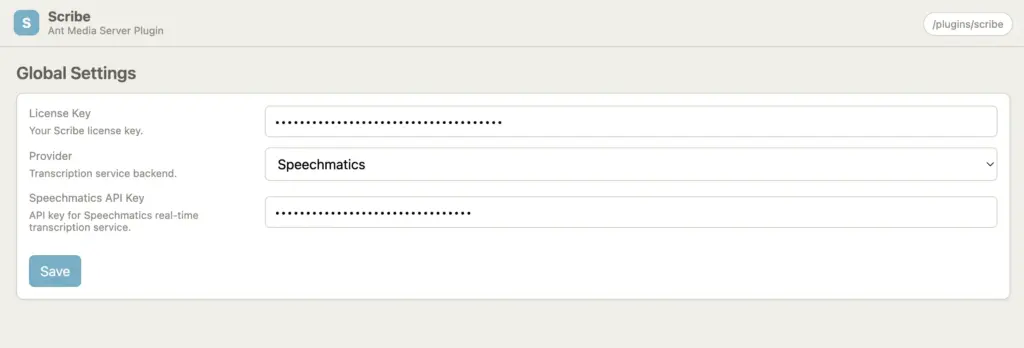
- Open Global Settings
- Add Scribe license key
- Add API credentials
- Save changes
Global Settings
Then:
- Restart the server
- Open dashboard
- Click Reload Configuration
It should show the license validated.
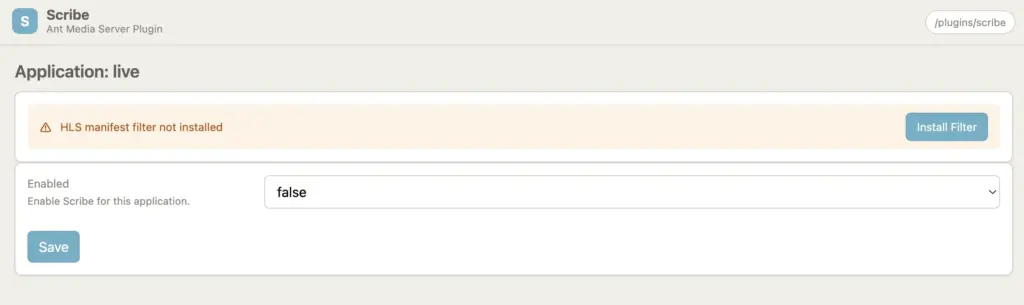
4. Install HLS Manifest Filter
To generate subtitles, the HLS manifest filter must be installed on your application in Ant Media Server.
- Go to Dashboard
- Select your application
- Click Install Filter
Install Filter
Then restart the server again.
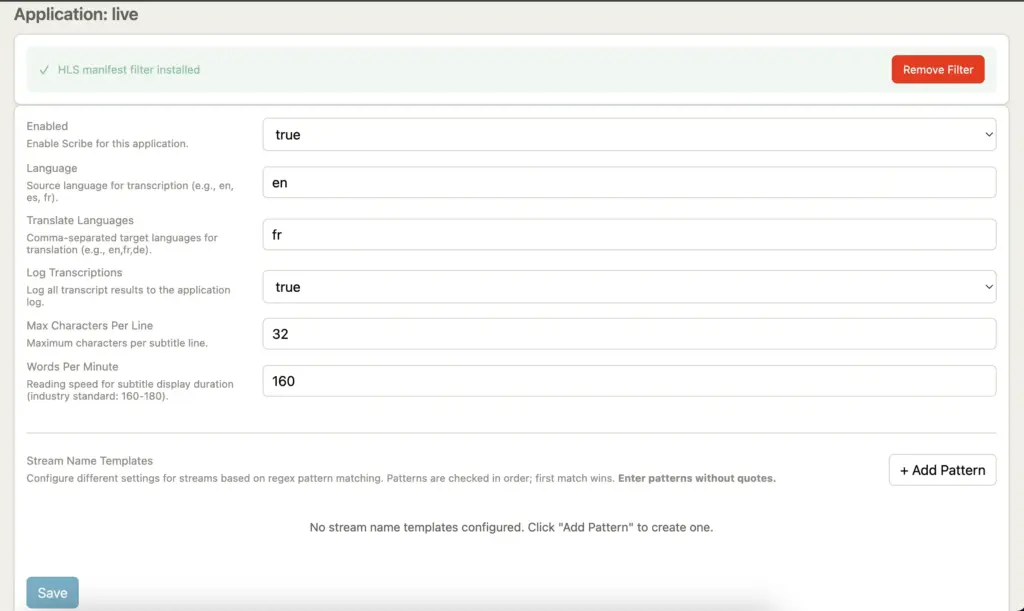
5. Enable & Configure Plugin
- Enable Scribe plugin for selected application (default is OFF)
- Set source language — e.g.
en - Set target language — e.g.
fr - Save the settings
- Go to dashboard and click Reload Configuration
Translation Settings
6. Start Streaming
Publish a stream using RTMP, WebRTC, or any other supported protocol:
rtmp://domain-or-IP/live/streamId
7. Verify Output
Check AMS logs for scribe entries:
/usr/local/antmedia/log/ant-media-server.log
Then navigate to the streams directory:
cd /usr/local/antmedia/webapps/live/streams
You'll see .vtt subtitle files generated automatically alongside HLS segments.
Players requesting streamId.m3u8 or streamId_adaptive.m3u8 receive the manifest with subtitle tracks injected automatically — no special URL required.
8. Test Playback
Play your HLS (m3u8) or DASH (mpd) stream using a test player:
Subtitle Playback
Select the subtitle track from the available subtitles menu in the player.