Run Private Video Surveillance on Your Own Server.
No third-party clouds. No vendor lock-in. No data leaves your network.
CamOS runs on your Ant Media Server, connecting to any ONVIF, RTSP, or RTMP camera and recording to S3-compatible storage — deployable in about 10 minutes with zero external dependencies.
Benefits of using CamOS
- Fast deployment — install in about 10 minutes and scale as your camera fleet grows
- Developer-friendly — no artificial limitations, full access to the underlying stack
- Self-hosted, no backdoors — data flows only through your own Ant Media Server, no third-party telemetry
- Legacy camera integration — bring existing ONVIF, RTSP, and RTMP hardware into a modern cloud-connected VMS
- Custom features on request — contact the team via the Support section to discuss development requests
Prerequisites
- An Ant Media Server instance running in standalone or cluster mode with a MongoDB database. You can also use MongoDB Atlas.
- CamOS application
.warfile — request here. - Recording enabled with an S3 bucket for video data storage.
1. Install the CamOS Application
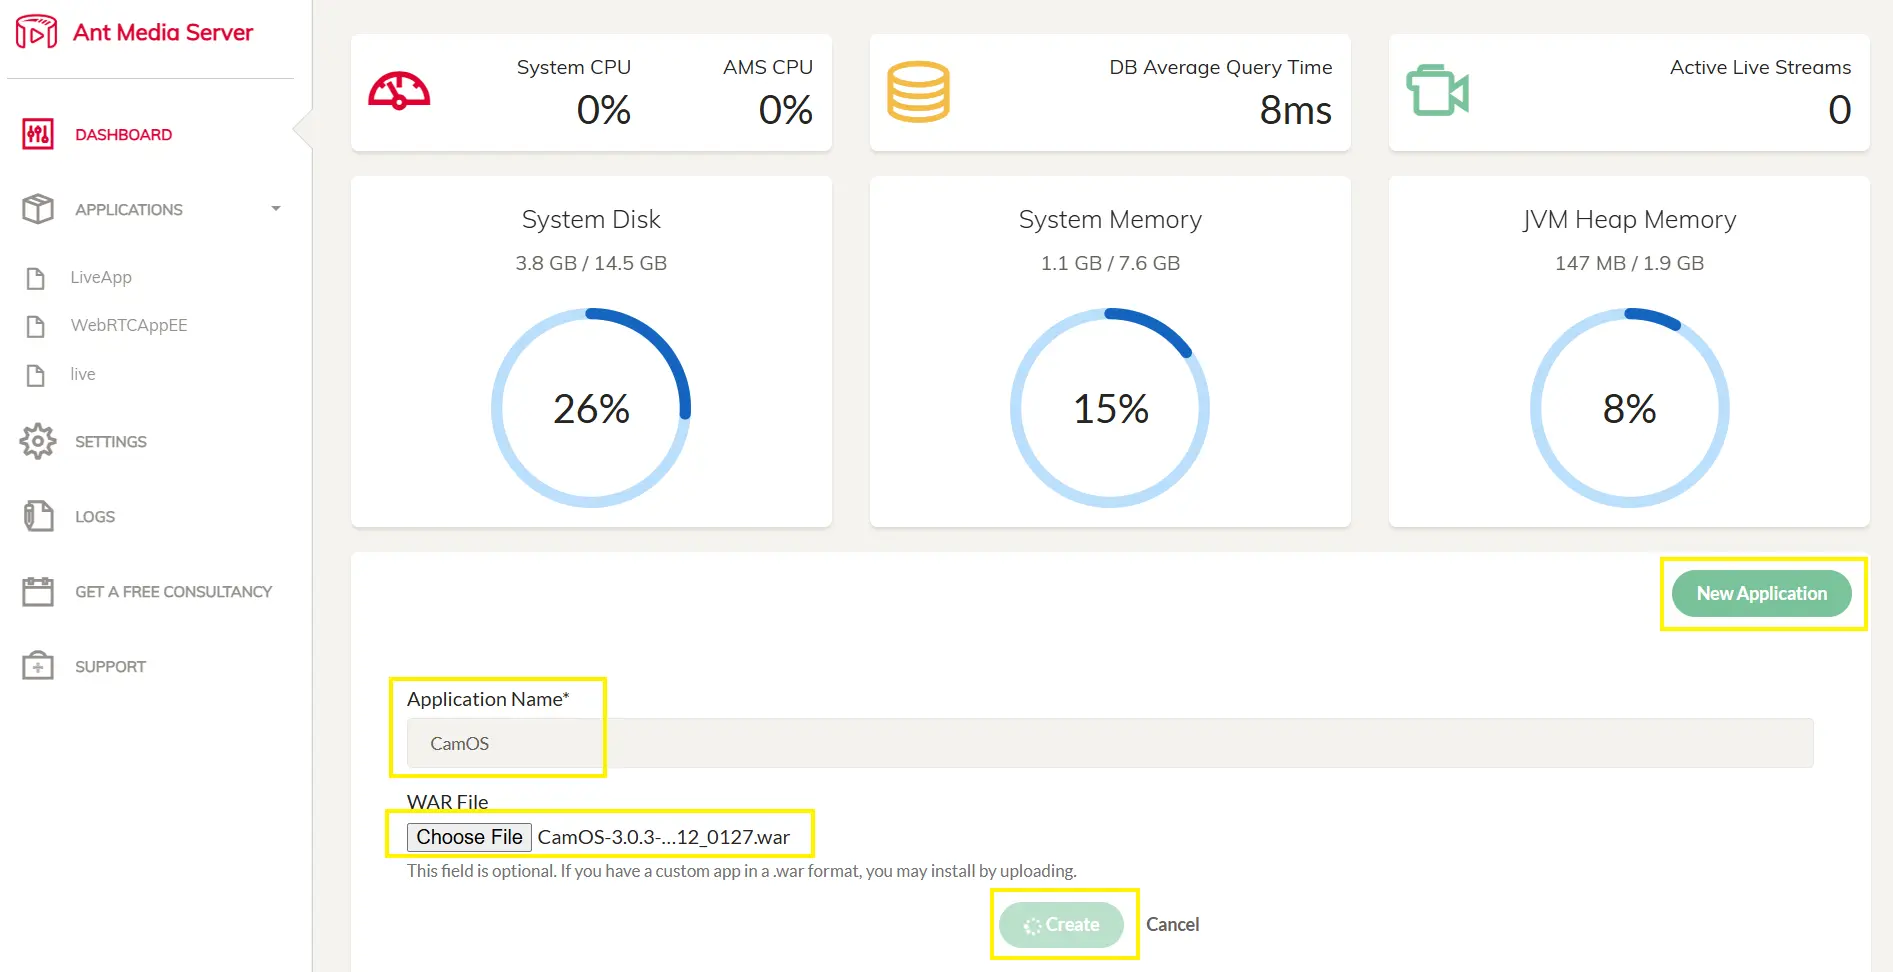
- Log in to your Ant Media Server instance dashboard
- Go to the Application section
- Click New Application
- Enter
CamOSas the application name (name cannot be changed later) - Choose the
.warfile you received - Click Create — installation will begin
New Application Dialog
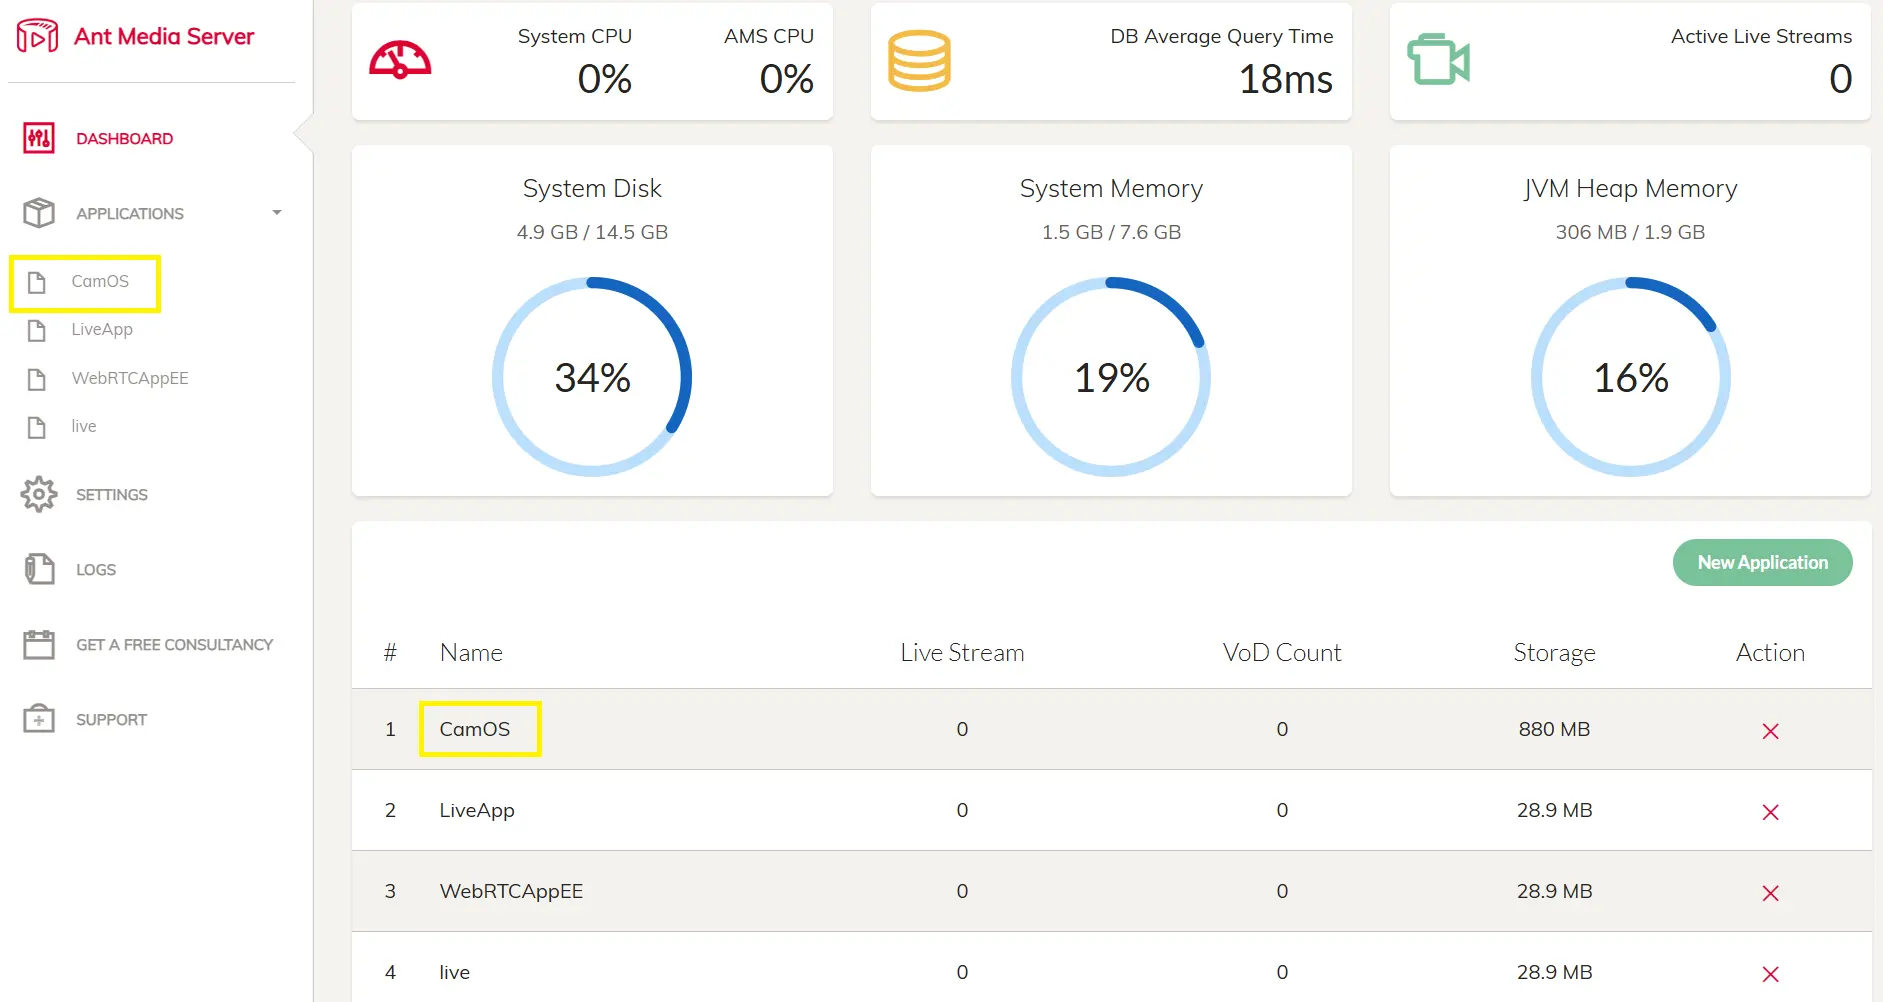
Installation takes about 5 minutes. Once complete, you'll see these entries in the logs and CamOS listed under Applications:
2026-06-23 11:30:25,467 [Launcher:/CamOS] INFO  c.a.media.EnterpriseApplication - CamOS appStart
2026-06-23 11:30:25,495 [Launcher:/CamOS] INFO  i.a.AntMediaApplicationAdapter - Initialized file is created in CamOS
2026-06-23 11:30:25,497 [Launcher:/CamOS] INFO  i.a.AntMediaApplicationAdapter - CamOS started
2026-06-23 11:30:25,497 [Launcher:/CamOS] WARN  c.a.media.app.WebRTCApplication - Not enable WebRTC Signaling mode
2026-06-23 11:30:25,636 [Launcher:/CamOS] INFO  com.agrhub.media.BaseApplication - Establish websocket signaling connection
2026-06-23 11:30:25,636 [Launcher:/CamOS] INFO  c.a.media.EnterpriseApplication - CamOS started
2026-06-23 11:30:25,636 [Launcher:/CamOS] INFO  org.red5.server.scope.Scope - Scope:CamOS is running
Applications List
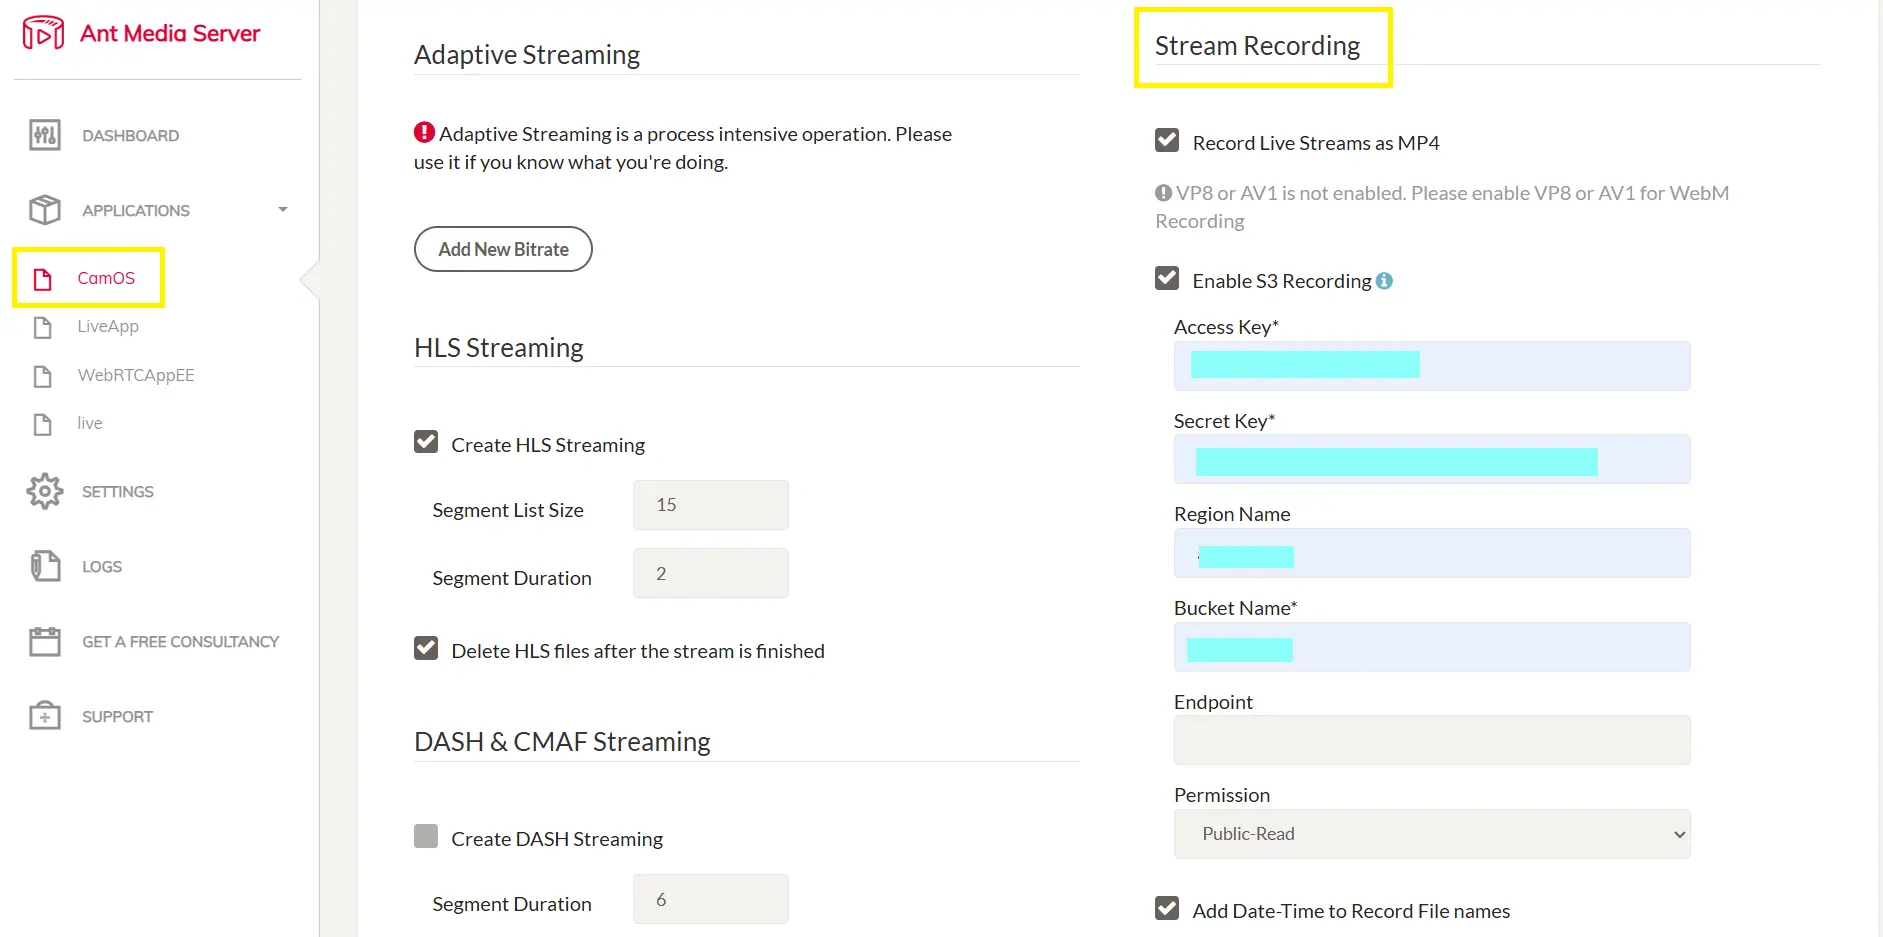
NOTE: Navigate to Application > Settings, enable MP4 recording with S3, and add date-time to record file names. Required for storing recordings.
Recording Settings
2. Access the CamOS Application
Open the CamOS application in your browser:
https://<ant-media-server-url>:5443/CamOS
Note: the port may differ based on your configuration.
Get Started Screen
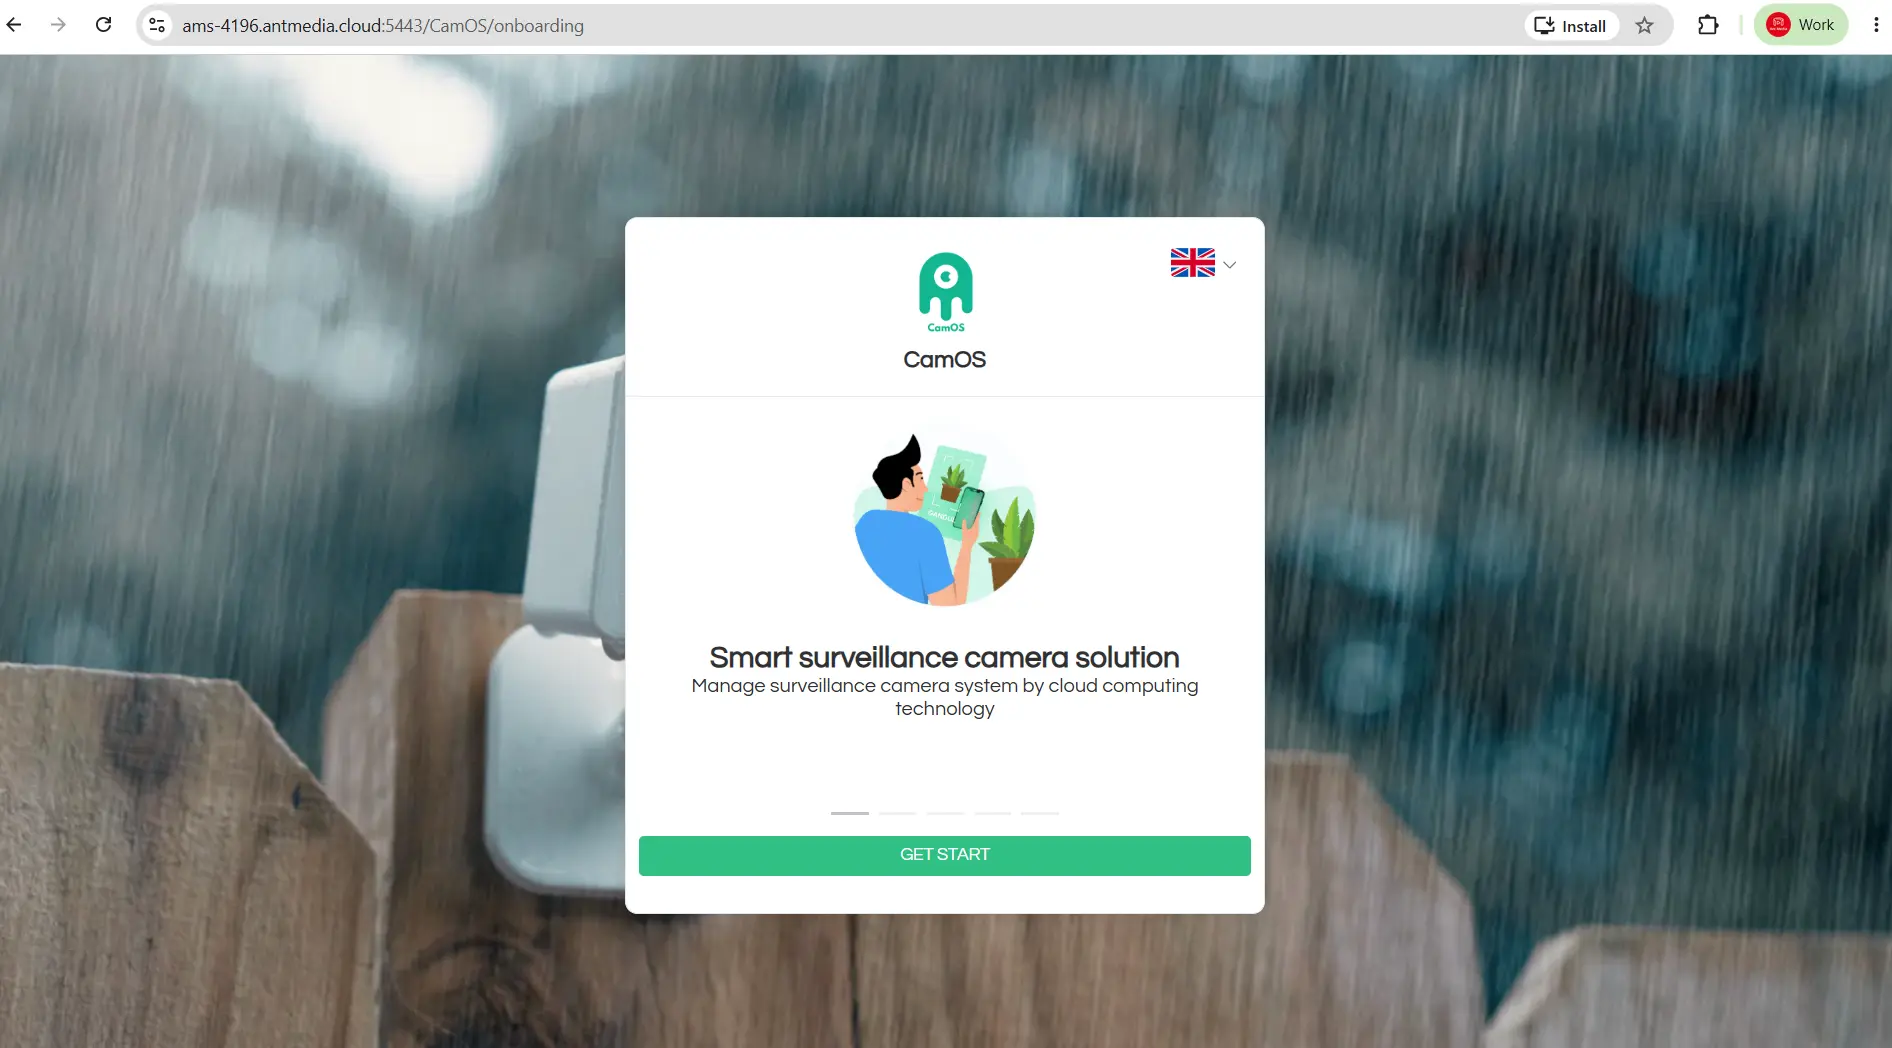
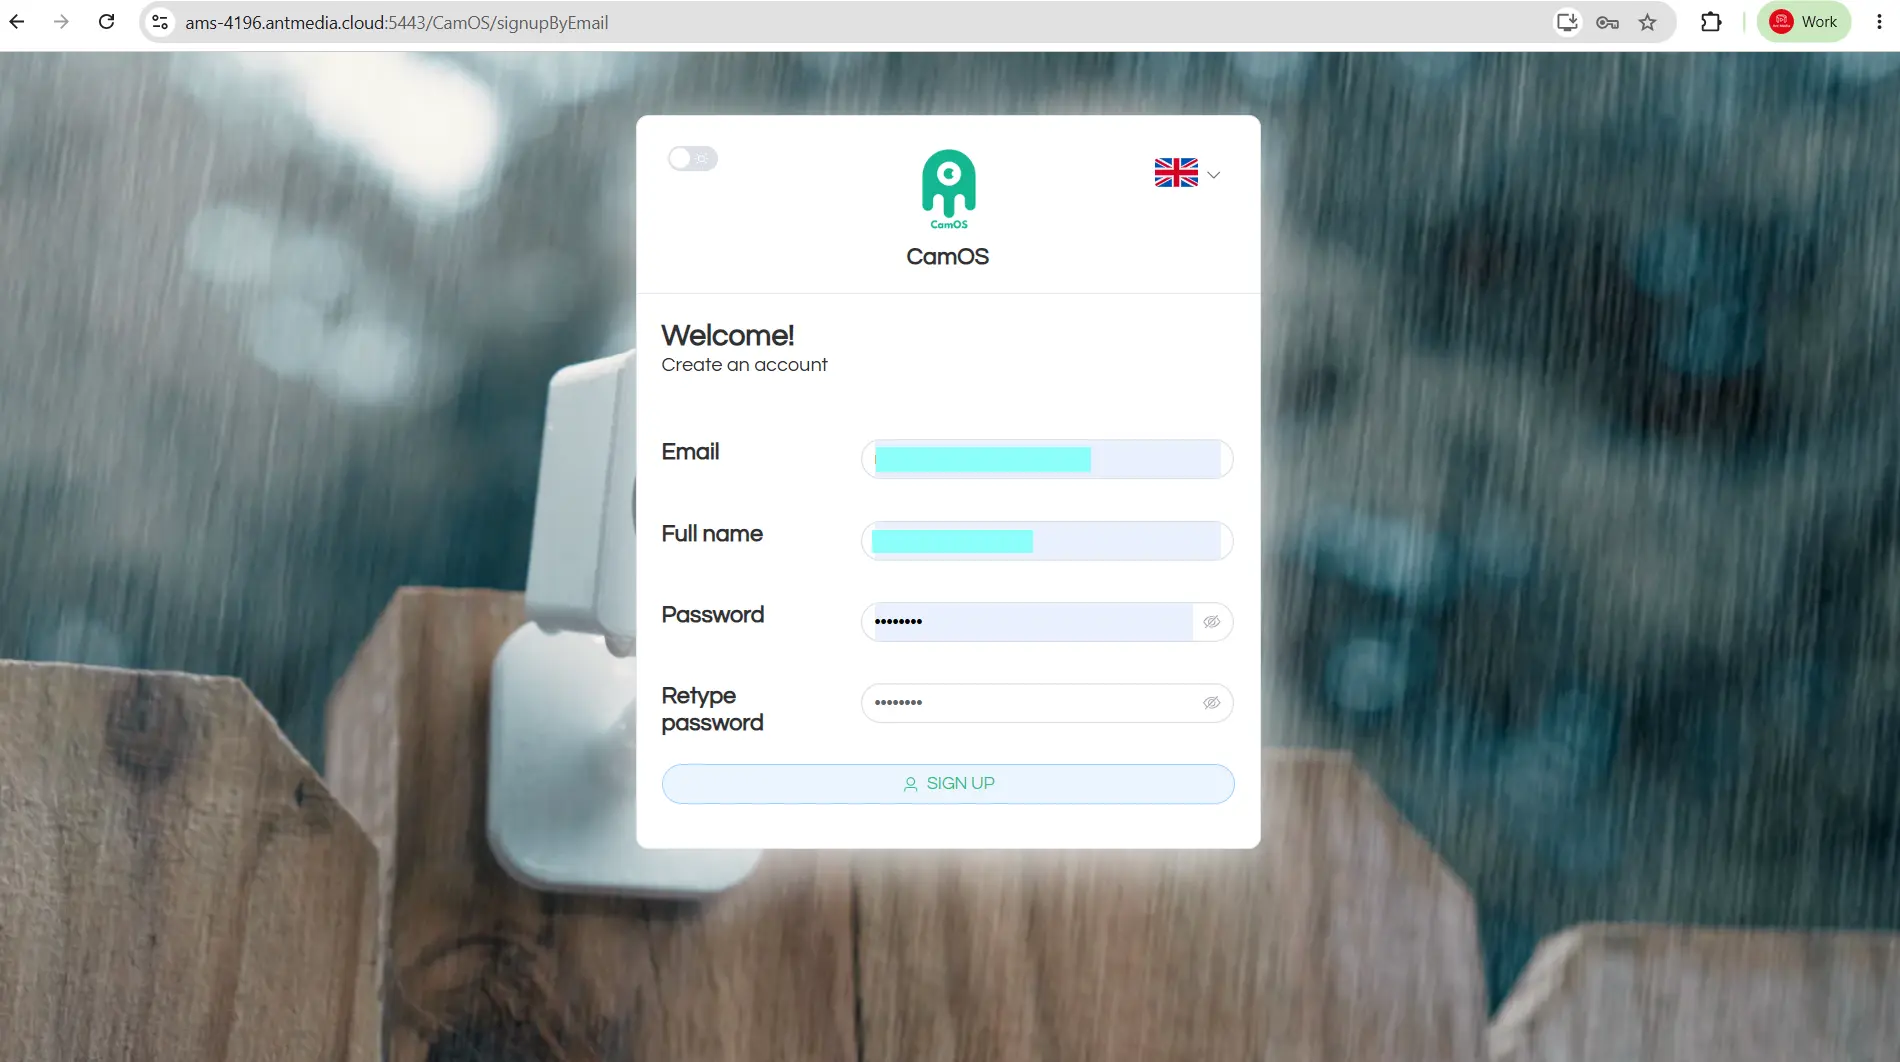
- Click Get Started and select your preferred language
- Register an administrator account with the required details
Registration
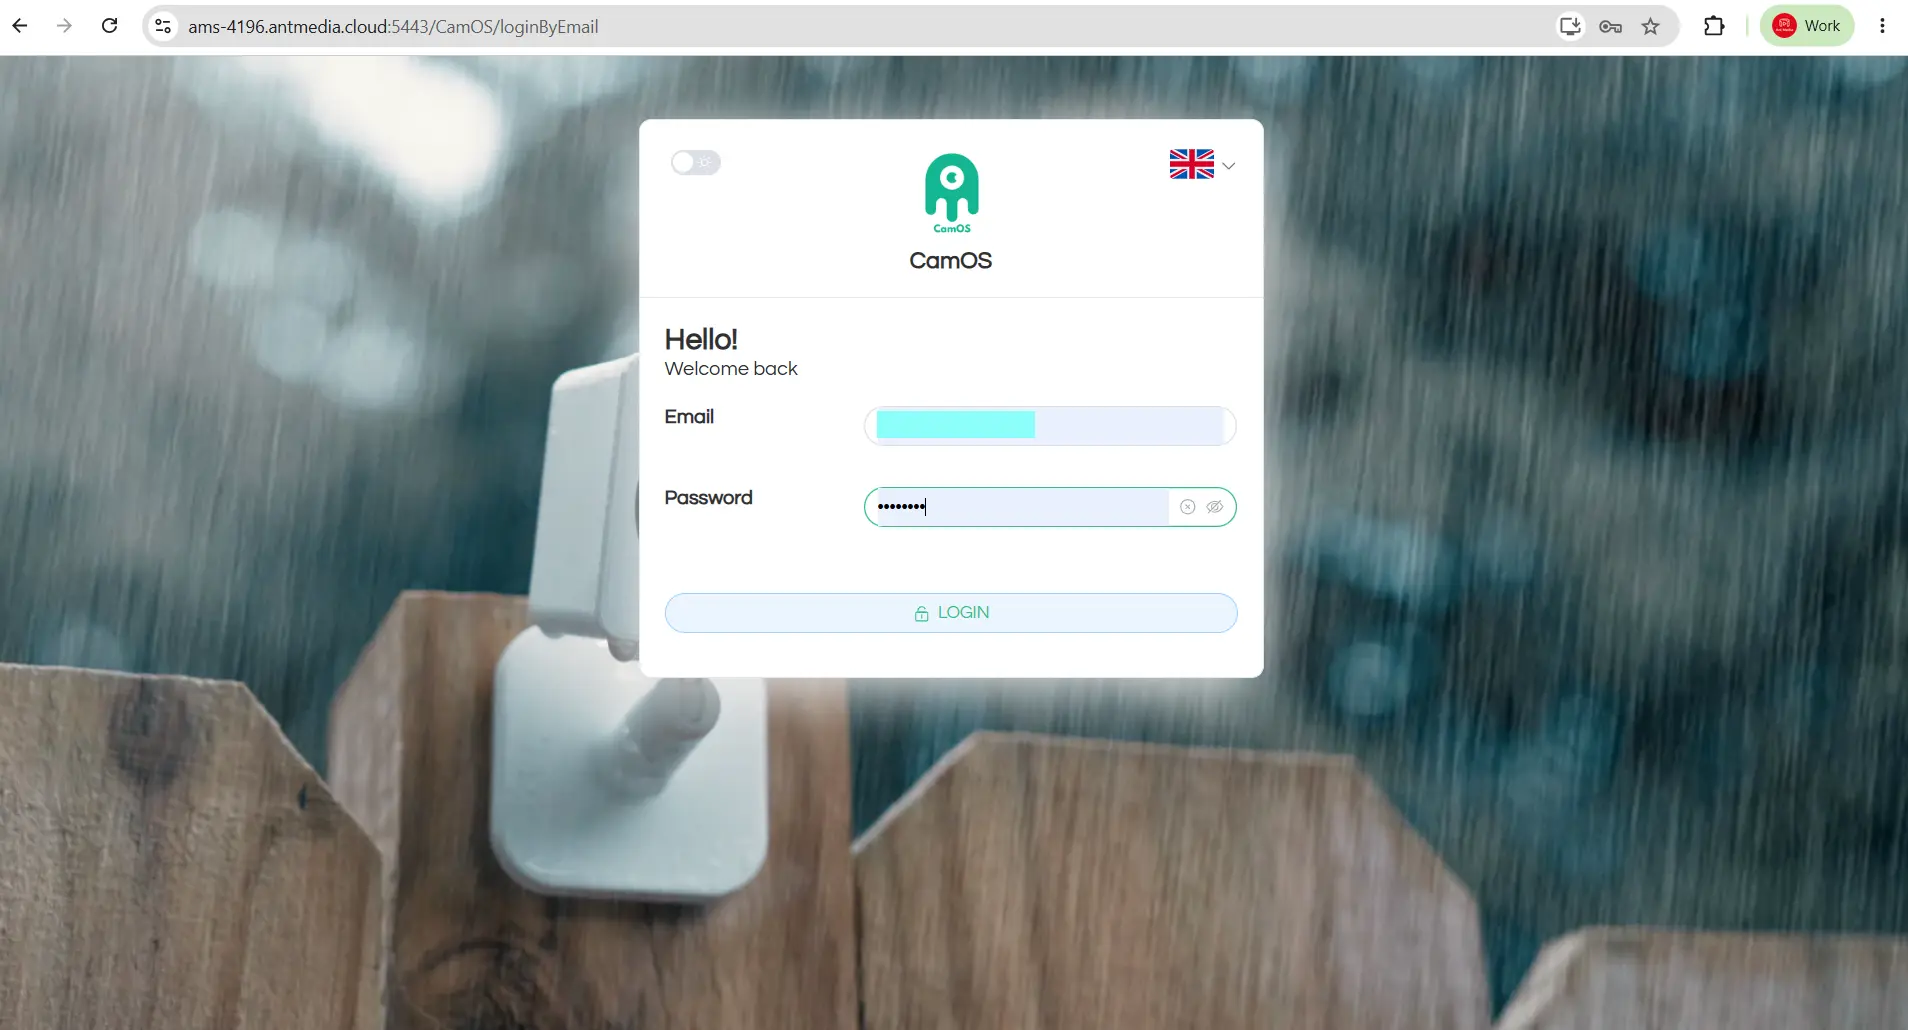
Once signed up, log in with your credentials.
Login
3. Navigate the Dashboard
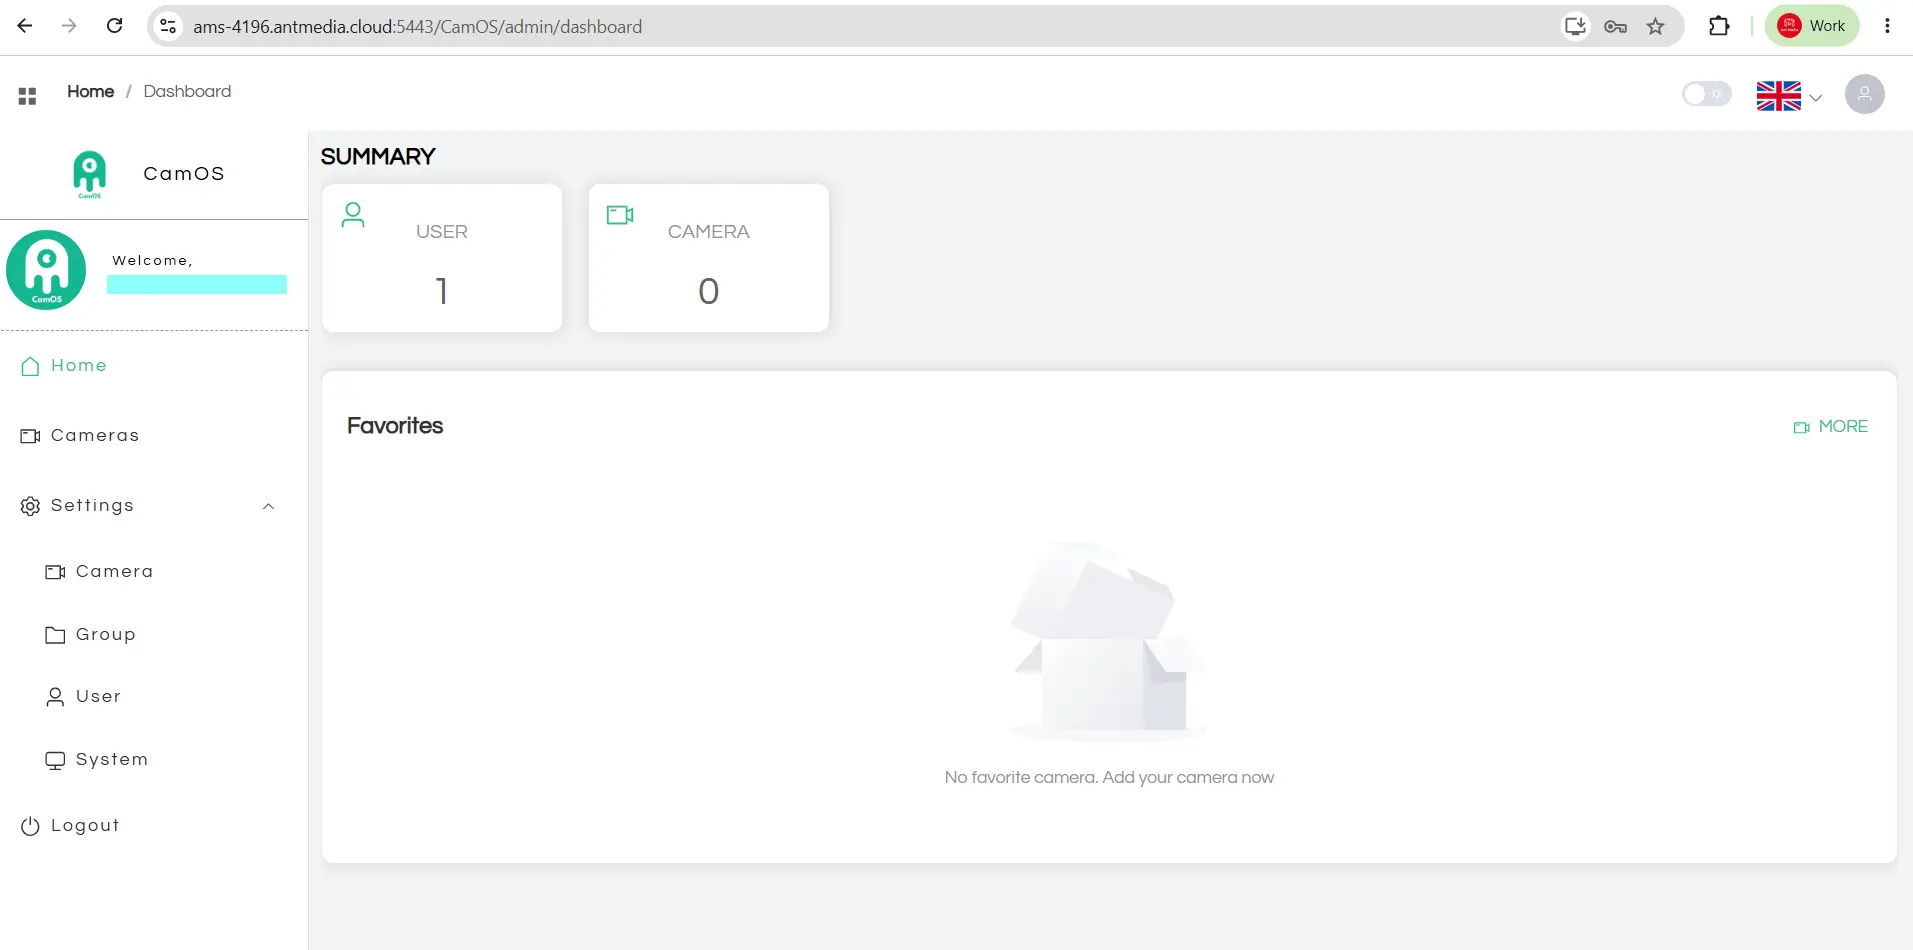
Access all functions from the left-hand menu:
- Dashboard — summary of your system and favourite cameras
- Cameras — view live camera feeds
- Settings → Camera — manage individual cameras
- Settings → Group — manage camera groups
- Settings → Users — manage user accounts
- Settings → System — configure your camera system
- Logout — sign out of your account
Dashboard Overview
4. Add a Camera
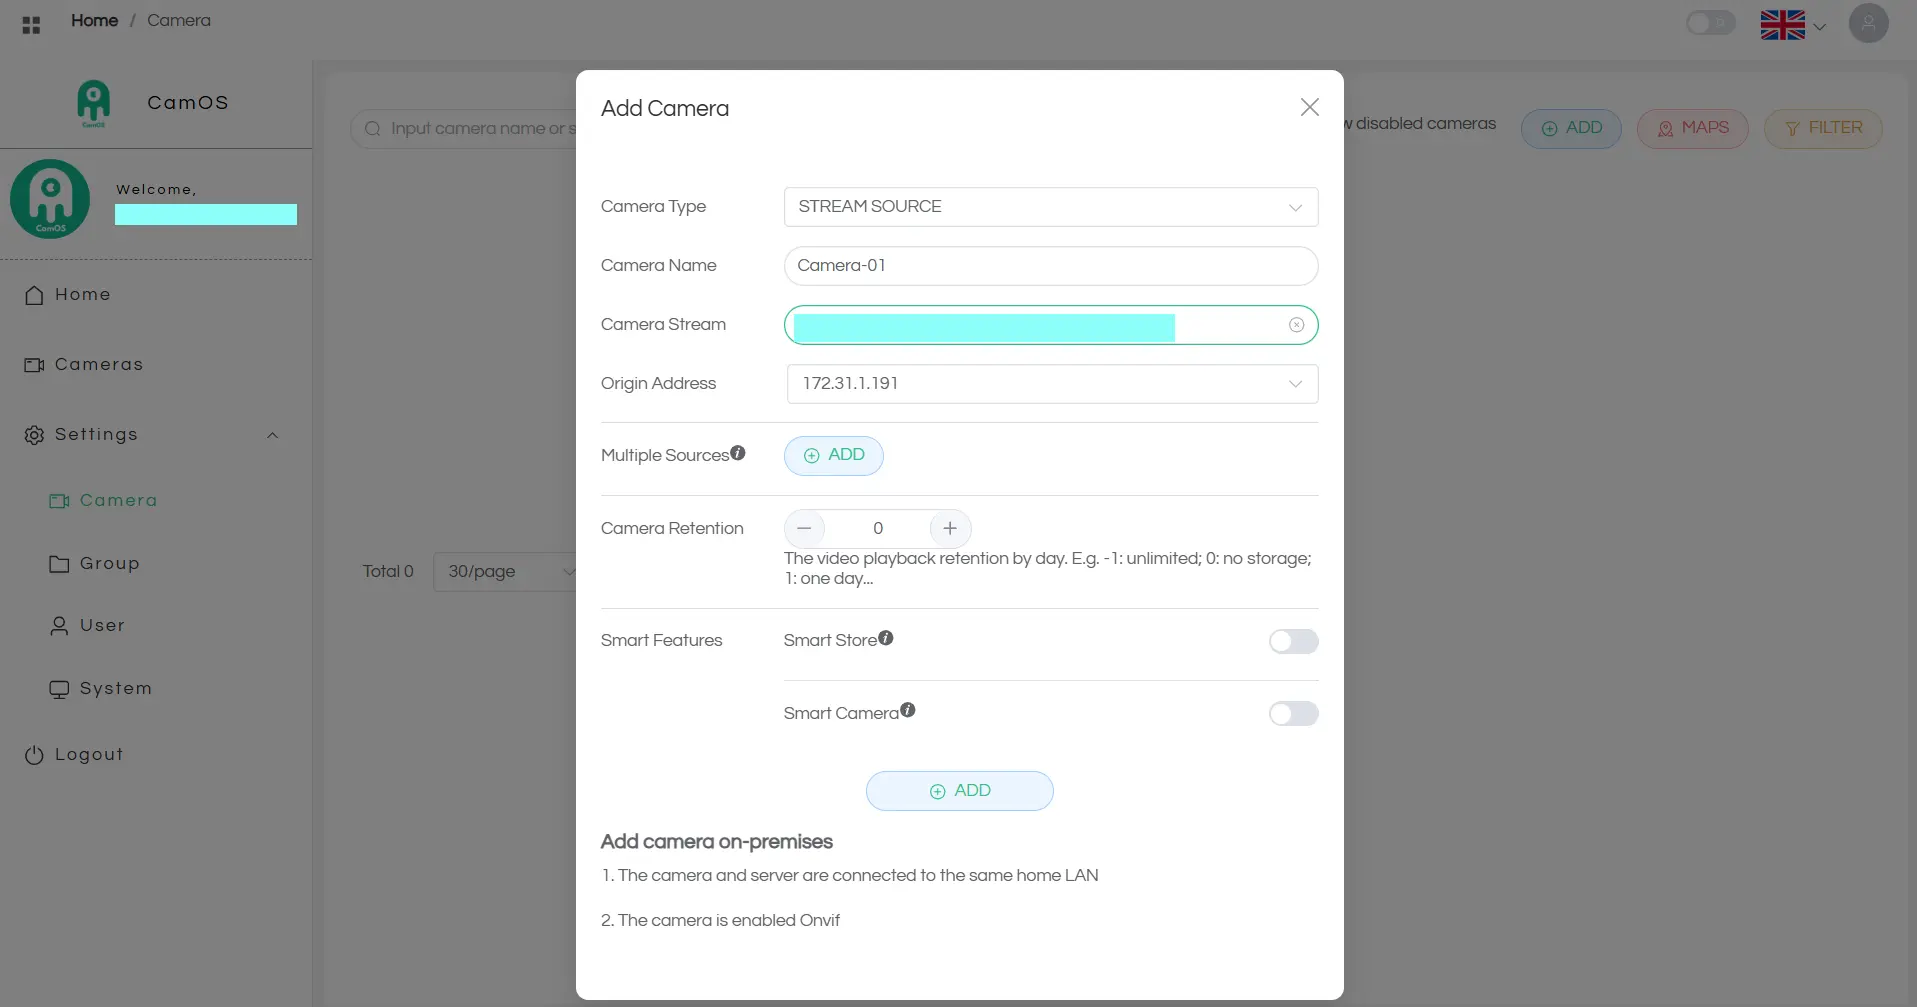
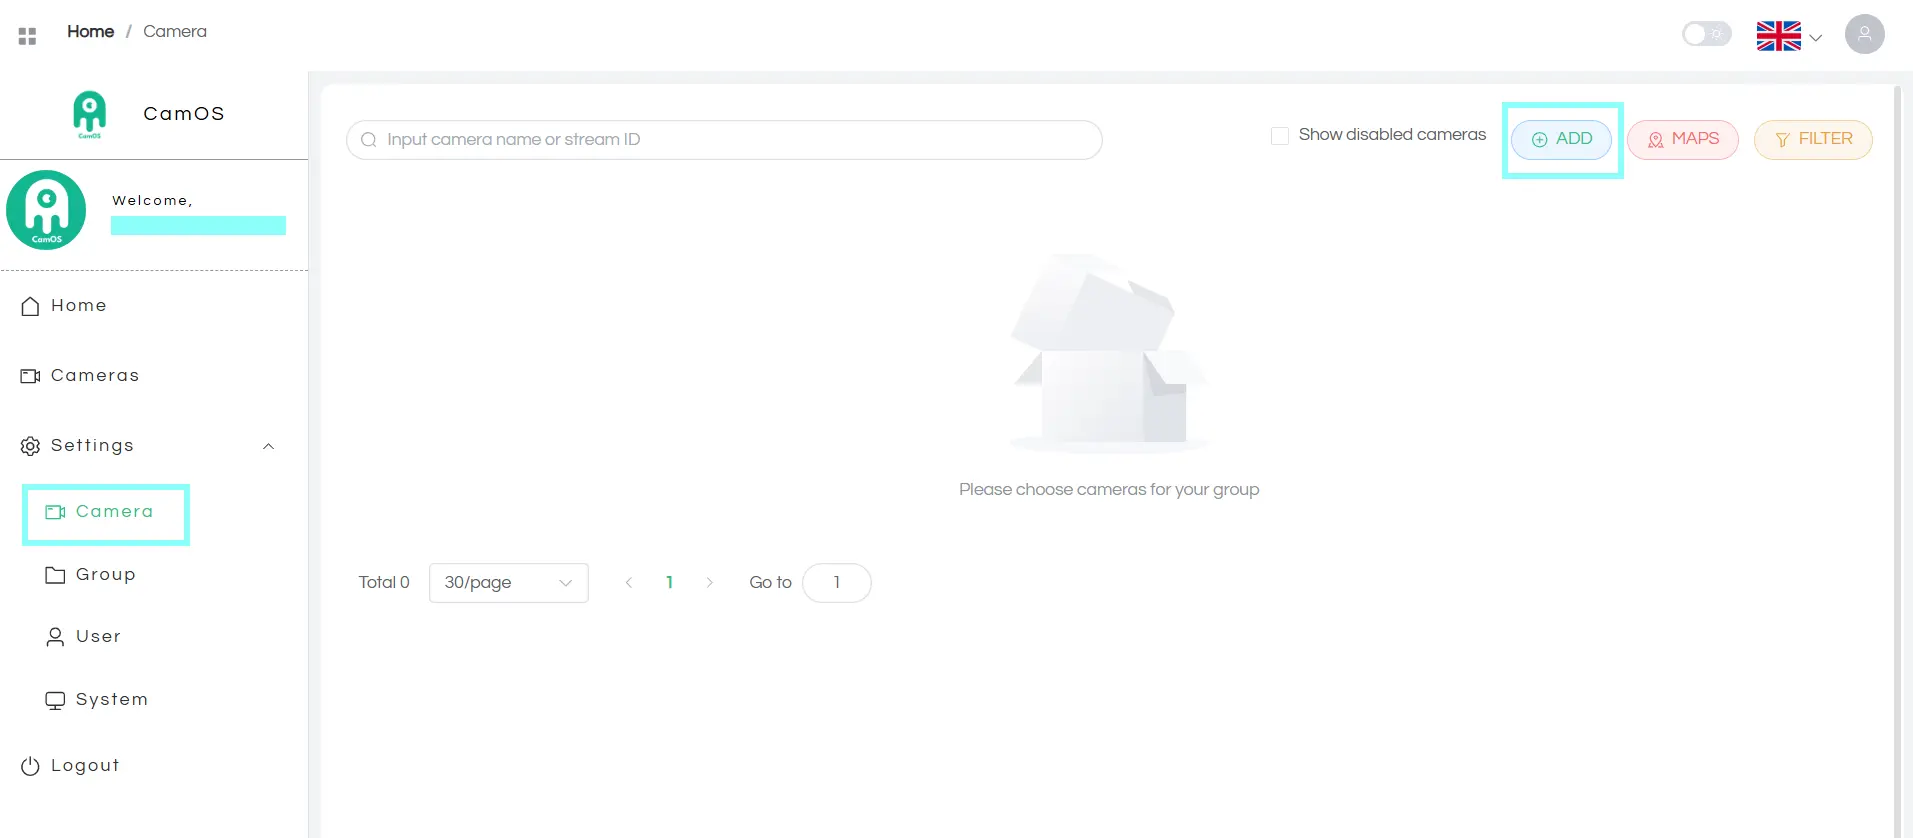
Navigate to Settings > Camera > Add.
Add Camera
Choose from three camera types:
- Live Stream — for cameras that support RTMP push
- IP Camera — for ONVIF-compliant cameras
- Stream Source — to pull RTSP sources
Camera Type & Configuration
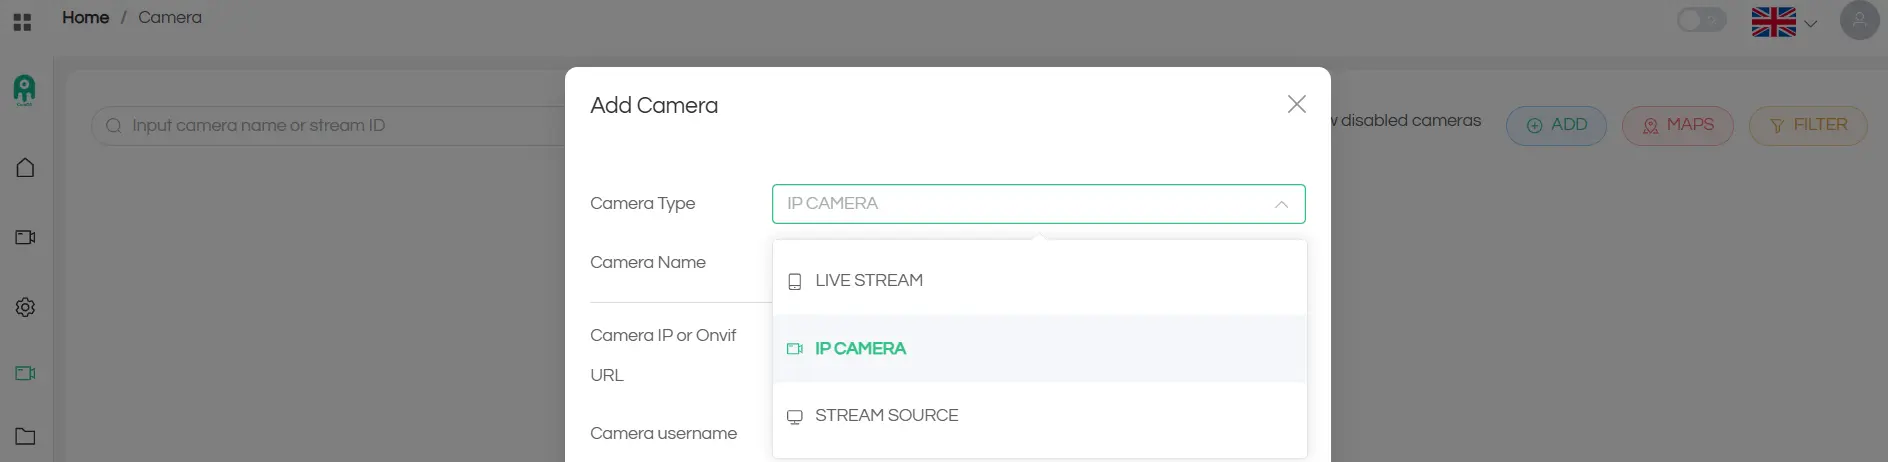
Select the camera type, enter the camera details, choose your Ant Media Server instance as the origin address, and click Add.
Ant Media Server Instance as Origin